Lorem ipsum dolor sit amet, consectetur adipiscing elit. Quisque ut ullamcorper libero. Cras lacinia aliquet mauris, nec semper enim vulputate vitae. Mauris nec nisi congue sem suscipit lacinia nec eget libero. Integer bibendum, mi eu pretium sagittis, arcu dui gravida elit, vel aliquam odio ante eu lectus. Curabitur id vehicula ex.
explore
welcome to our
home on the web
Weddings
Portraits
Engagements
personal
How to Make a Homemade Christmas Wreath From Scratch
What is more cozy and welcoming than a beautiful Christmas wreath hanging on a front door of a home? Even if you aren’t someone that likes to go all out with holiday decorations, a minimal wreath is a simple way to prep your home for the holiday season. Similar to a Christmas tree you can opt for a wreath made with real or artificial greenery and I don’t think you can go wrong either way. In fact, I love both variations equally which is why I am excited to share how I made a faux foliage Christmas wreath and one made with freshly cut greenery.
Store bought Christmas wreaths can get pretty pricy up to $150 at stores like Pottery Barn. I wanted to save some money this year by making my own holiday wreaths, one for inside our home and one for our exterior front door. I spent less than $20 on the supplies to make both of these handmade Christmas wreaths by cutting greenery found in nature, using supplies I already owned, and shopping a sale from Afloral for the floral hoops as well as the greenery picks. Overall I think this holiday DIY project is both easy and affordable to execute and a great way to deck your halls (or front porch doors) for the holiday season on a budget!
DIY Artificial Holiday Wreath
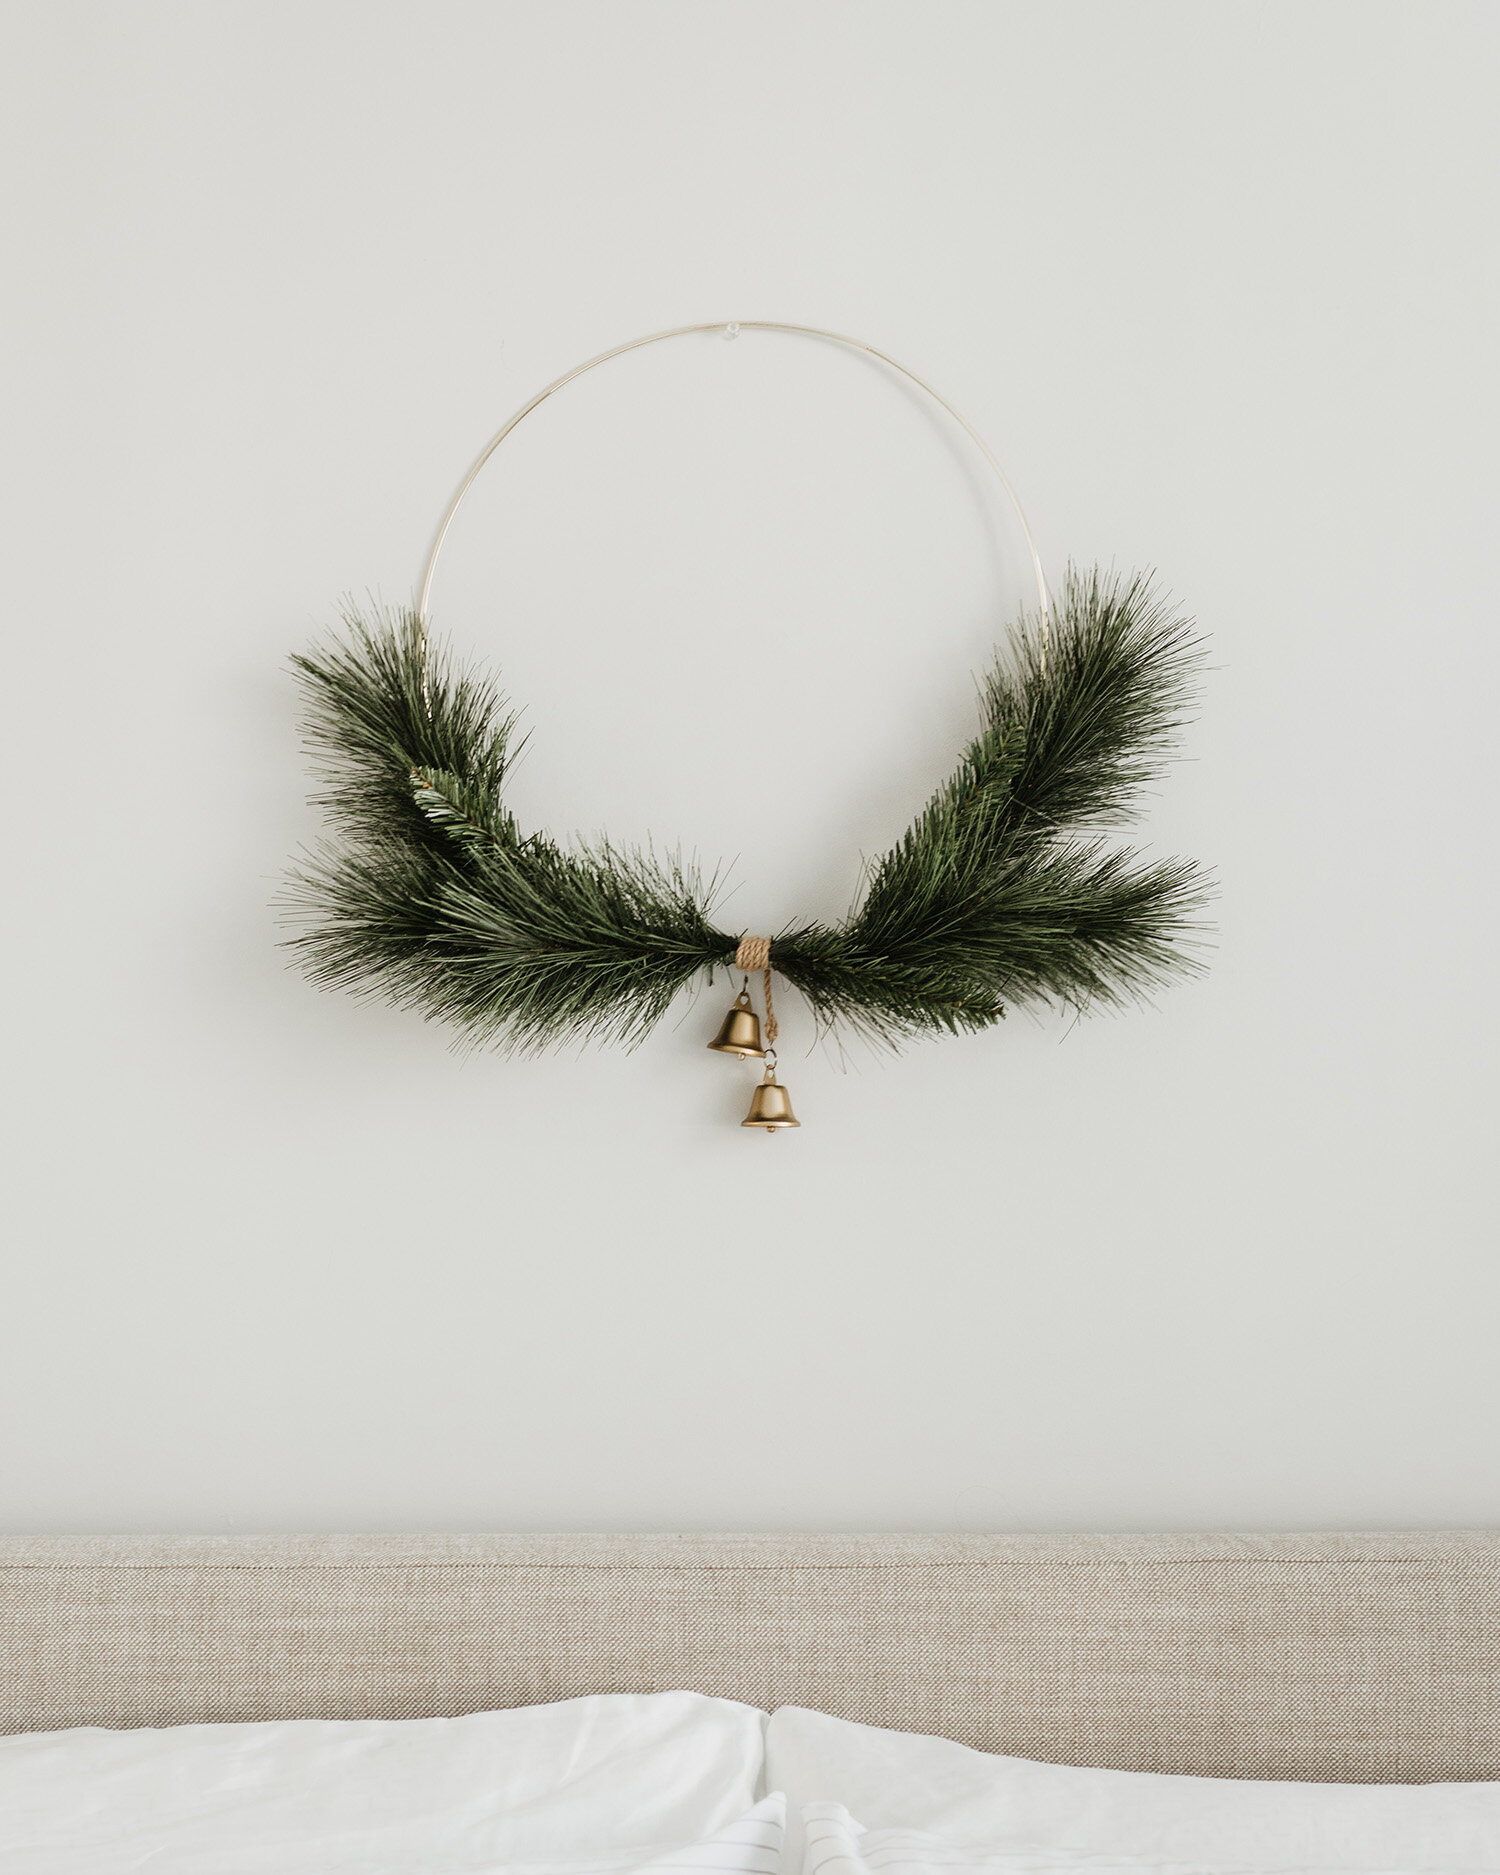
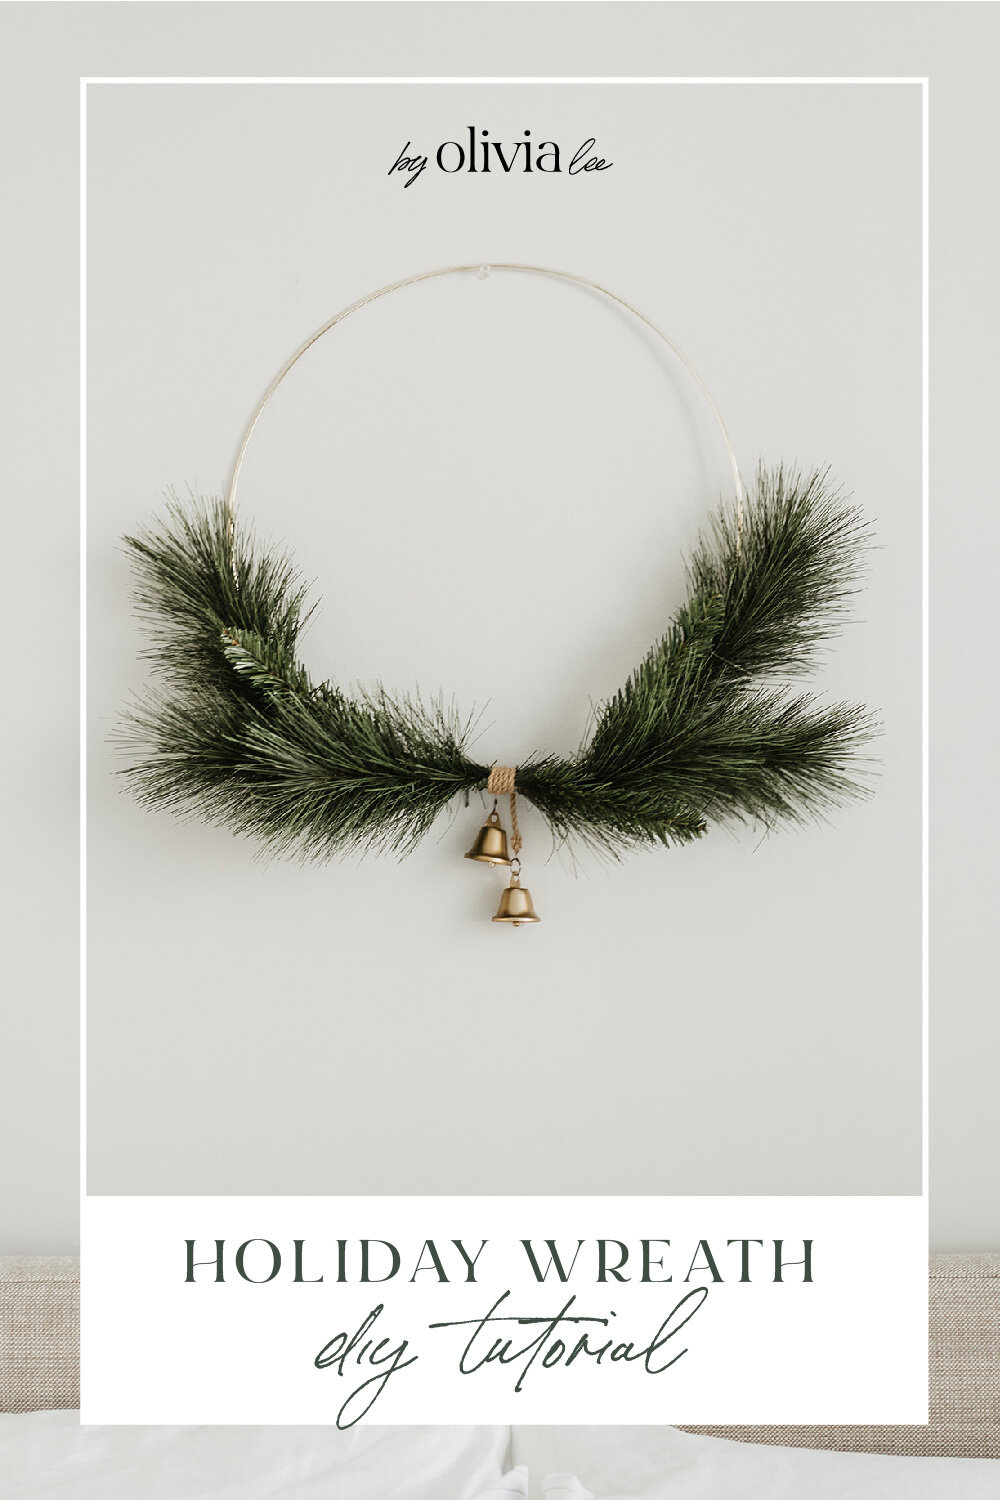
For this artificial Christmas wreath, I was inspired by a few for sale at Target from the Hearth & Hand With Magnolia line. I love the minimal and modern design with the exposed ring at the top of the wreath and the rich greenery and elegant bells at the bottom. One perk of an artificial Christmas wreath is not having to worry about needles falling out, which is perfect for hanging indoors, such as over a bed as I did here.
What You Will Need:
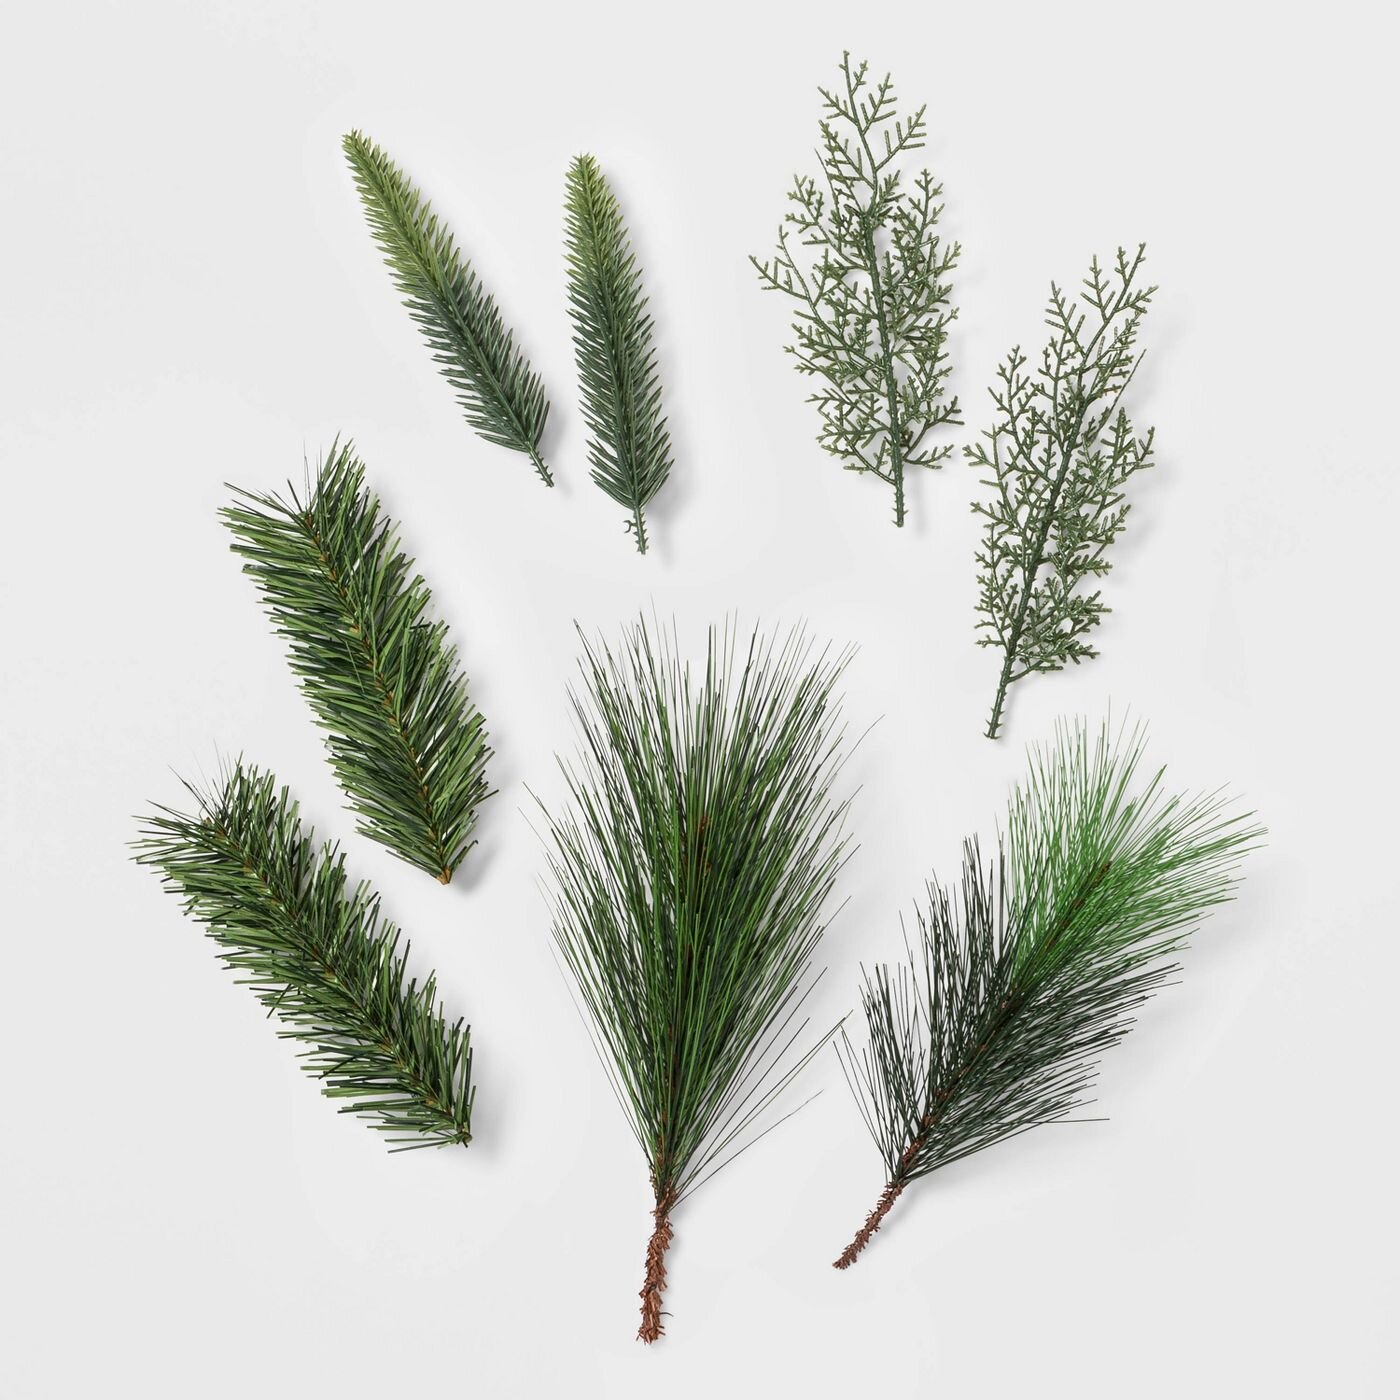
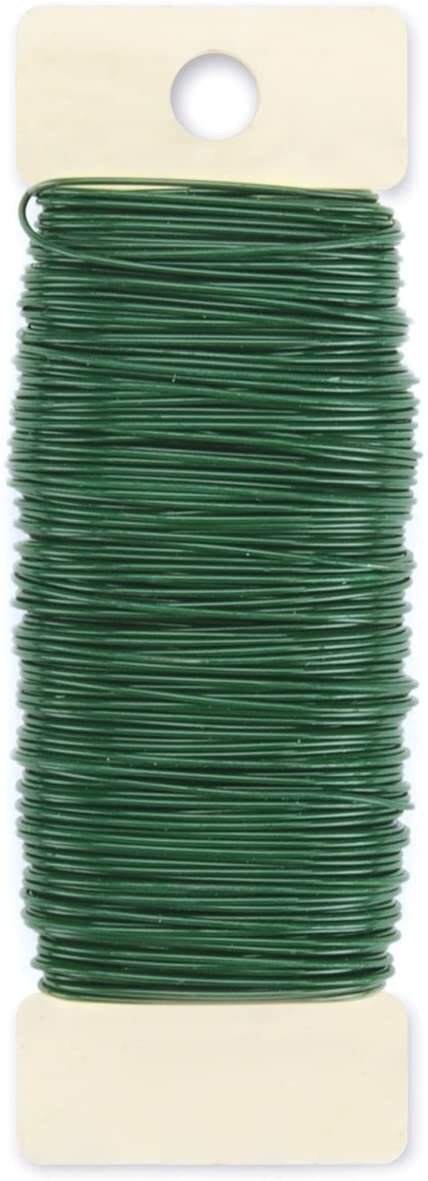
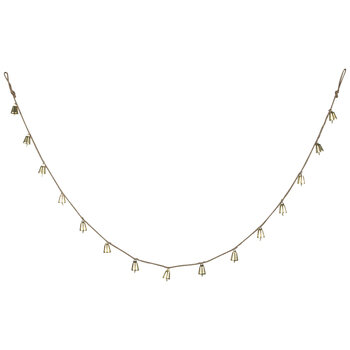
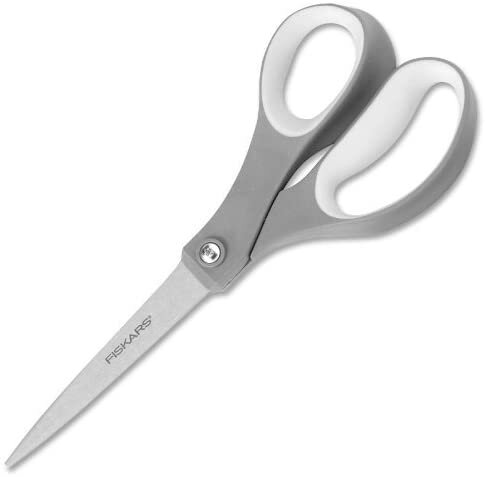
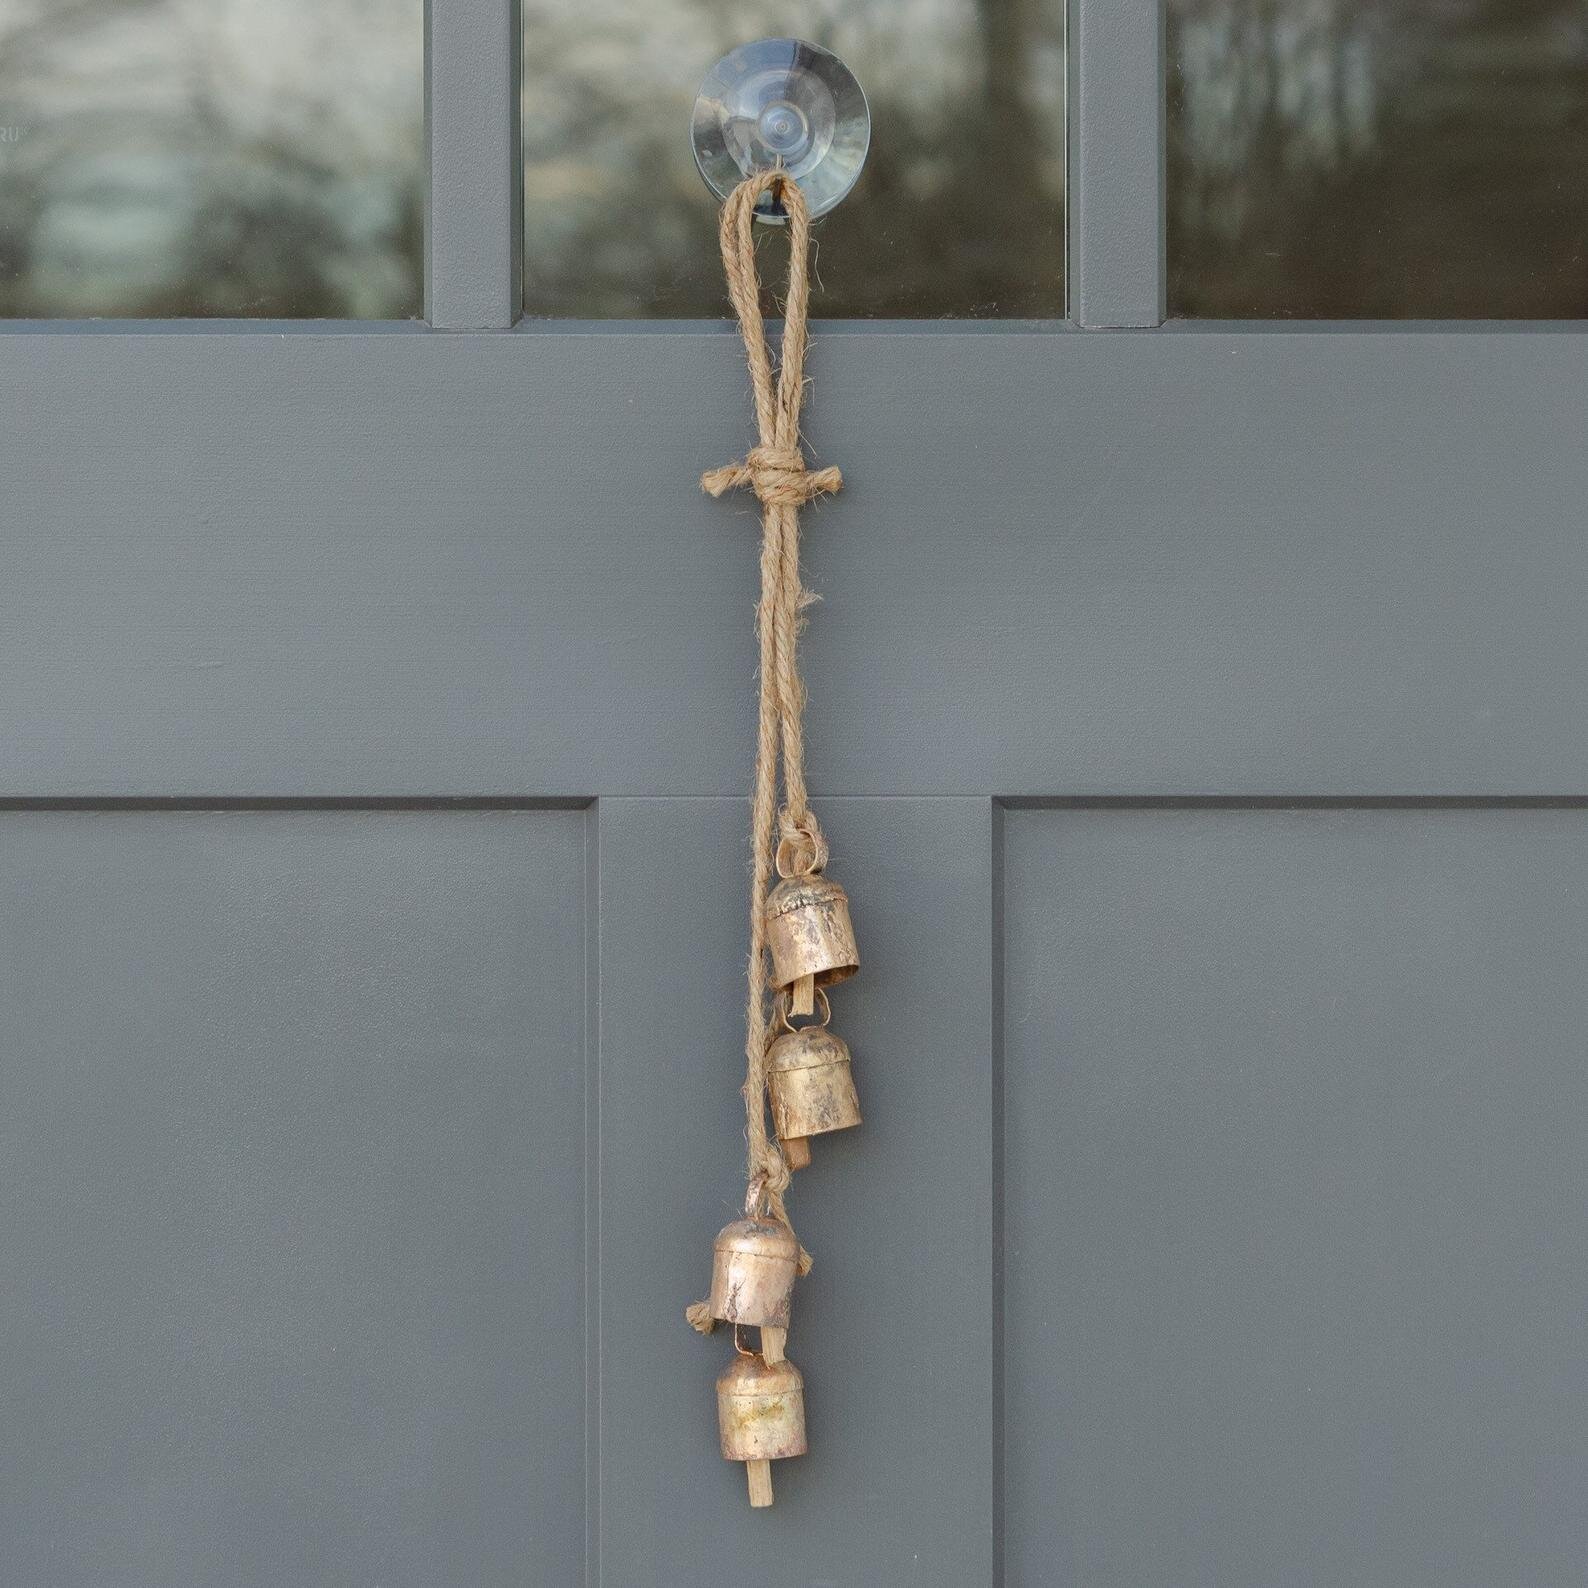
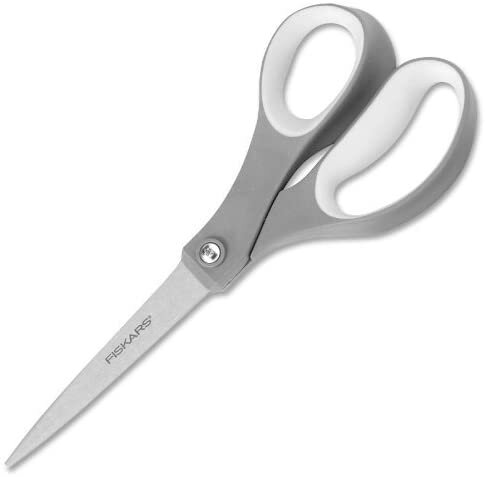
Gold Floral Hoop | Mixed Greenery | Natural Stem Pick | Floral Wire | Bell Garland | Antique Bell Garland | Hot Glue Gun | Scissors
#block-yui_3_17_2_1_1606929807948_184813 .sqs-gallery-block-grid .sqs-gallery-design-grid { margin-right: -10px; }
#block-yui_3_17_2_1_1606929807948_184813 .sqs-gallery-block-grid .sqs-gallery-design-grid-slide .margin-wrapper { margin-right: 10px; margin-bottom: 10px; }
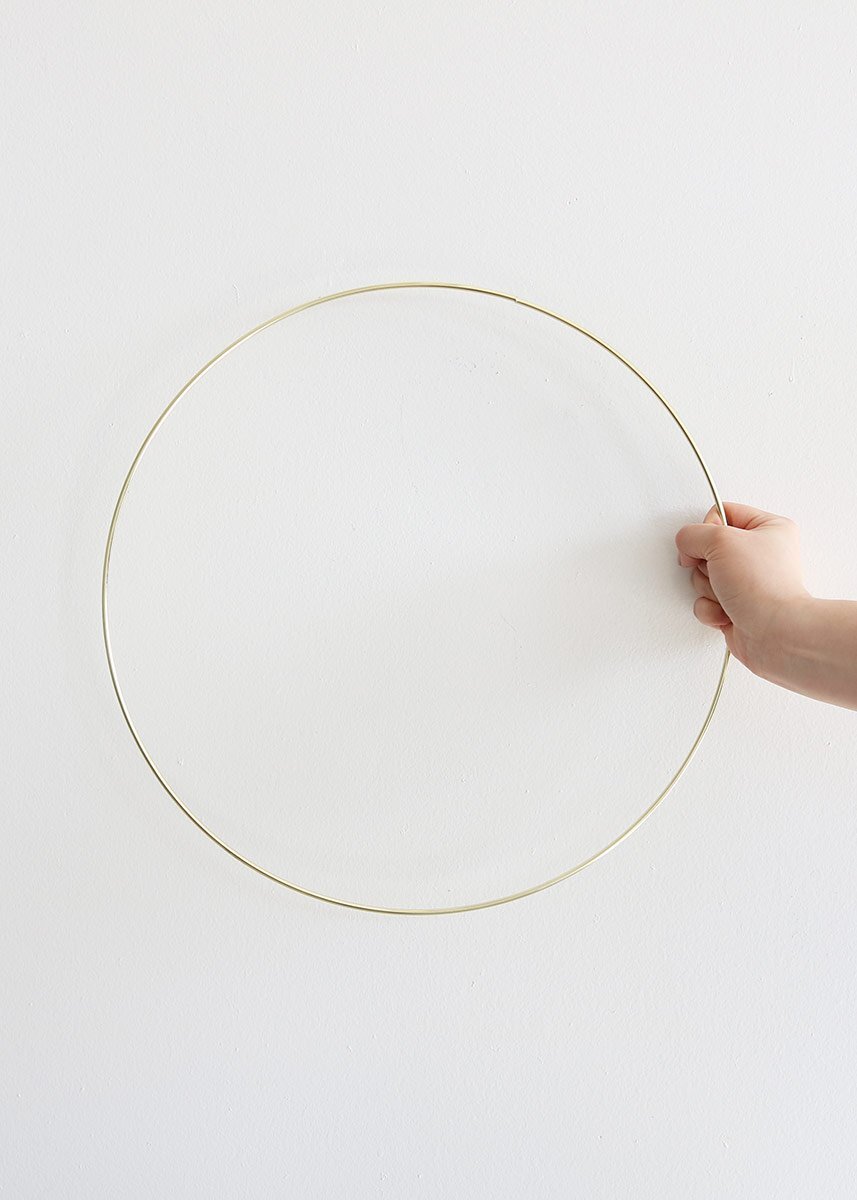
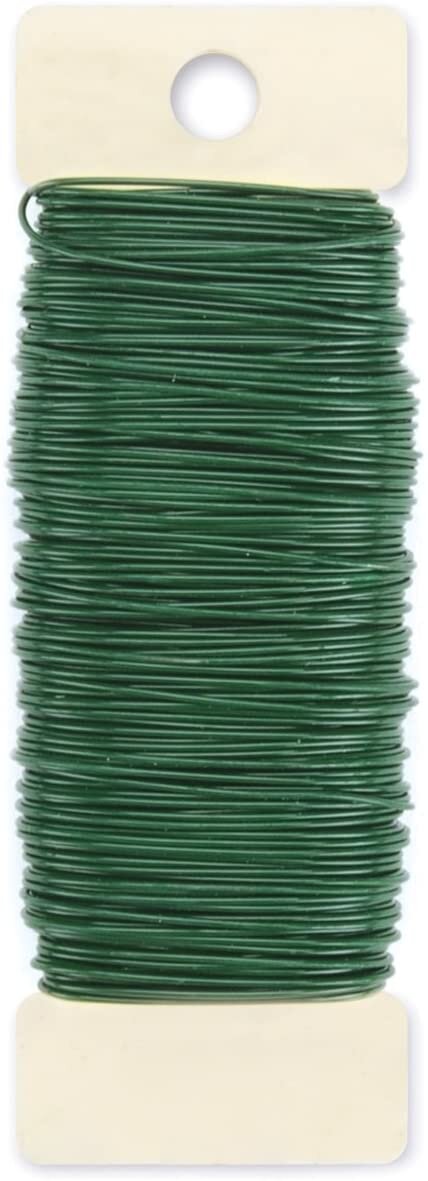
Start by arranging your greenery along the metal hoop until you have the look you desire. This step was fairly easy for me since I was only using two identical picks made up of a variation of greenery, so I just placed them so that they were reflecting each other. Next, use the floral wire, cutting small pieces to bend and wrap around the picks and the hoop, securing them together in place. I like to use a good amount of wire and pull it really tight to ensure nothing will fall off or move around once it’s hung up. If your picks are longer like mine where you may have some overlap. I made sure to push any access stem to the back, securing it in place so that it’s not visible from the front.
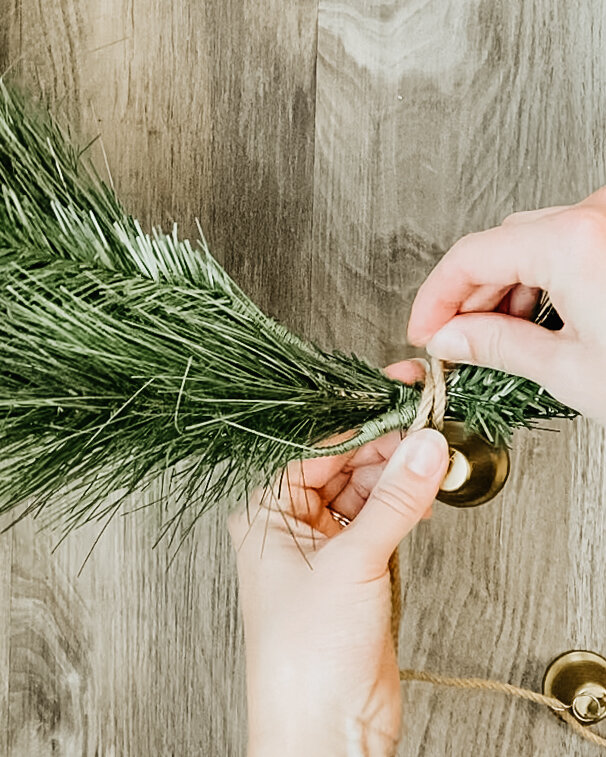
Lastly, take your bell garland and measure out the desired length you would like your bells to hang. If you are using bells that did not come on a garland strand, you will need some twine to string them onto the Christmas wreath. As you are wrapping the twine bell garland in place, take your time to create clean lines with the rope that do not overlap for a minimal, modern finish. I used a hot glue gun to adhere the twine garland in place around the greenery center point. Trim off any access twine so you are only left with the bells hanging in the center of the artificial greenery holiday wreath.
DIY Real Greenery Holiday Wreath
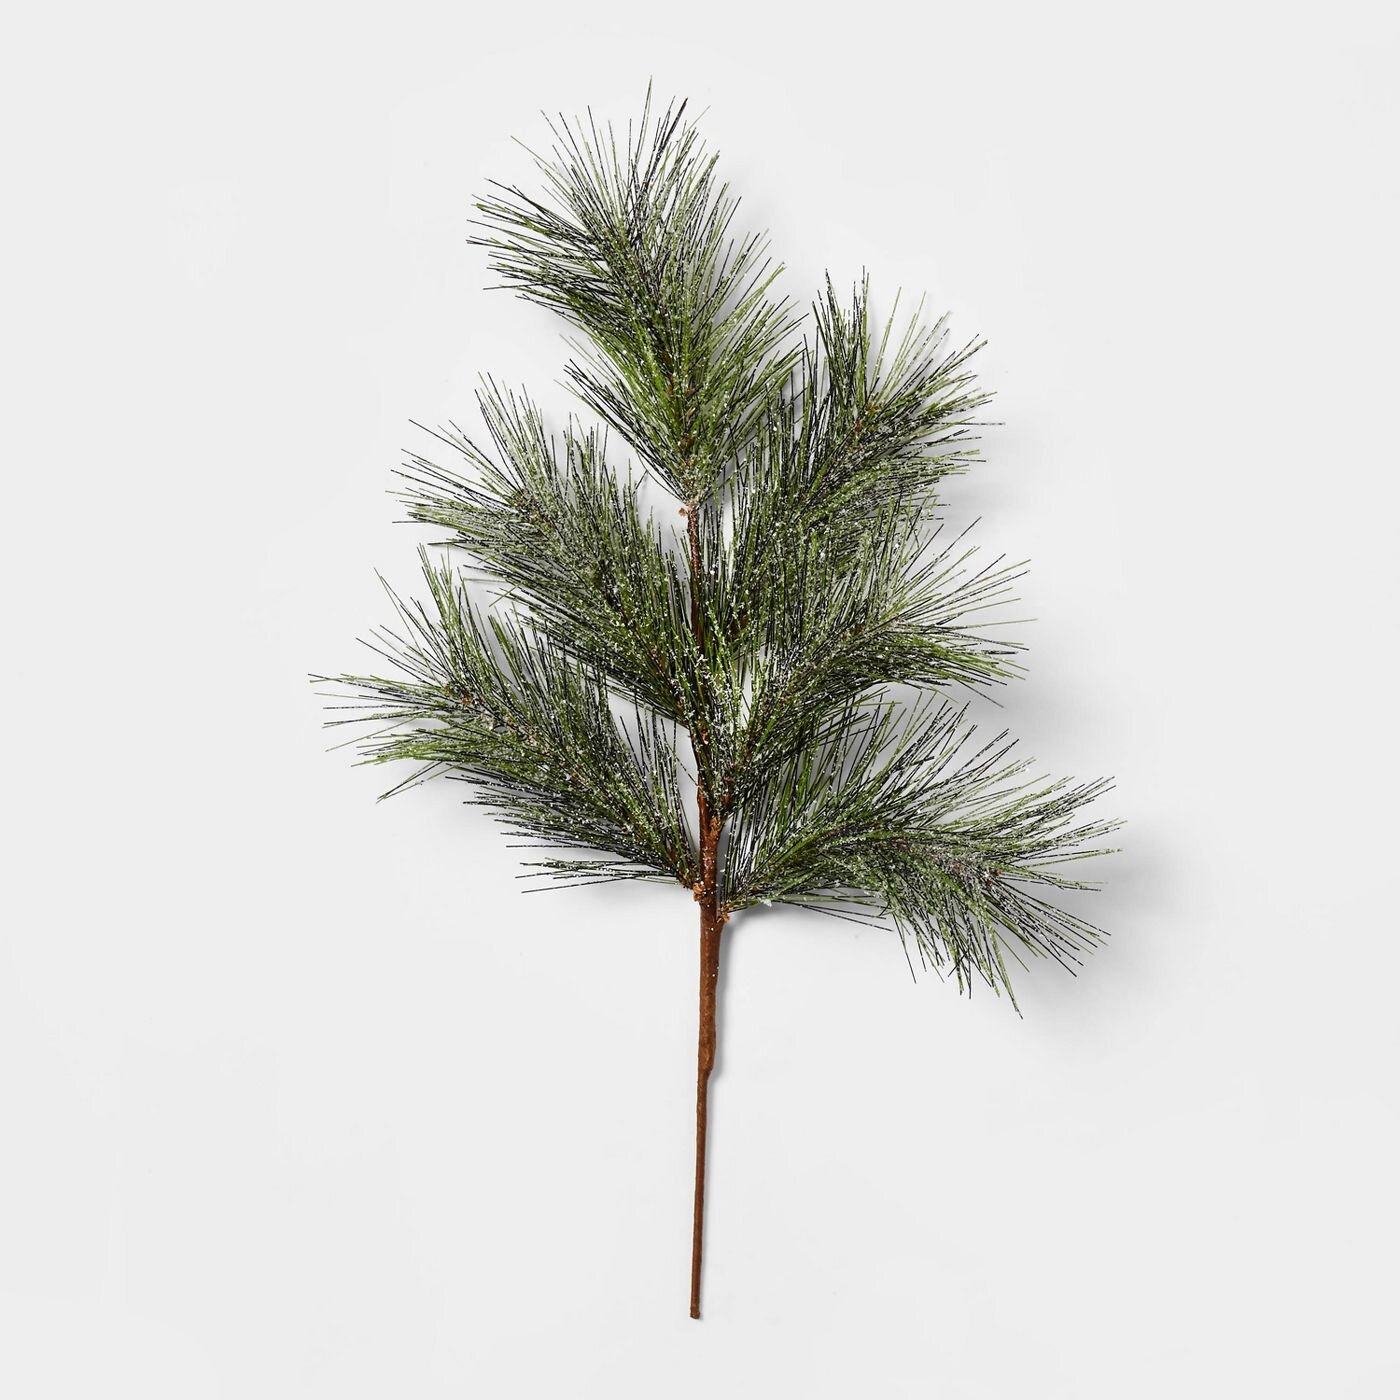
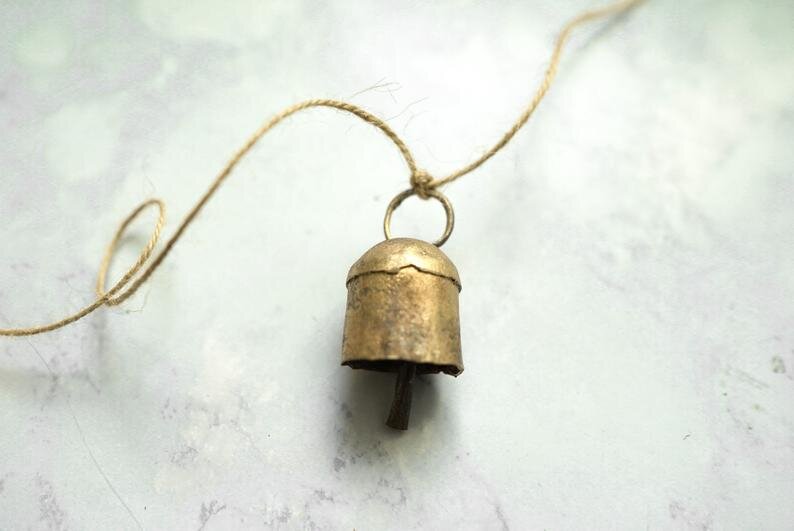
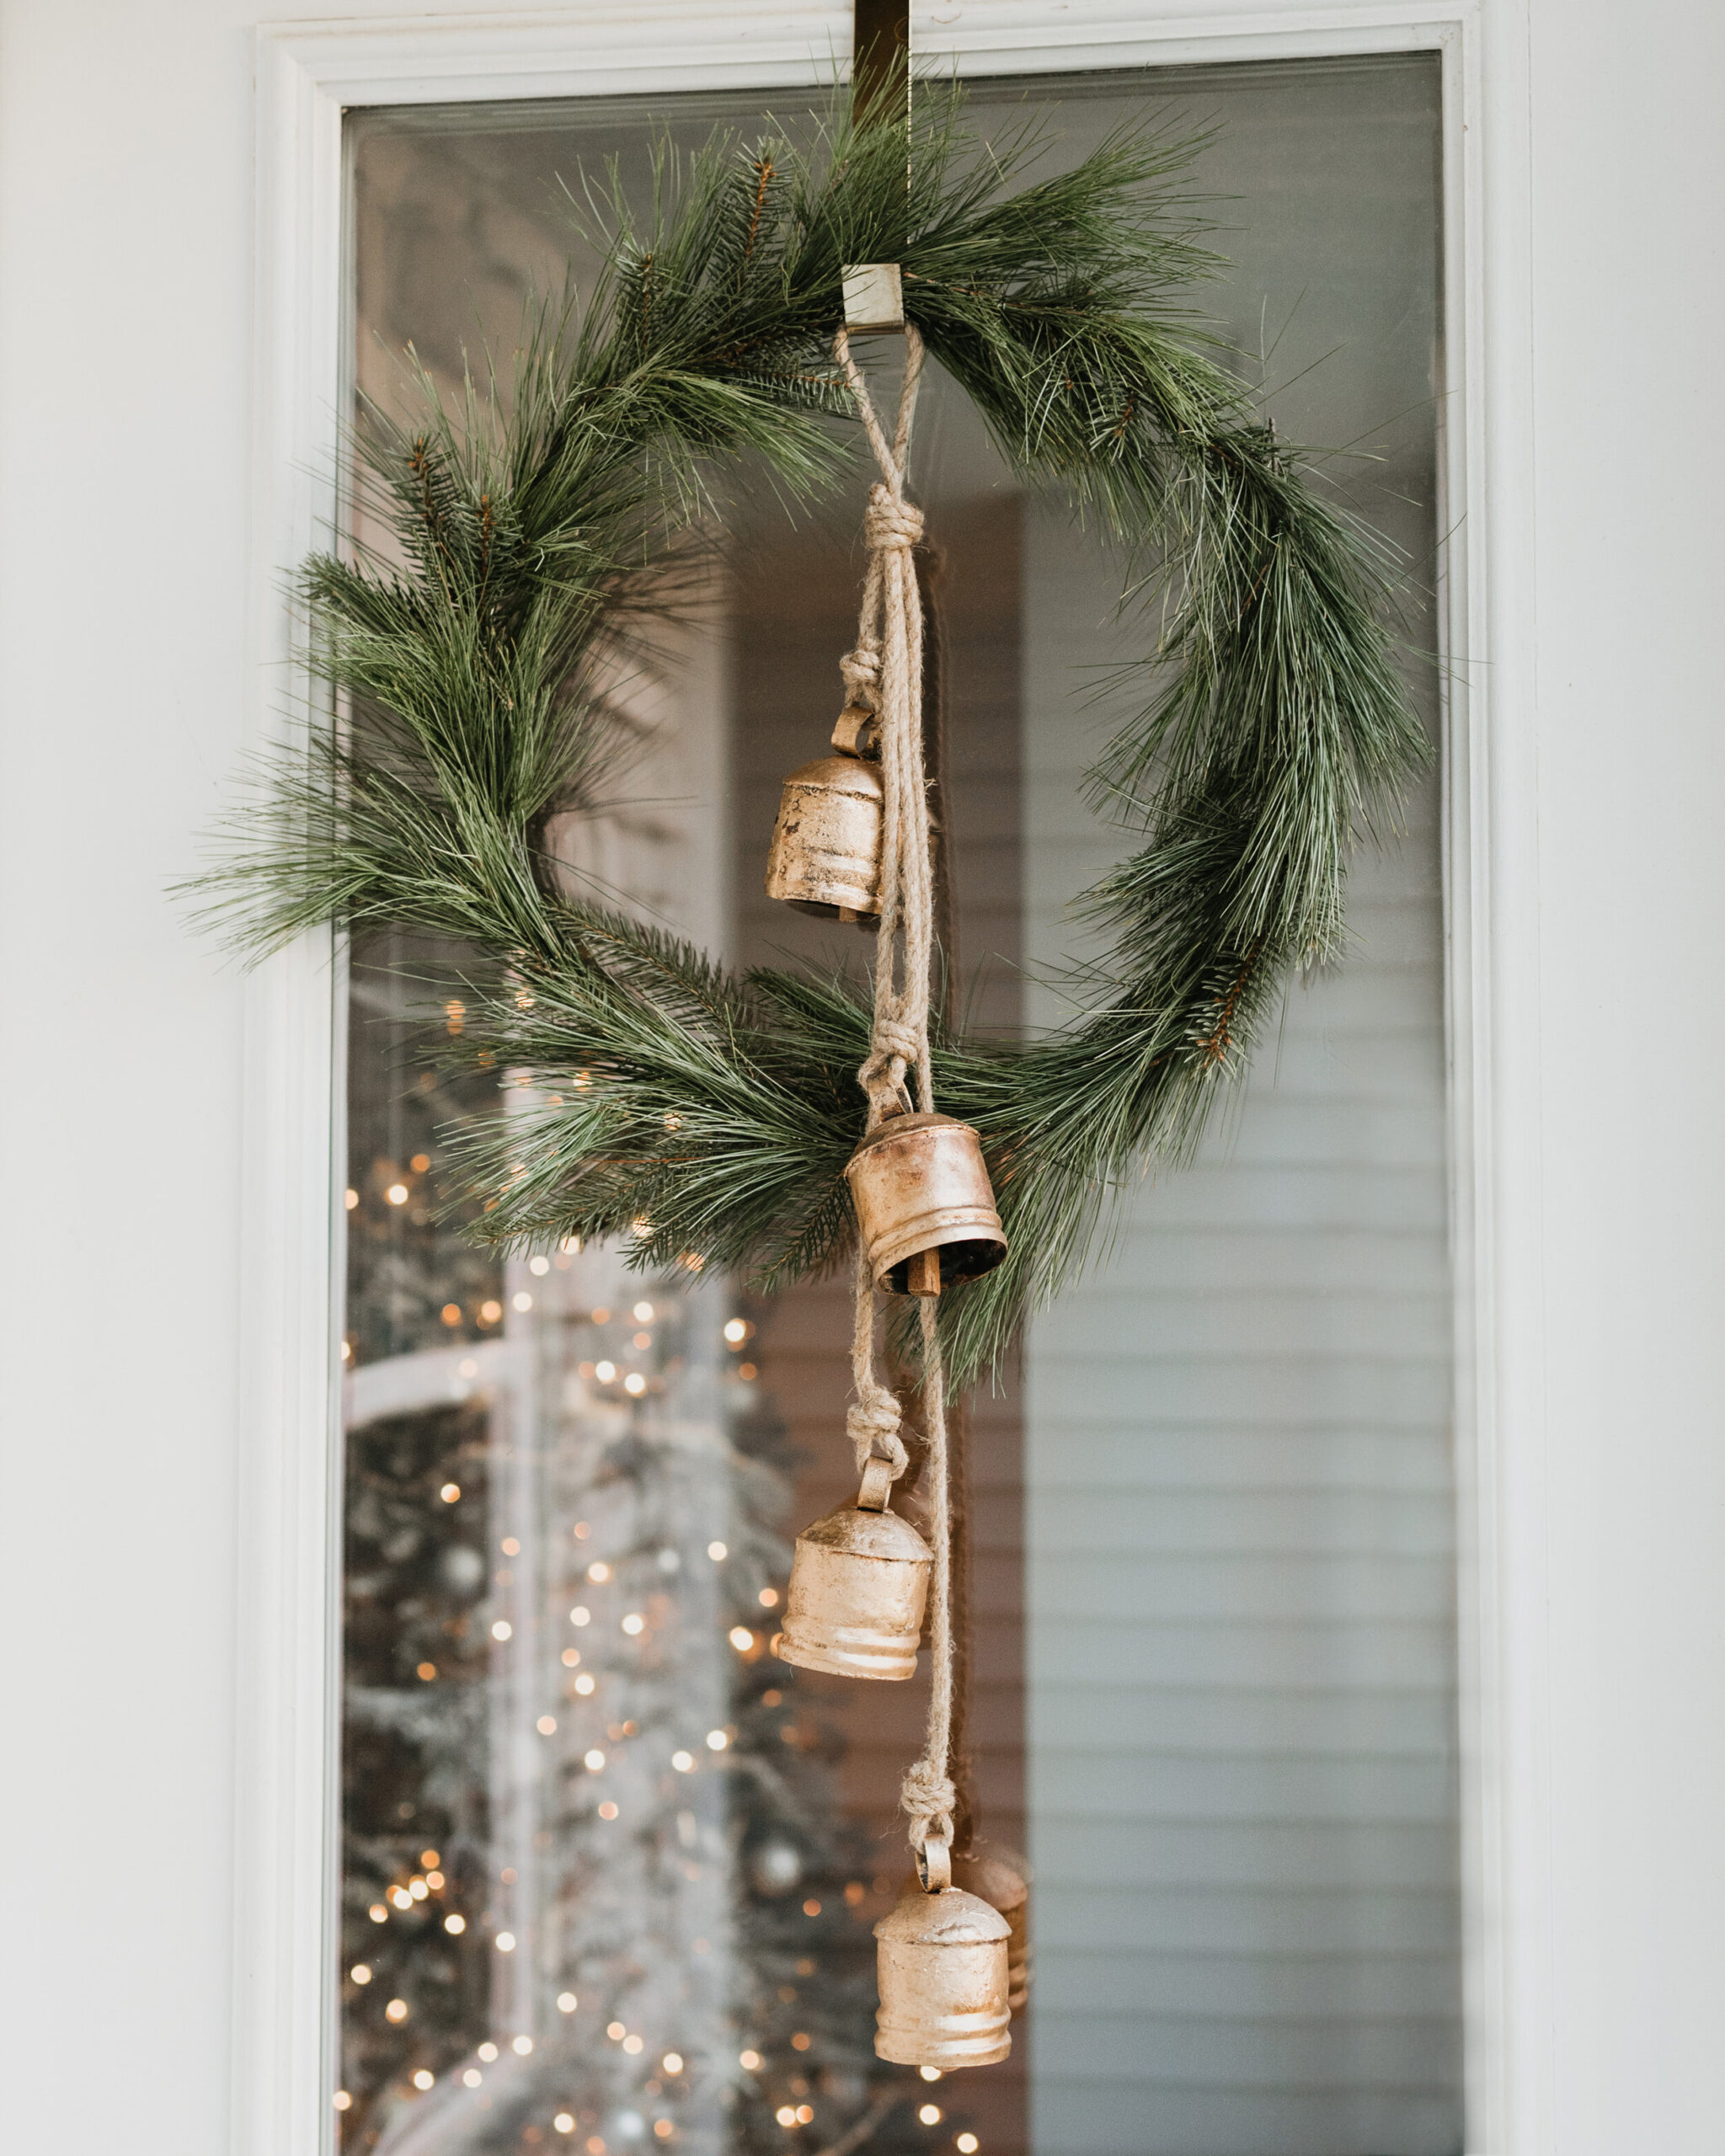
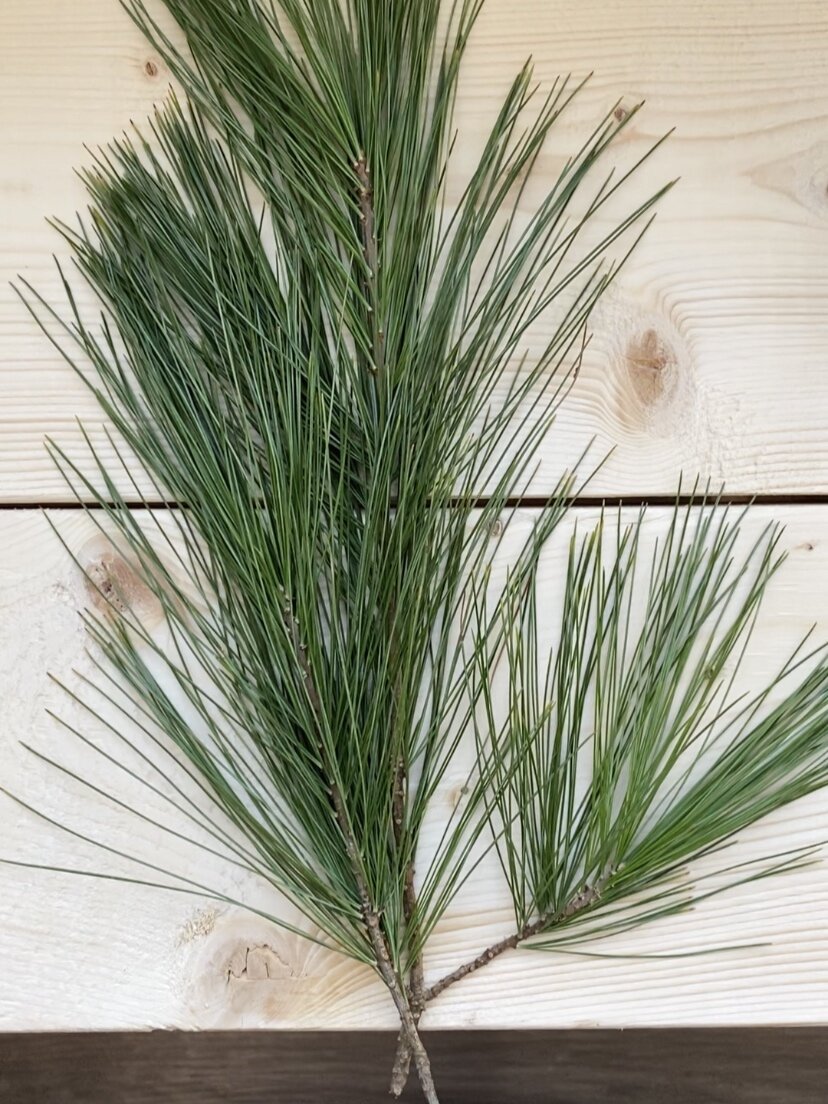
For this Christmas wreath, I cut trimmings of two types of pine trees around my parent’s yard. I love the contrast of the long thin needle cuttings against the thick, shorter ones. Since this natural wreath might shed throughout the holiday season, I opted to place it on our exterior door. I think it looks awesome in this location! Although this handmade wreath would look beautiful on its own, I wanted to add an extra holiday element with these antique style Christmas bells.
What You Will Need:
Gold Floral Hoop | Floral Wire | Real Greenery | Antique Brass Bells | Scissors
#block-yui_3_17_2_1_1606929807948_260487 .sqs-gallery-block-grid .sqs-gallery-design-grid { margin-right: -10px; }
#block-yui_3_17_2_1_1606929807948_260487 .sqs-gallery-block-grid .sqs-gallery-design-grid-slide .margin-wrapper { margin-right: 10px; margin-bottom: 10px; }
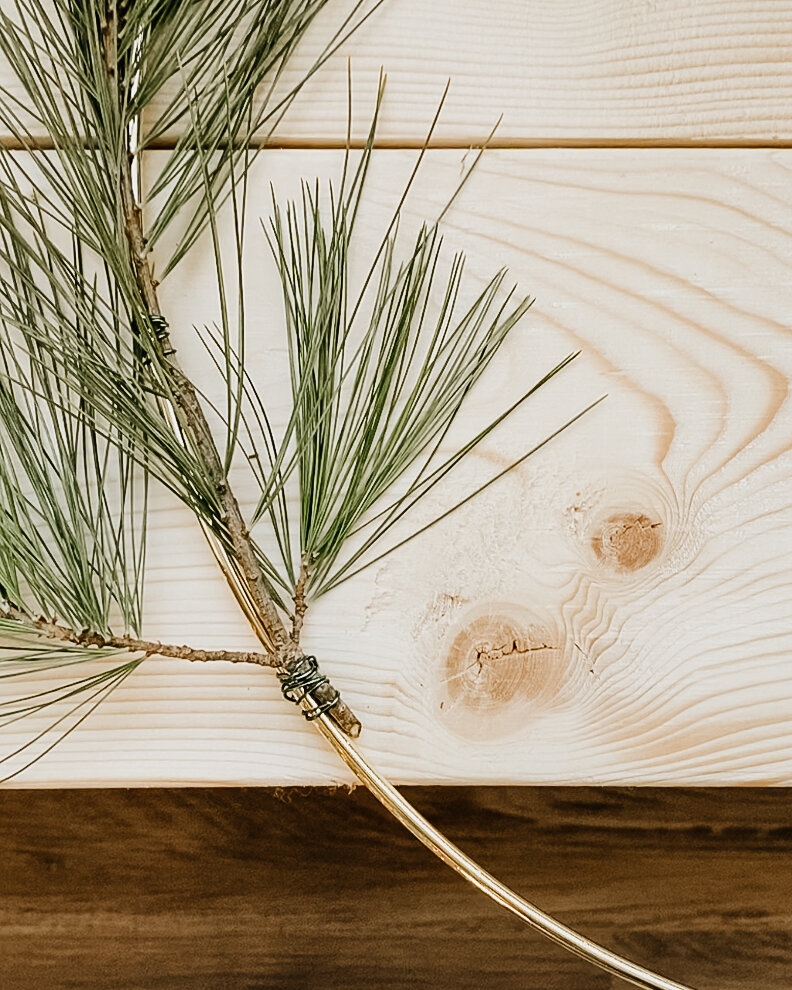
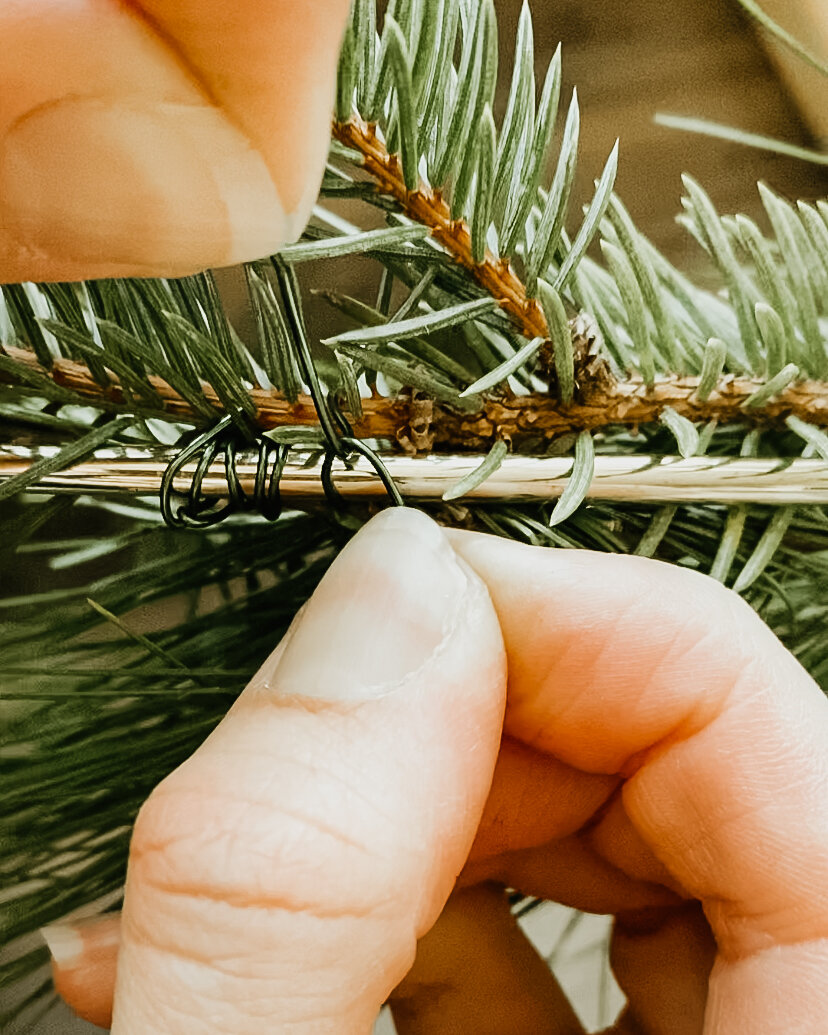
Start making this holiday wreath by laying out your largest clippings around the gold hoop to create a base. I used the same type of long needle clippings all around for the base layer. Work one section at a time, securing the pine clippings onto the floral hoop with the wire. As you can see in the photo above, I like to wire down each clipping in at least two places to ensure it will stay in place.
Once your base layer is secured and looking full, start adding a different variety of pine clippings to add contrast and texture. Since we are working with real foliage, I recommend working slowly to avoid getting poked by the needles. I noticed the shorter, thicker needles were quite sharp, so I was extra careful when tying the wire with this layer.
Lastly, to finish off your natural DIY Christmas wreath, add one last layer of smaller clippings from the same variety of the base layer to fill in any sparse areas and add the desired amount of thickness. The best part of making a holiday wreath is that you can totally customize to your liking adding as much or as little amount of greenery as you’d like.
I hope you found this DIY Christmas wreath tutorial helpful and feel inspired to make your own wreath this holiday season. This holiday craft is definitely a way to save money on home decorations by making your own. The process is rather quick and simple, making this Christmas wreath DIY project very doable and fun! If you give it a try, be sure to tag me or send me a photo on Instagram.
– Olivia
Pin This Image For Later






Read More →