Lorem ipsum dolor sit amet, consectetur adipiscing elit. Quisque ut ullamcorper libero. Cras lacinia aliquet mauris, nec semper enim vulputate vitae. Mauris nec nisi congue sem suscipit lacinia nec eget libero. Integer bibendum, mi eu pretium sagittis, arcu dui gravida elit, vel aliquam odio ante eu lectus. Curabitur id vehicula ex.
explore
welcome to our
home on the web
Weddings
Portraits
Engagements
personal
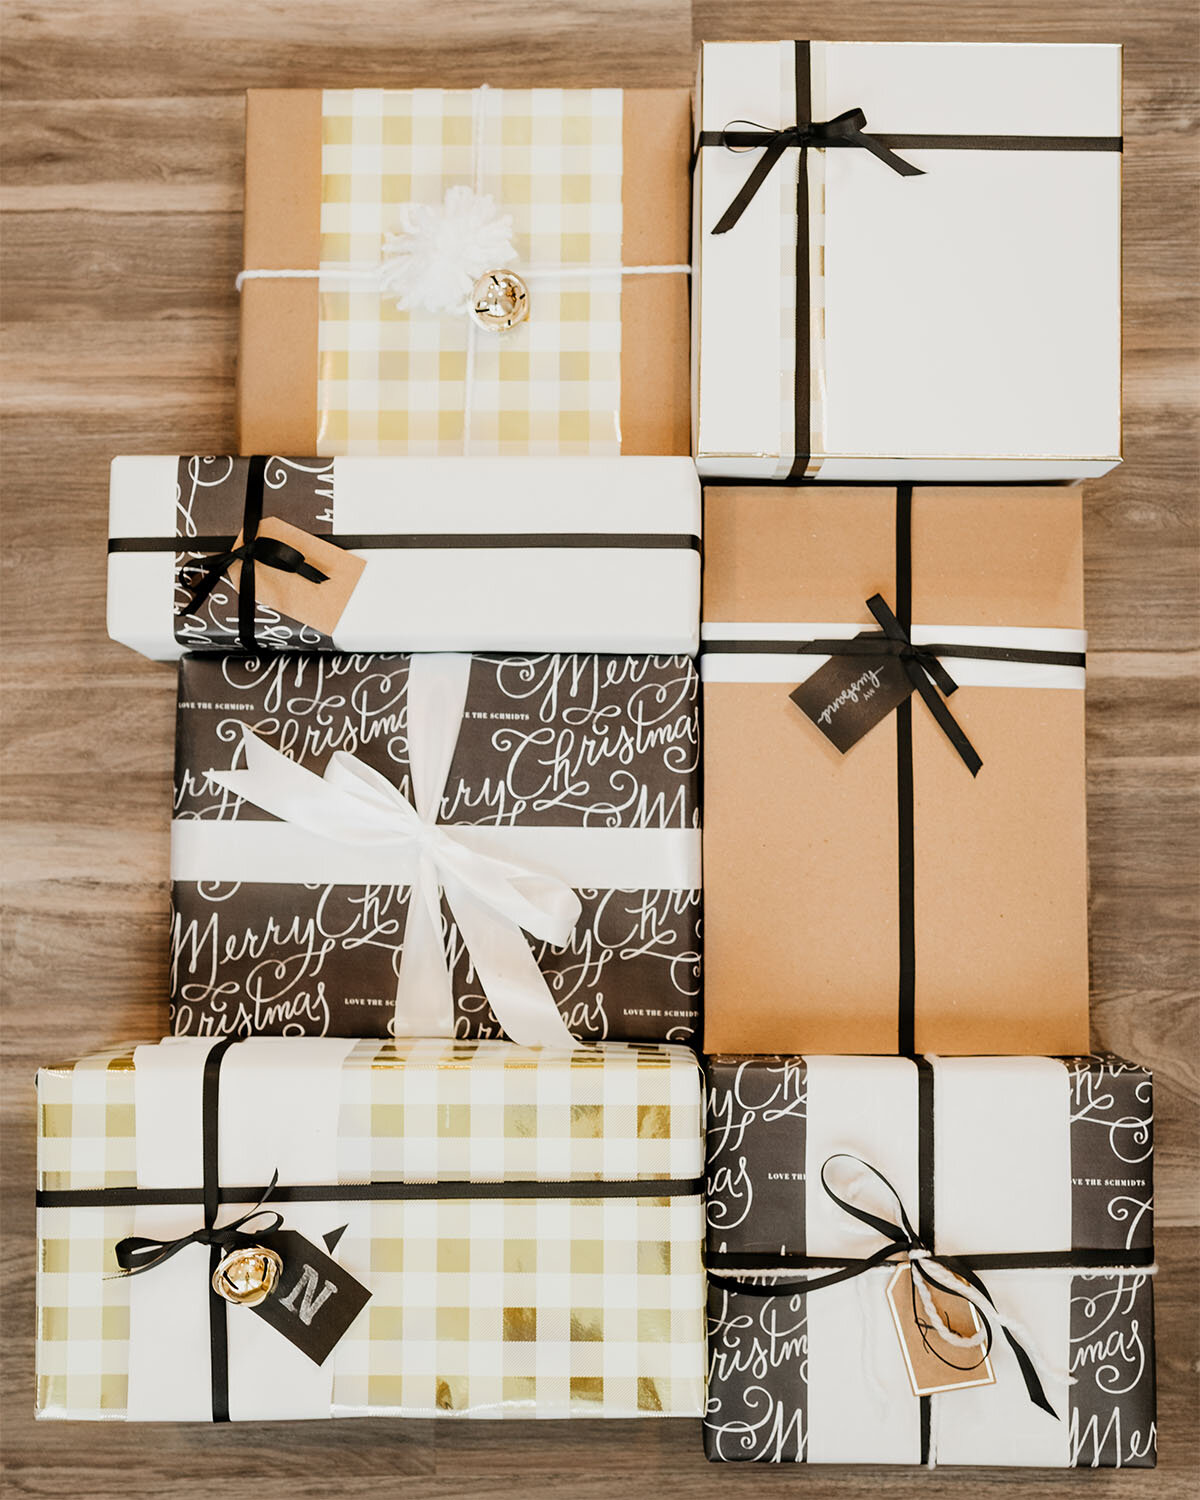
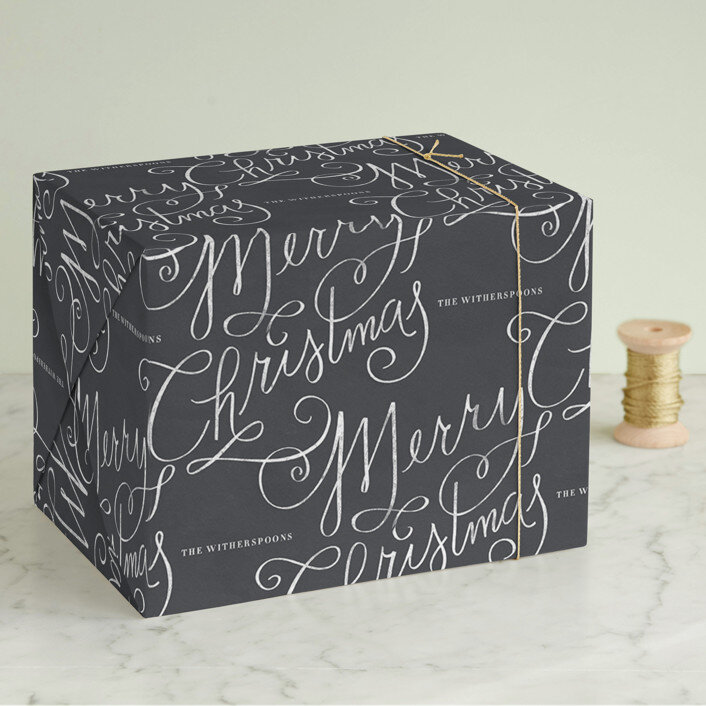
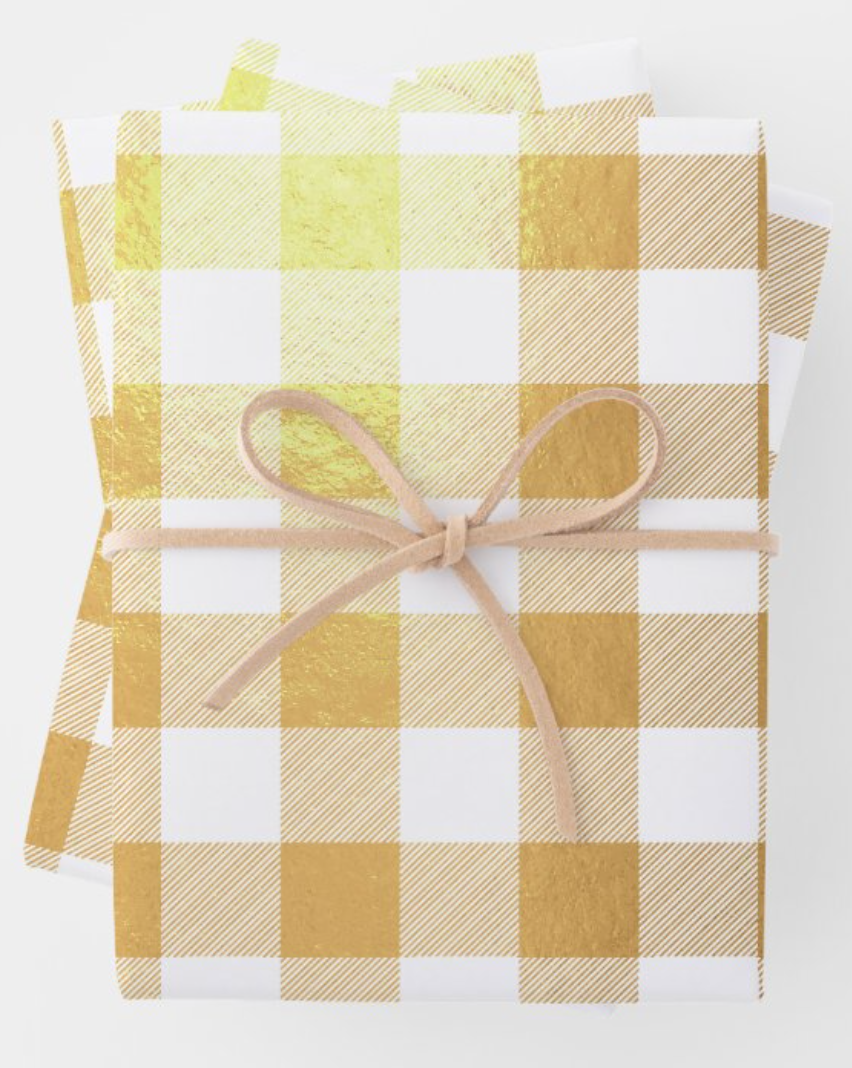
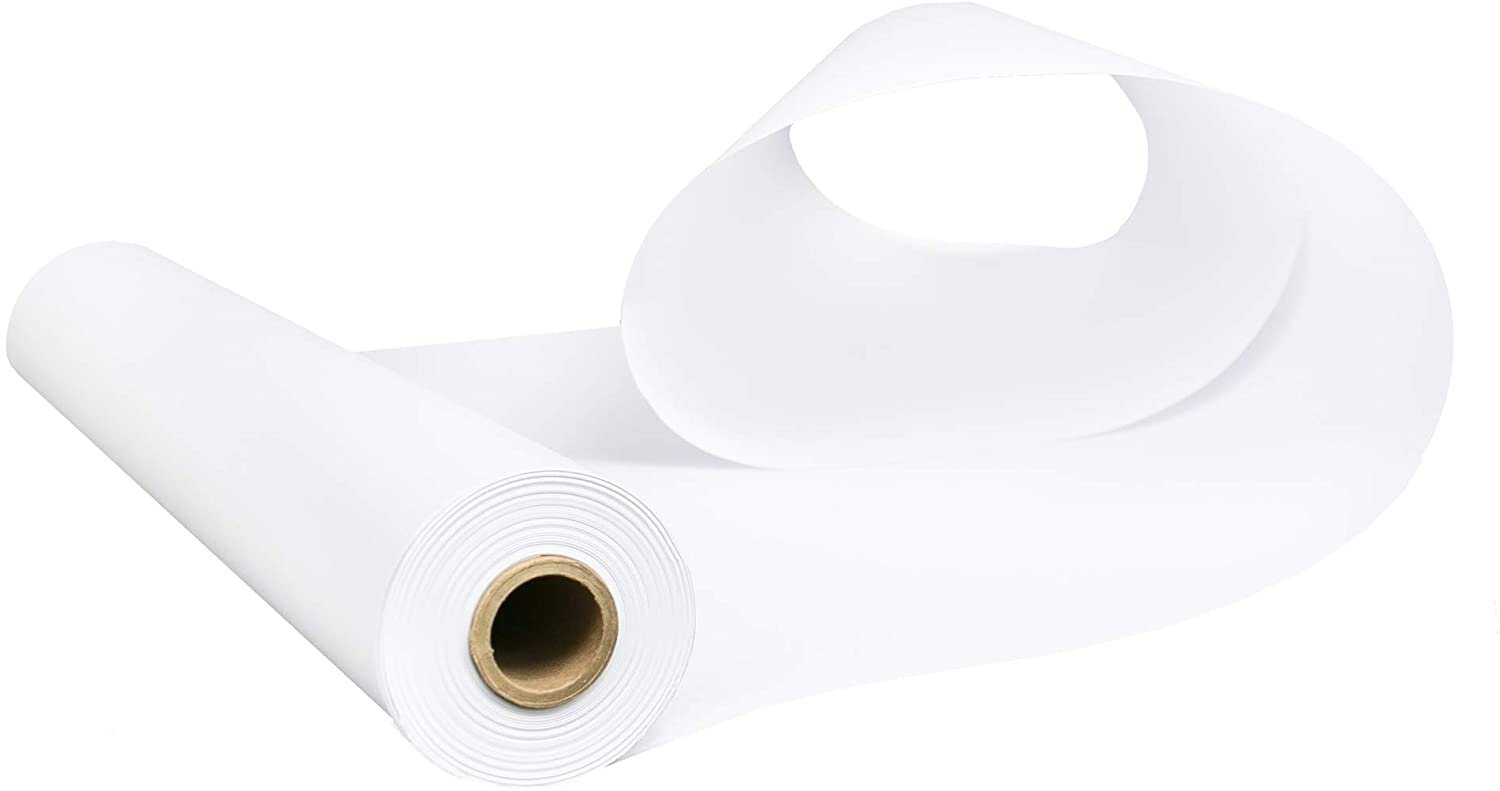
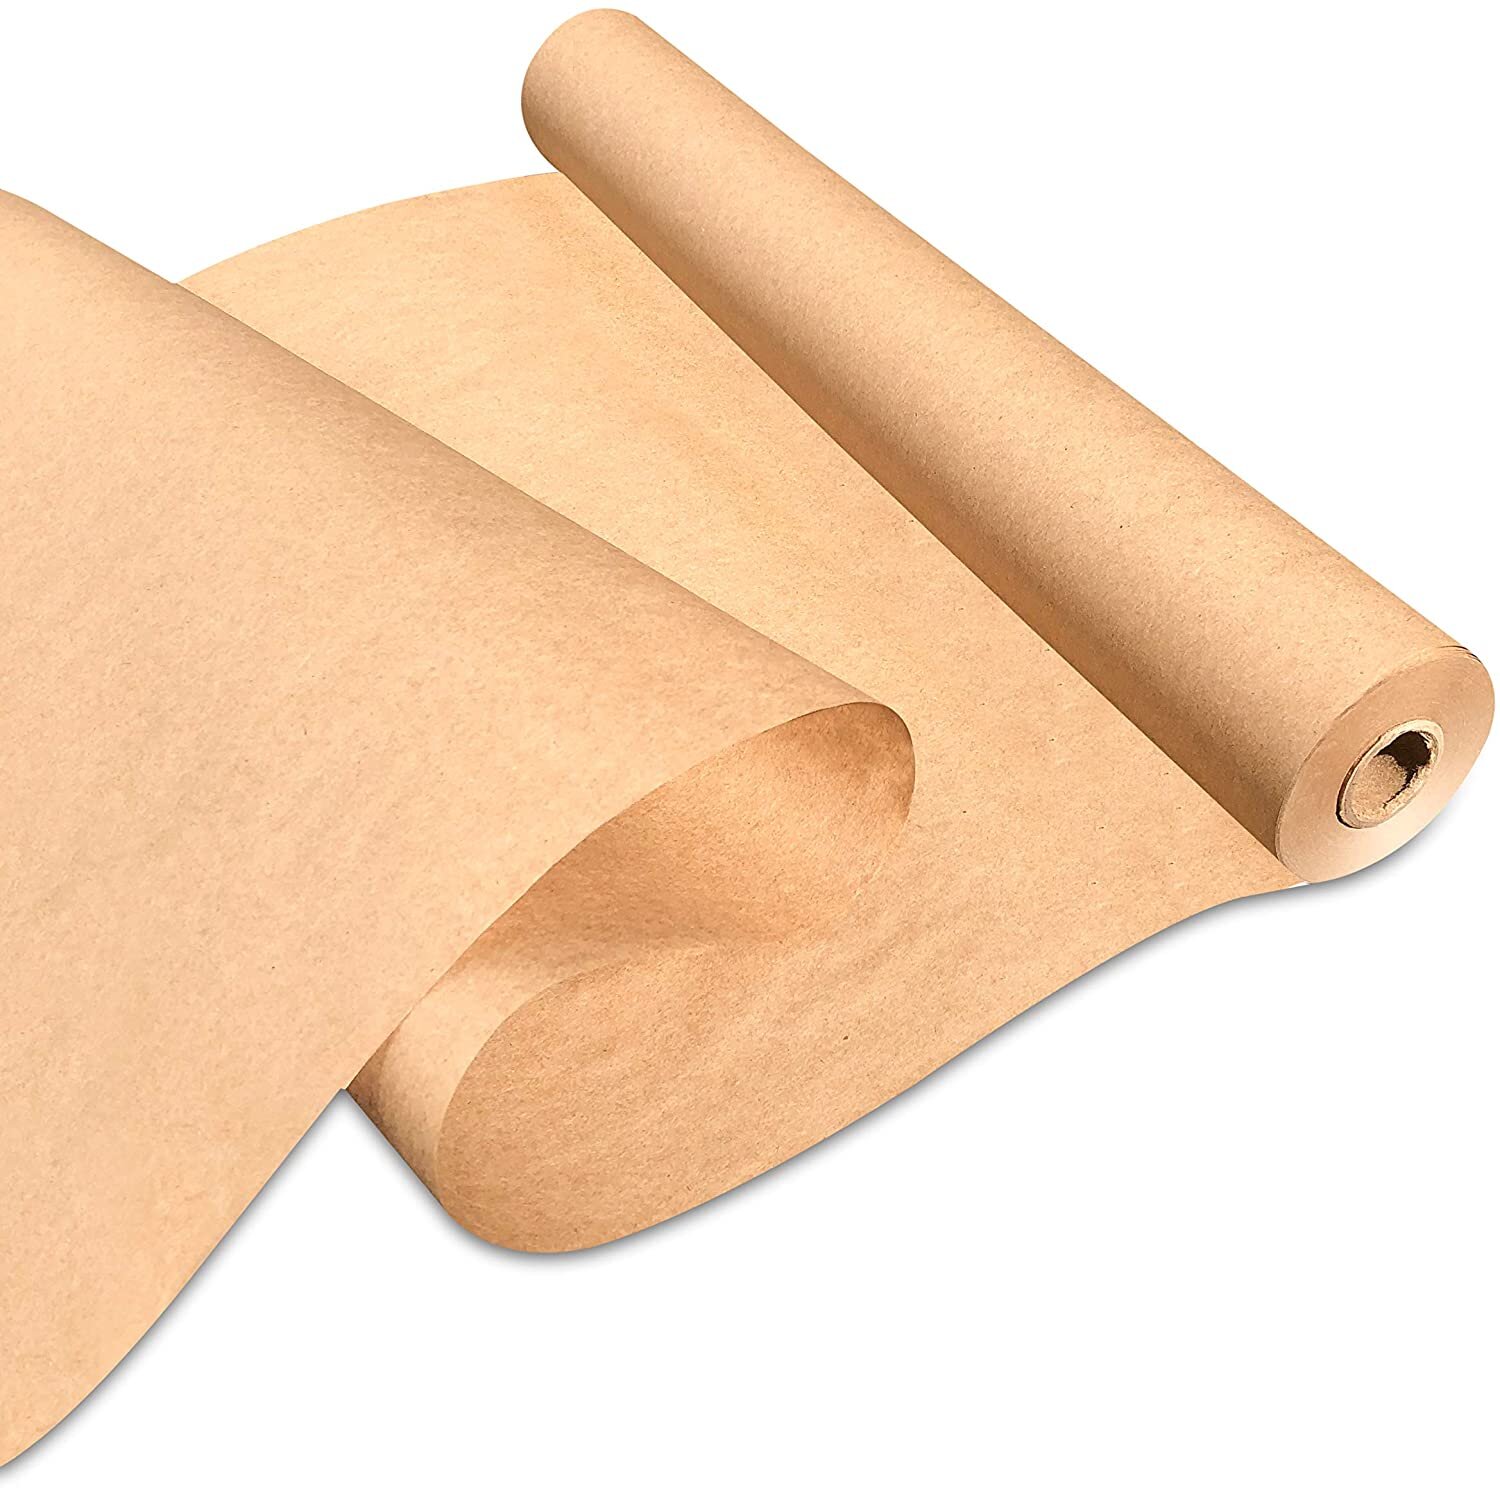
Christmas day is only one week away, which means it’s time to start wrapping gifts and placing them under the tree. This year I decided to stick to a theme with my gift wrapping paper, gift tags, ribbons, etc. I picked out two pattern wrapping papers and two solid-color gift wrap options to create contrast. I also purchased two types of ribbon, yarn, gift tags, and jingle bells to make each gift feel unique and special.
Shop Gift Wrapping Supplies
How to Measure Wrapping Paper
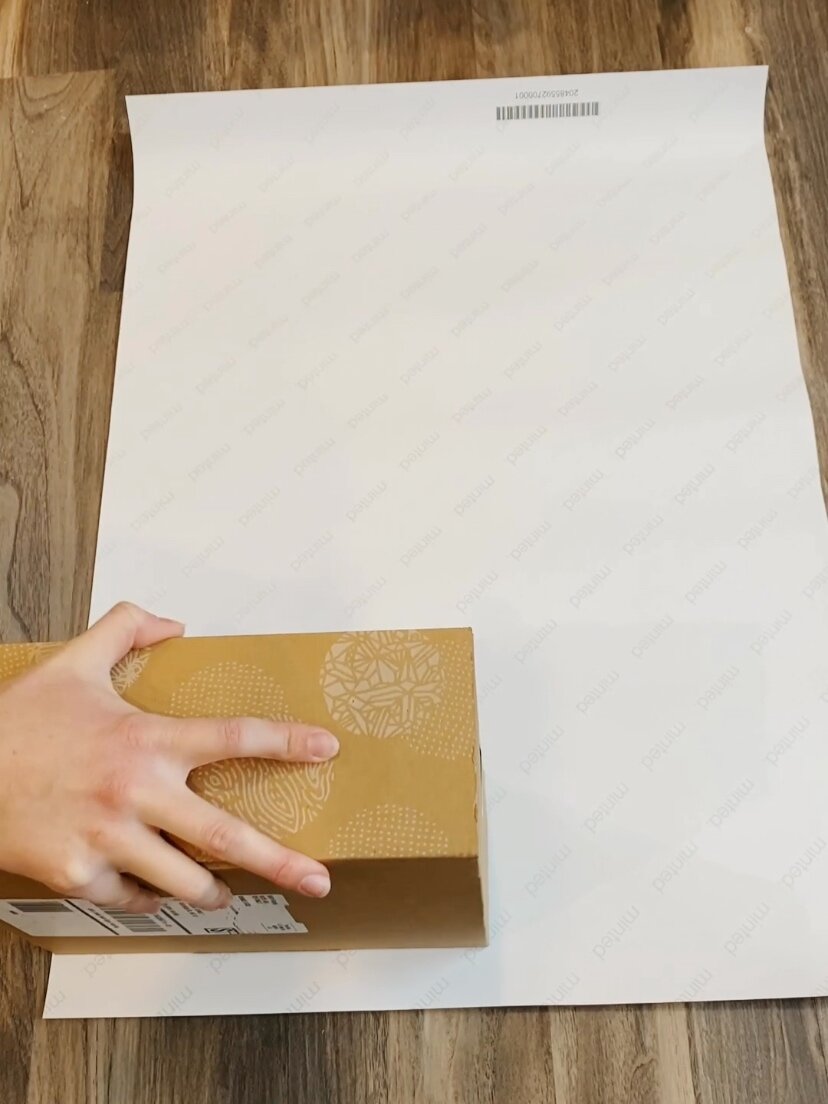
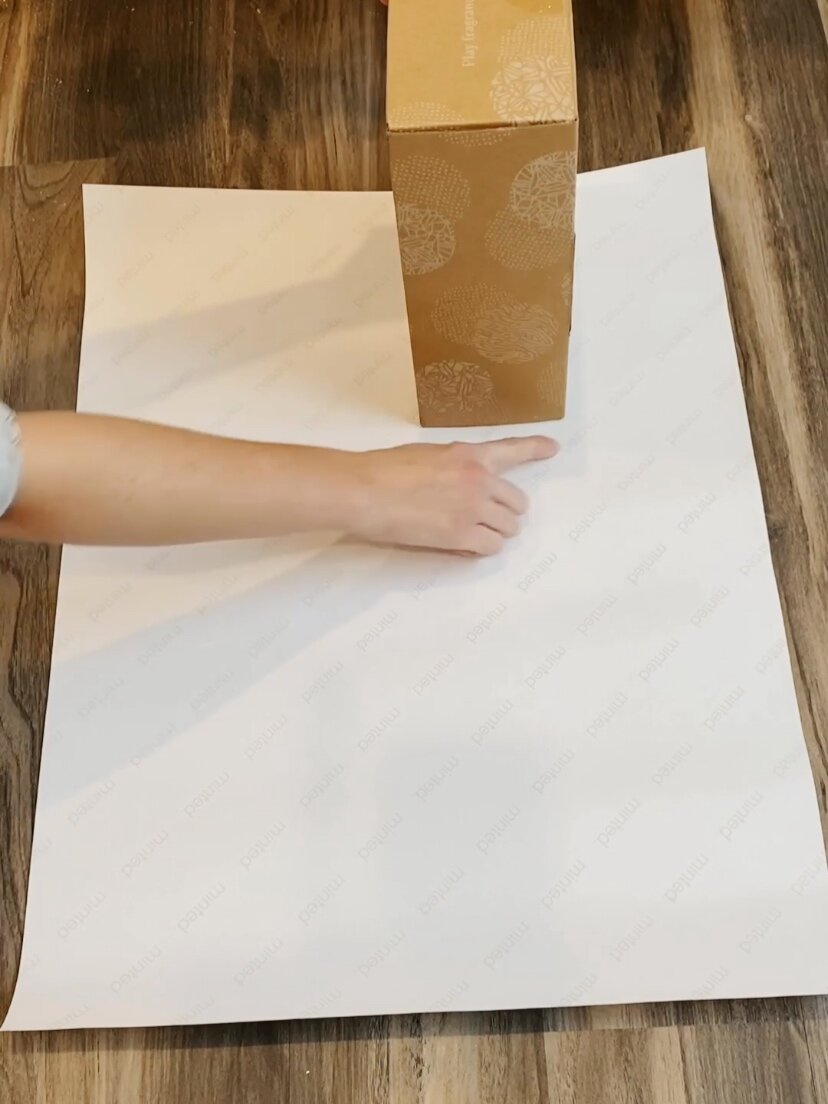
Start by placing the gift box in the corner of your wrapping paper. In the example below, I am using a wrapping paper sheet. This same process also works on a roll of wrapping paper. Make sure the longest side of the box is touching the longest edge of wrapping paper.
Without moving the box out of line, flip it onto its side and mark where it lands on the paper. Continue flipping and marking the package until all four sides have been facing upward. Wherever the box lands on that last flip indicated where you need to cut that side of the paper. An example of this step is shown below in step number five. Trim the wrapping paper and return the box to the same corner you started with in step one. Next, flip the box along the other edge of the corner, just once. Wherever the box lands in this step also indicated where you need to cut this side of the wrapping paper. See step number eight below for reference.
I just learned this trick for measuring the exact size of wrapping paper needed. It’s such a game-changer! Not only will this make wrapping gifts easier, but it will also help you save wrapping paper.
#block-yui_3_17_2_1_1608243920848_6319 .sqs-gallery-block-grid .sqs-gallery-design-grid { margin-right: -10px; }
#block-yui_3_17_2_1_1608243920848_6319 .sqs-gallery-block-grid .sqs-gallery-design-grid-slide .margin-wrapper { margin-right: 10px; margin-bottom: 10px; }
Save Gift Wrap Scraps
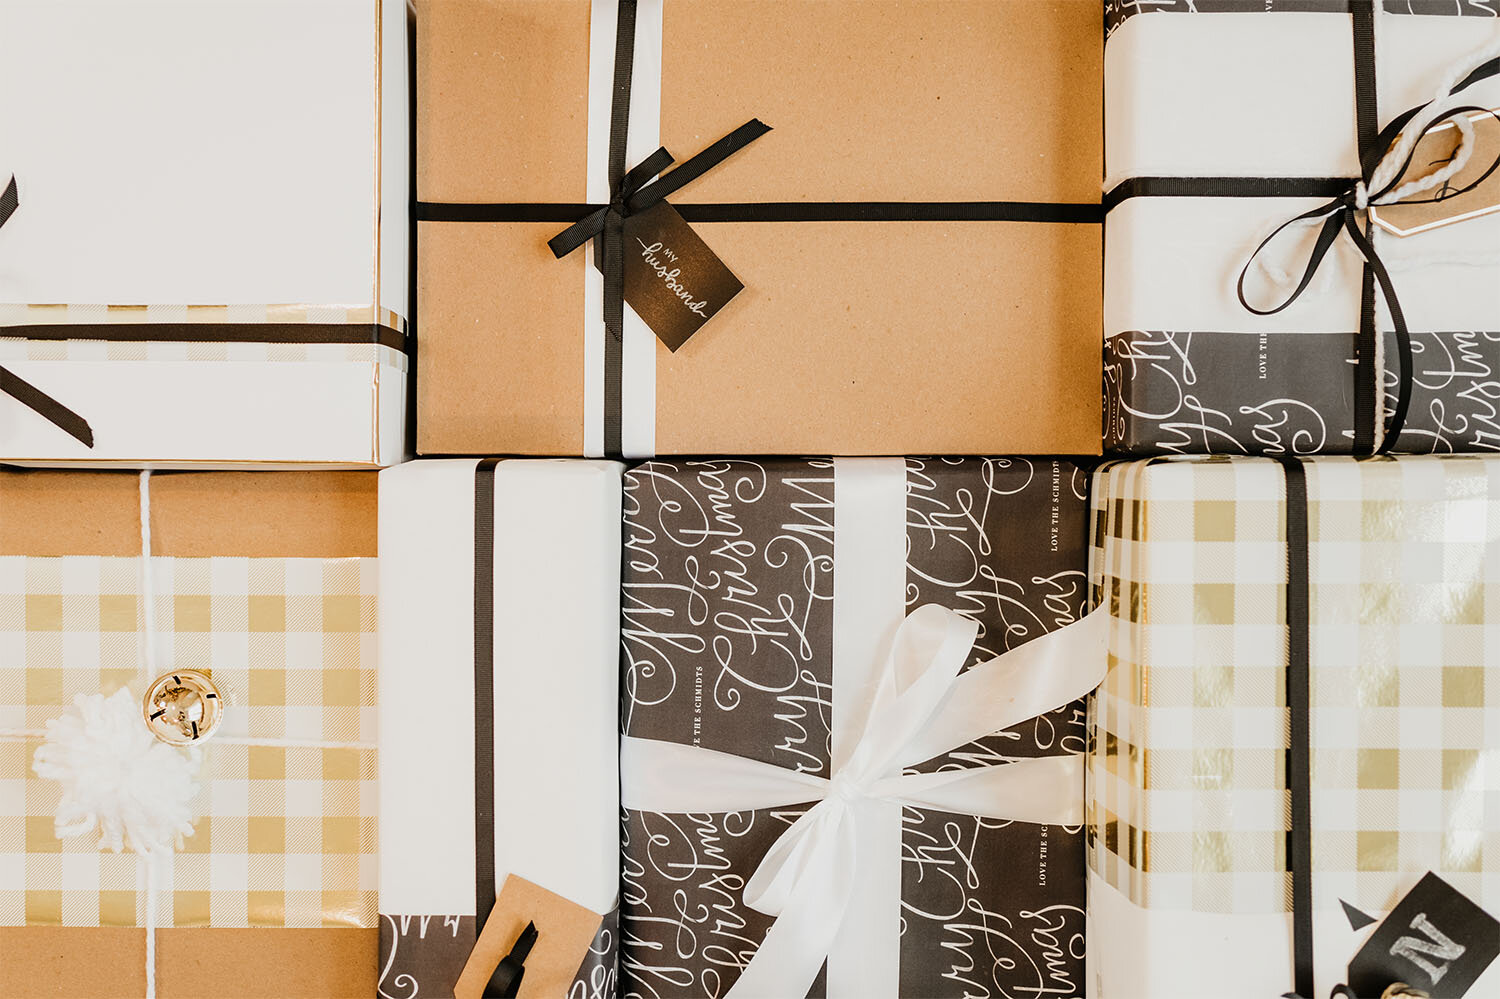
Speaking of saving paper, don’t wad up your gift wrap cuttings after finding the correct size paper. You can use these scraps to create a layering effect on other gifts. This holiday gift wrapping idea is so easy and will make your gift wrapping skills look even more elevated. Check out some of the examples of wrapping paper layering I did this year below.
Get Creative With Ribbon, Yarn & String
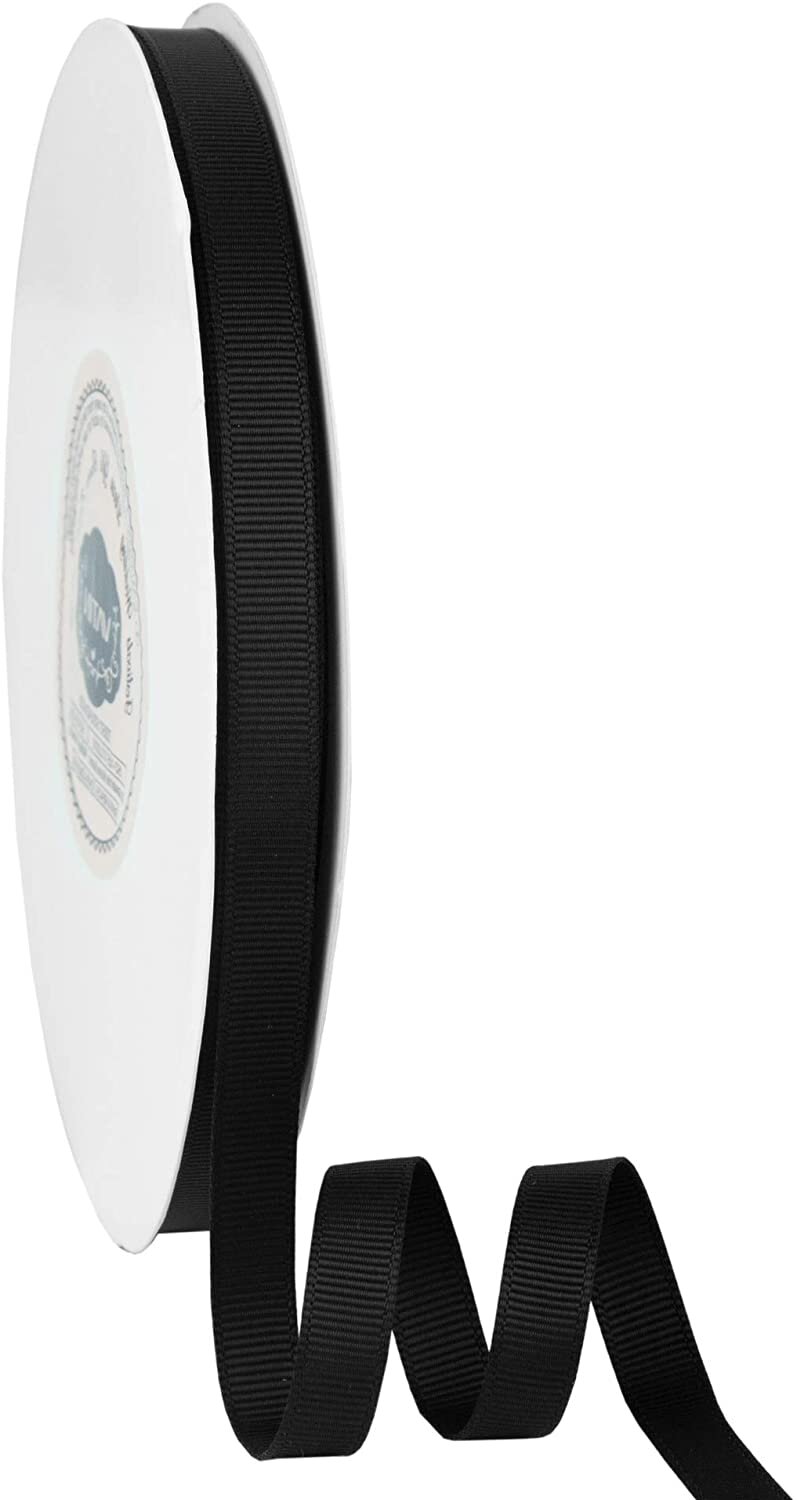
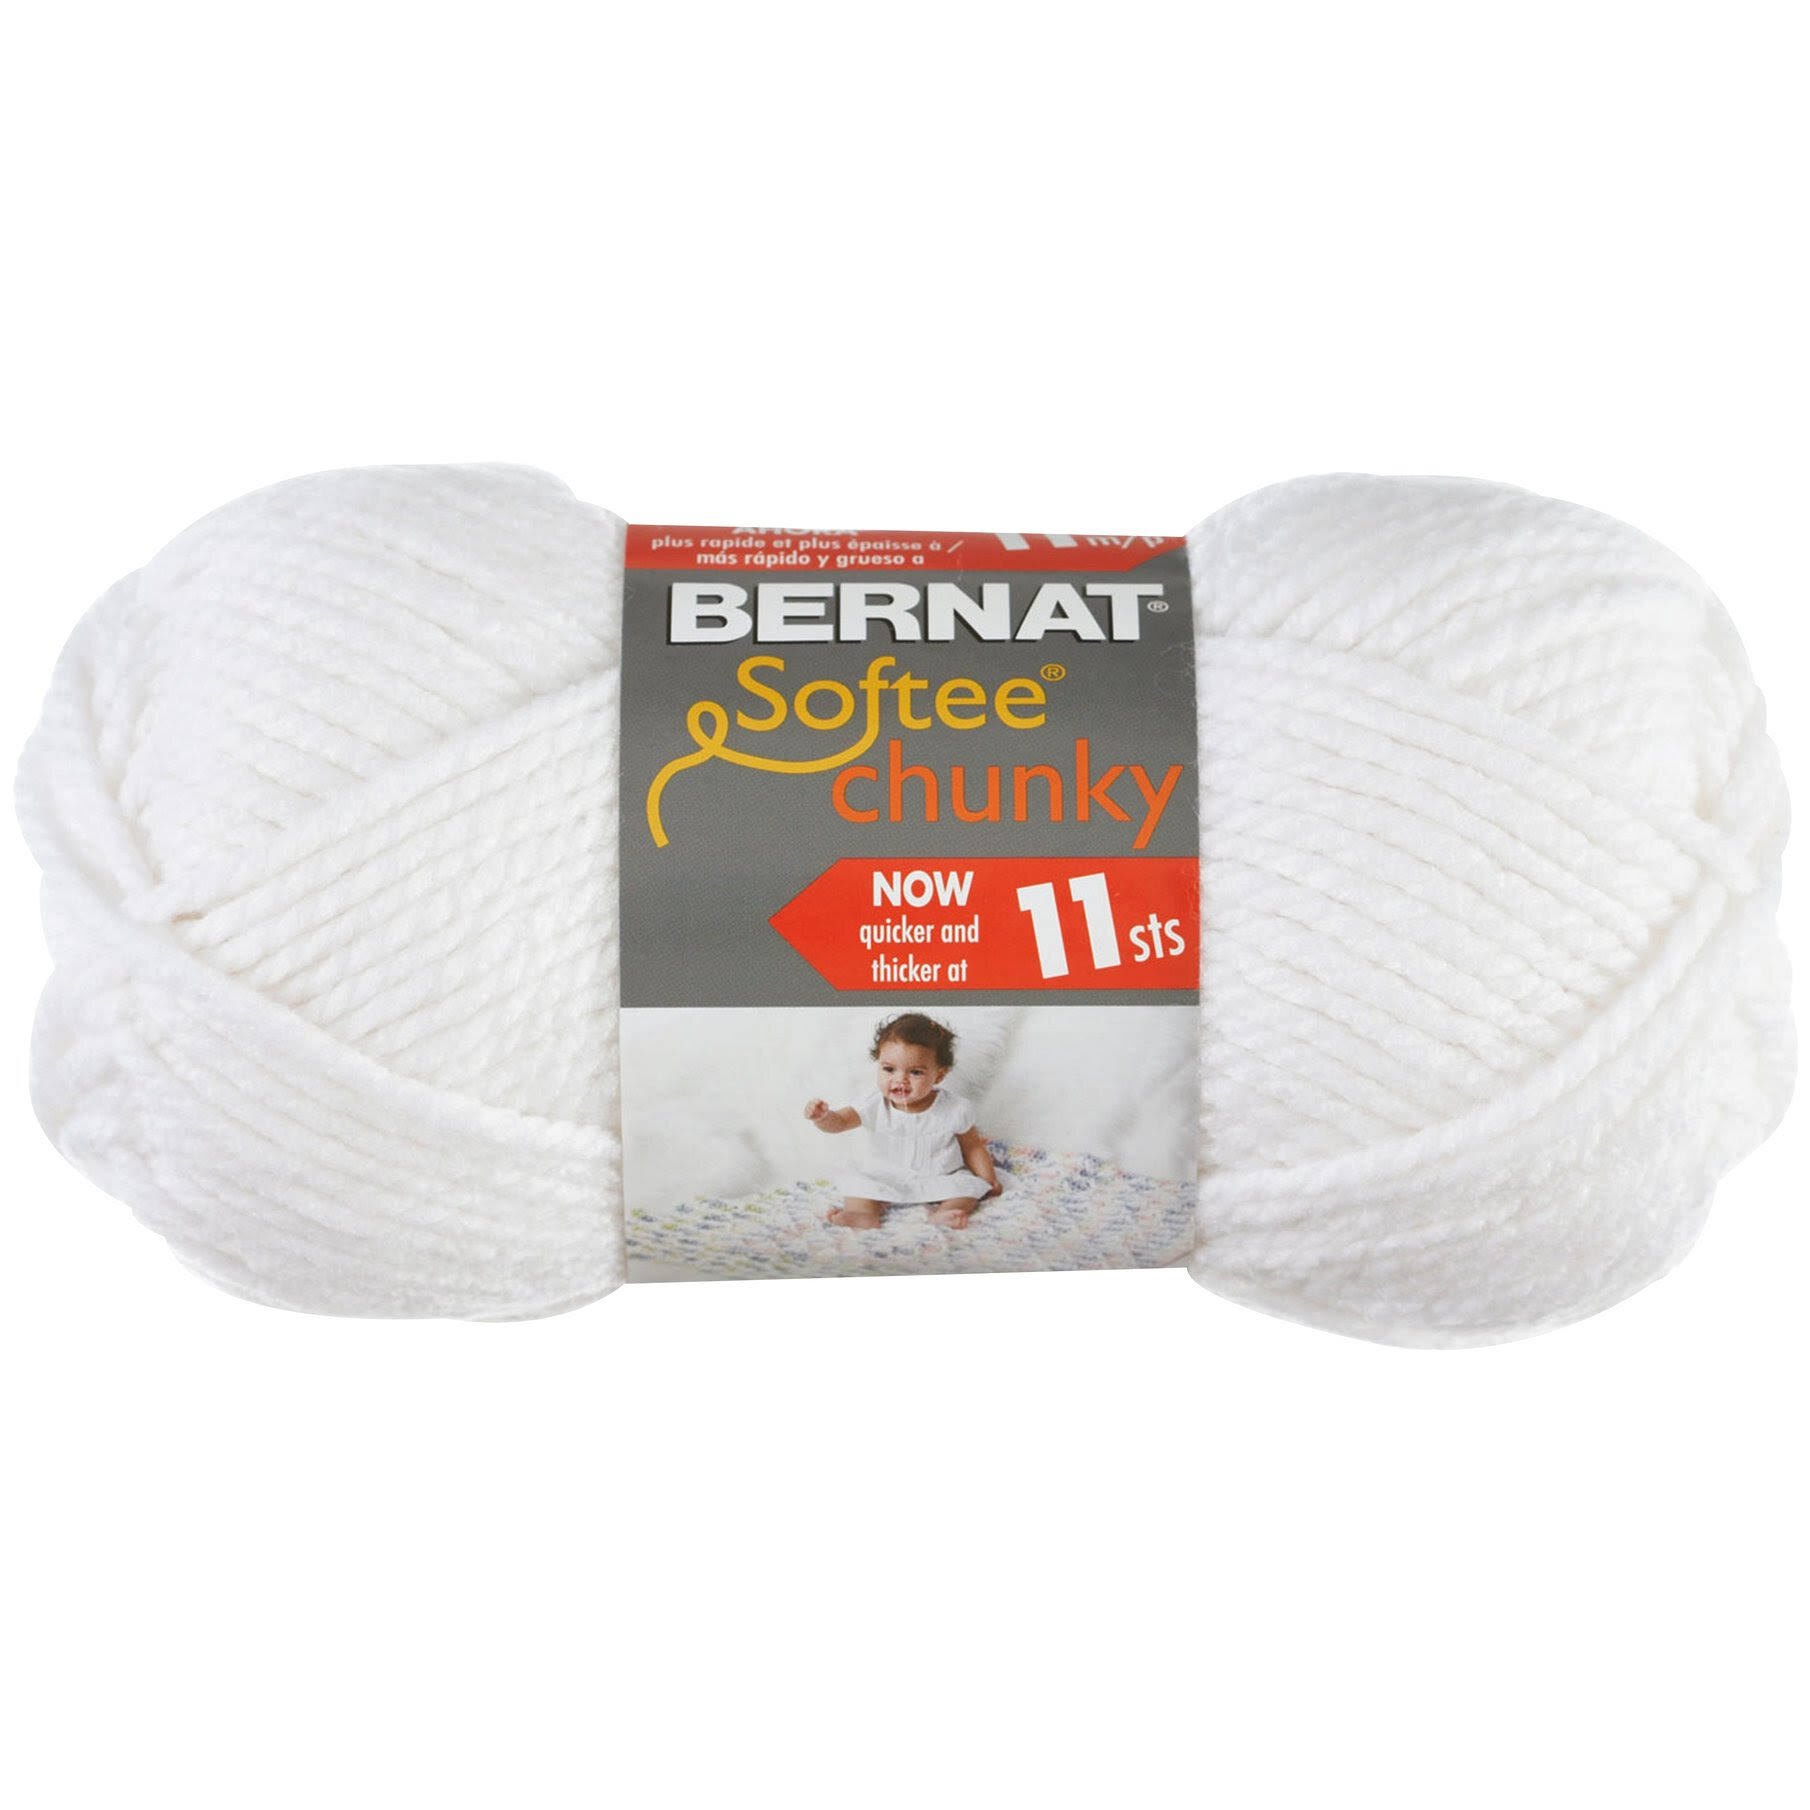
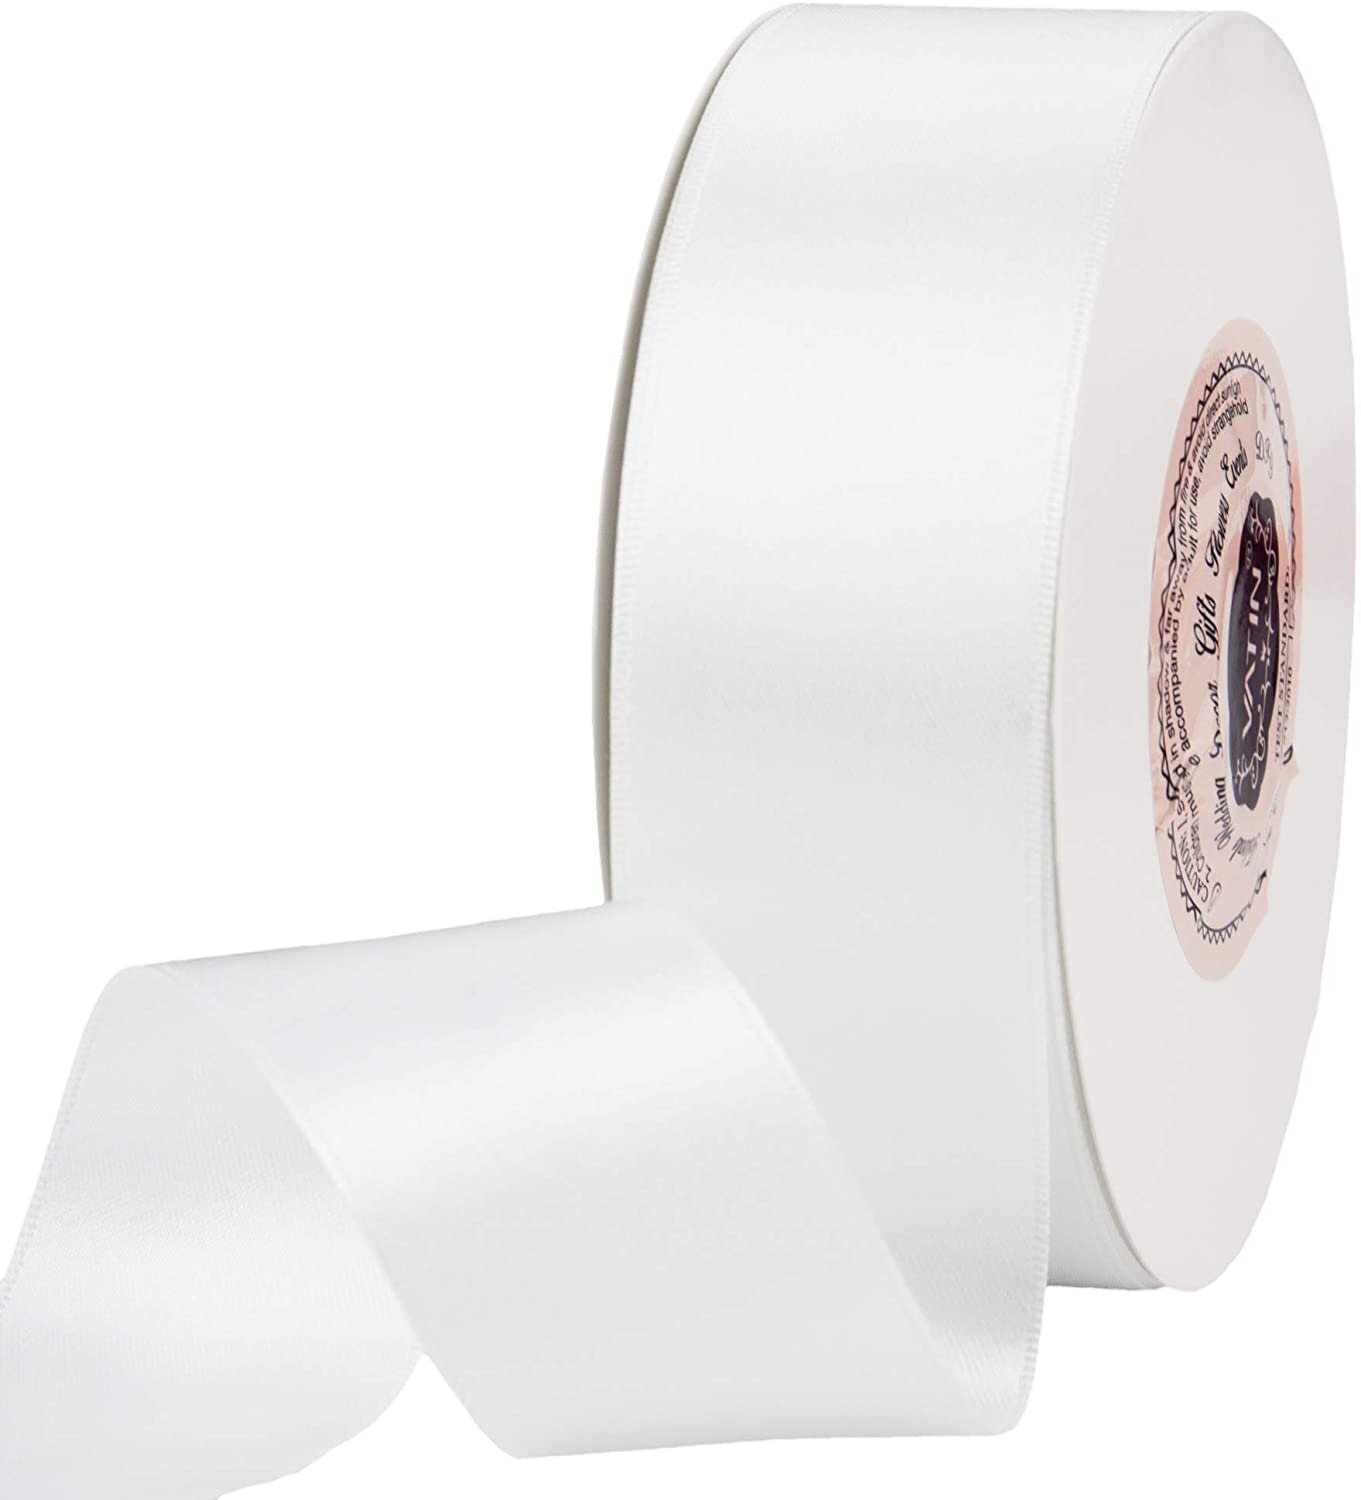
I don’t think I will ever go back to using the store-bought bows after using these high-quality ribbons from Amazon. I absolutely love the classic look of a big, thick ribbon bow in the center of a package. I also had fun layering ribbon or using ribbon and yarn tied together to create a bow.
Add Finishing Touches
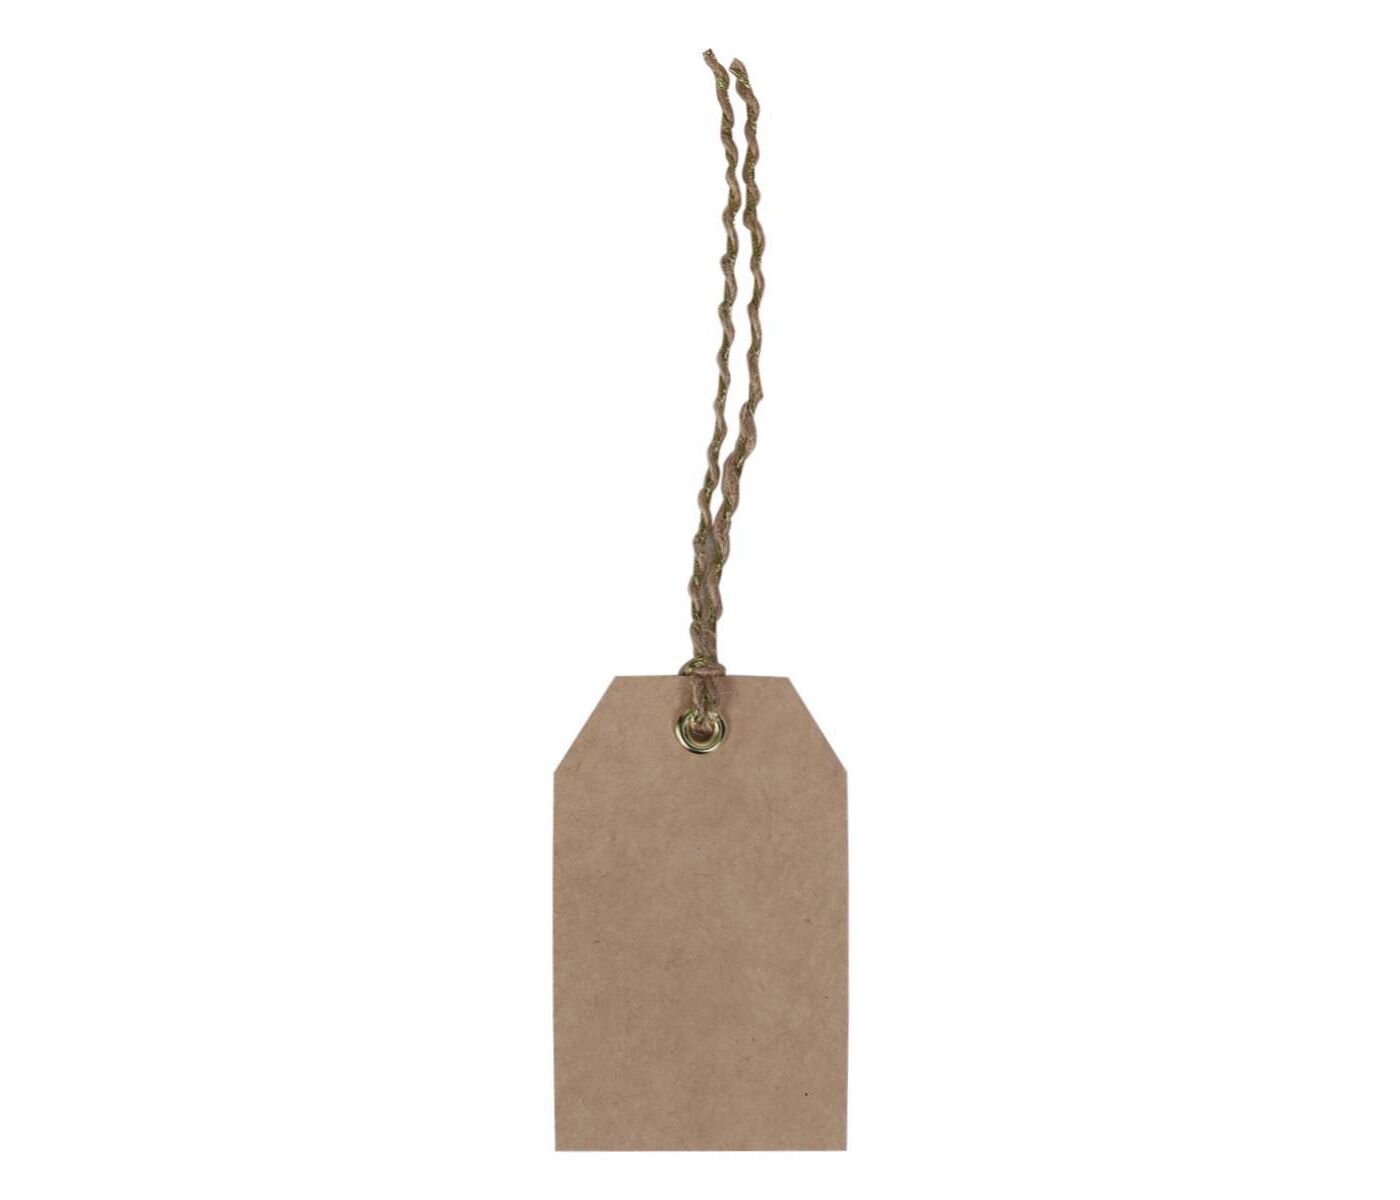
There are so many ways to add a little something extra on top of a wrapped gift is make it special and unique. From an ornament and piece of greenery to cinnamon sticks, you can’t go wrong! I decided to add cute little jingle bells, hand-made pom poms, and craft paper gift tags to the presents I wrapped this year. I even wrote out names and initials by hand on the gift tags to add a personal touch.
Wrapping presents can seem daunting, especially if you have lots of gifts to wrap and are not confident with making a clean presentation. As I mentioned above, taking the time to learn how to measure out wrapping paper and pay attention to small details helped make gift wrapping more fun this year. I hope you found this post inspiring and maybe even learned something new. I would LOVE to see what your wrapped presents look like this year, so feel free to tag me or shoot me a photo of your spread on Instagram.
Happy Holidays!













Read More →