
Lorem ipsum dolor sit amet, consectetur adipiscing elit. Quisque ut ullamcorper libero. Cras lacinia aliquet mauris, nec semper enim vulputate vitae. Mauris nec nisi congue sem suscipit lacinia nec eget libero. Integer bibendum, mi eu pretium sagittis, arcu dui gravida elit, vel aliquam odio ante eu lectus. Curabitur id vehicula ex.
explore
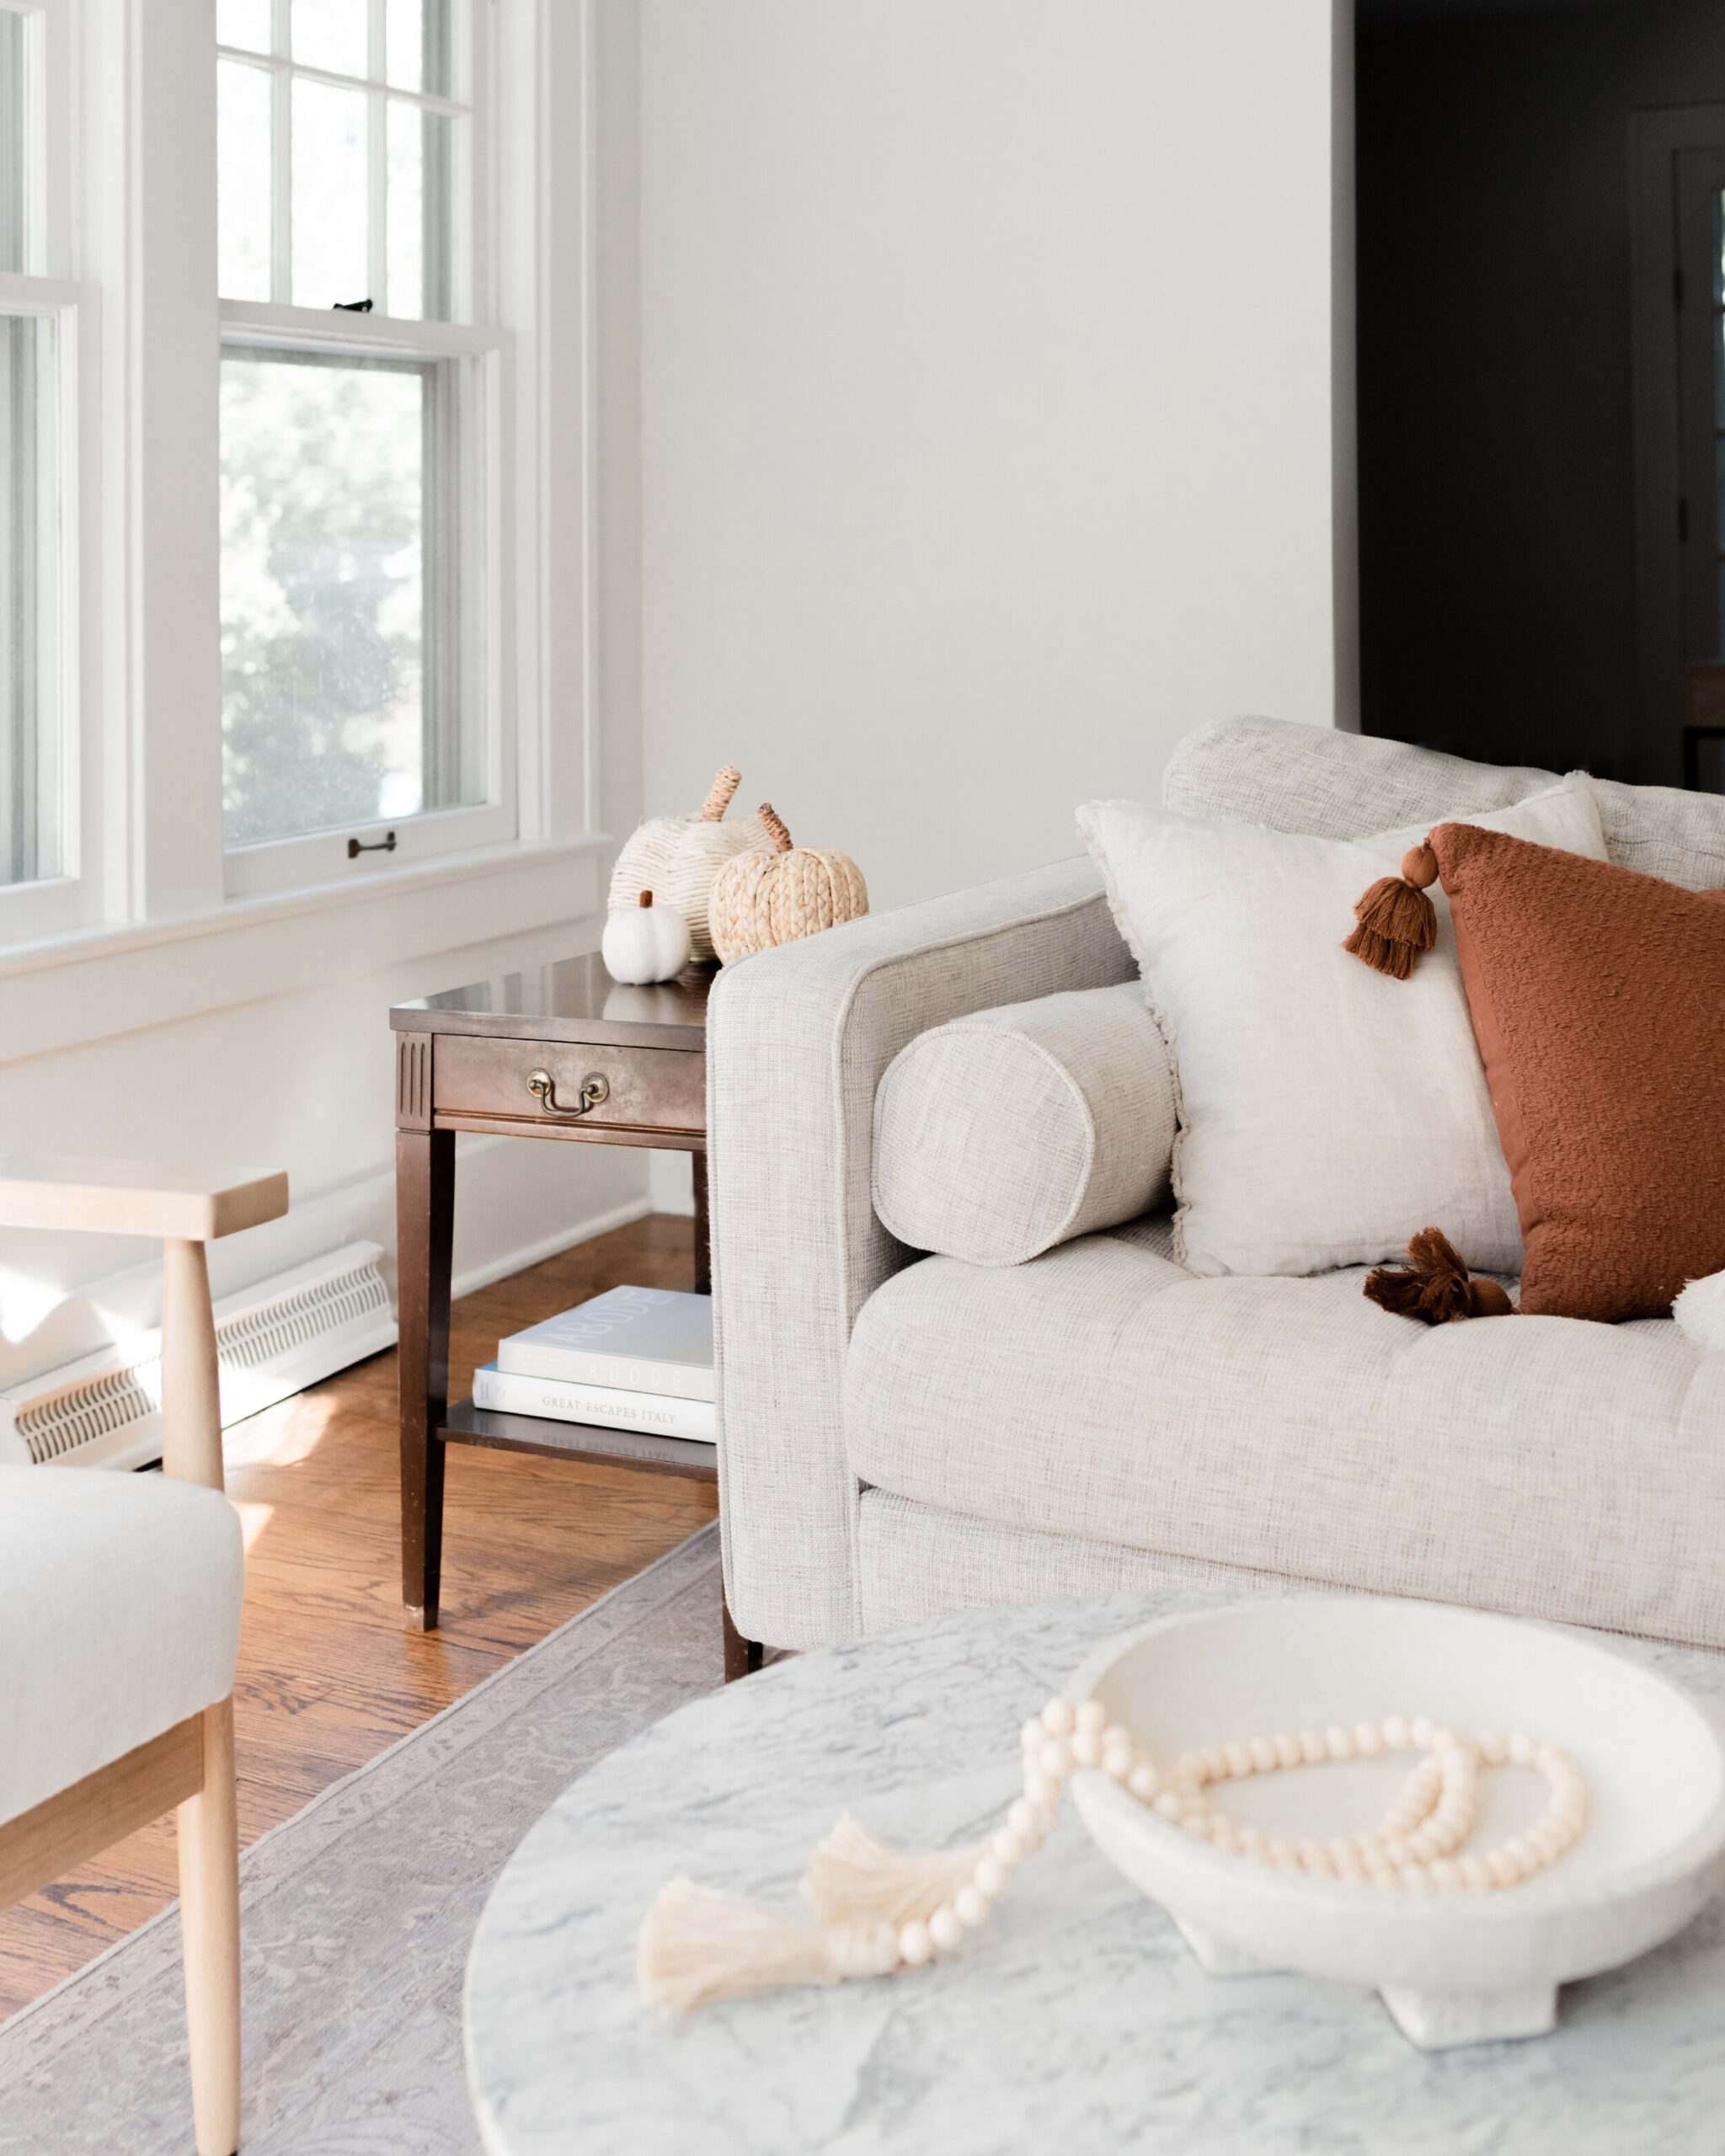
welcome to our
home on the web
Weddings
Portraits
Engagements
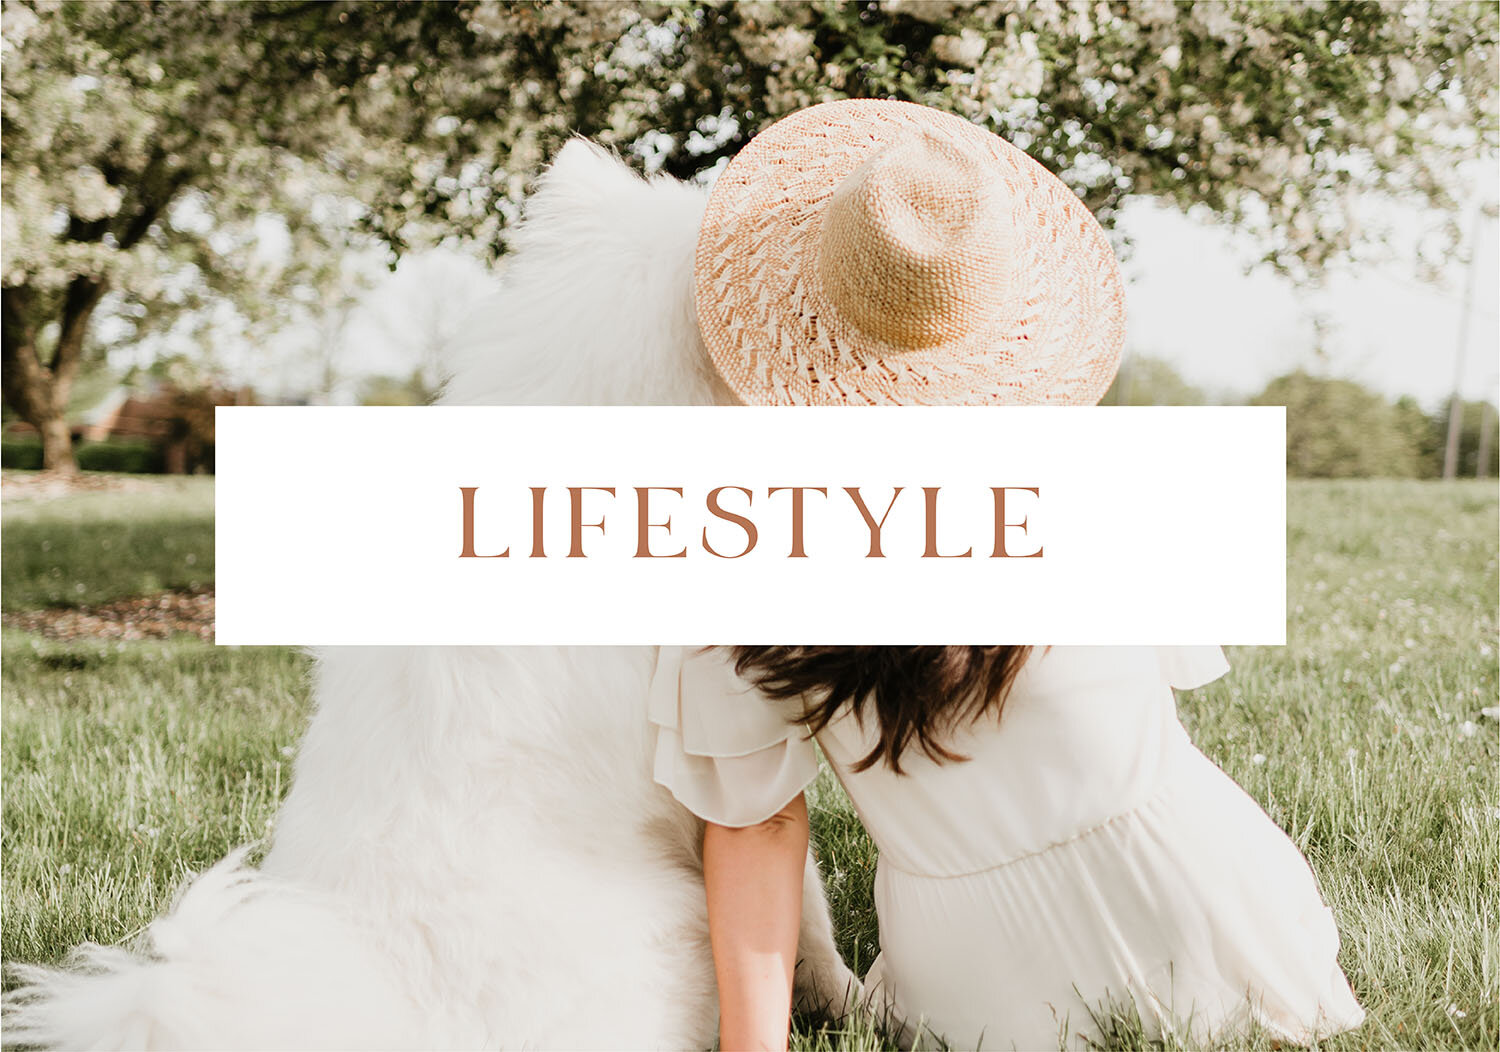
personal
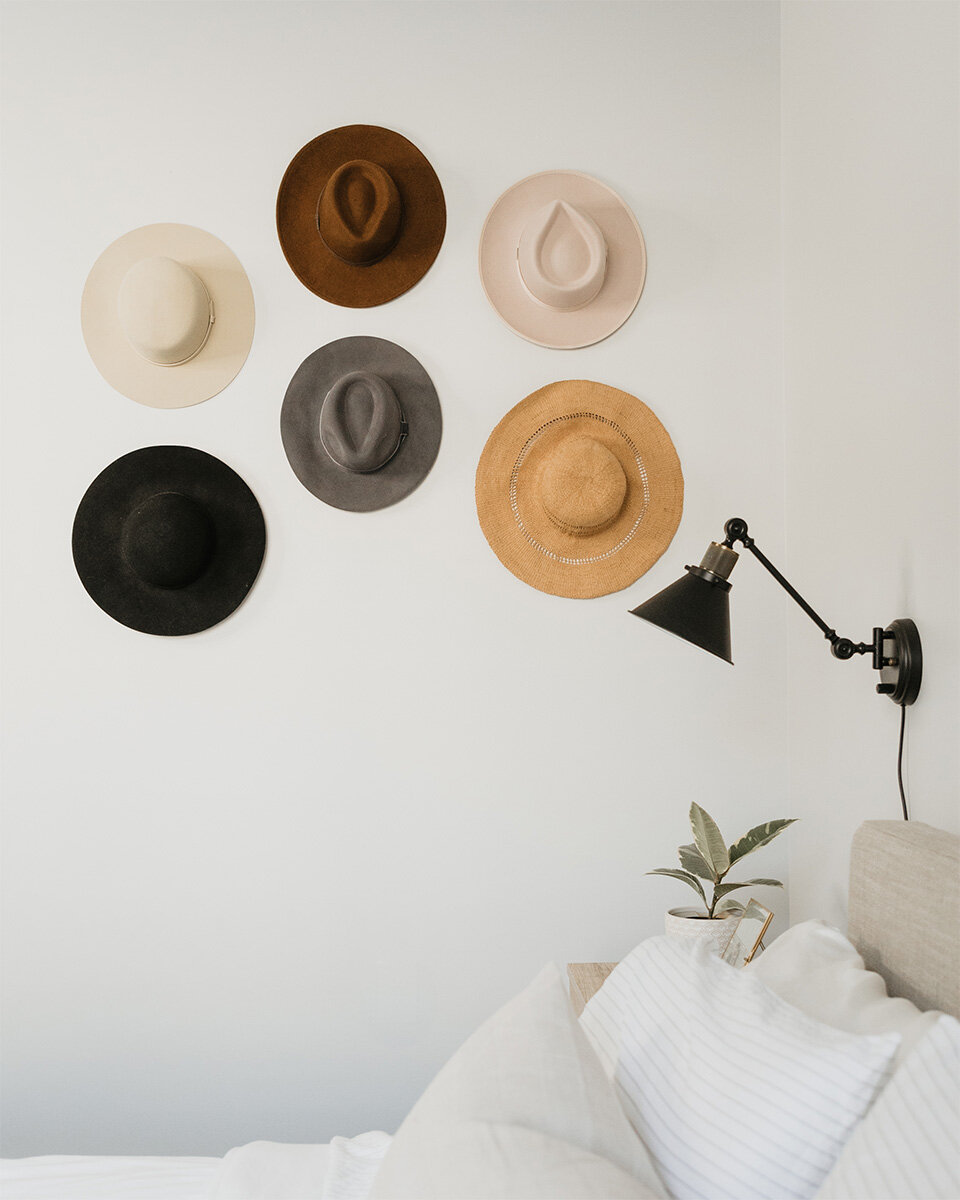
How to Functionally store hats as a wall decor
Do you have a collection of wide-brim hats in your wardrobe that you have a hard time finding space for in your closet? Hanging hats on a wall is an easy way to store your hats and create a fun home decor element. This is a great way to bring color and texture into an interior space and display some of your favorite hat accessories. Below I have listed my top five tips for creating a beautiful and functional DIY hat wall.
5 Tips For Creating a Hat Wall
-
Decide if you want hats to overlap or not – I have seen some cute hat walls these the brims of the hats overlap in an effortless look. For the hats I was working with, I felt they would look best evenly spaced out with a few inches in-between on all sides. There is no right or wrong way, just make sure to be consistent across the wall.
-
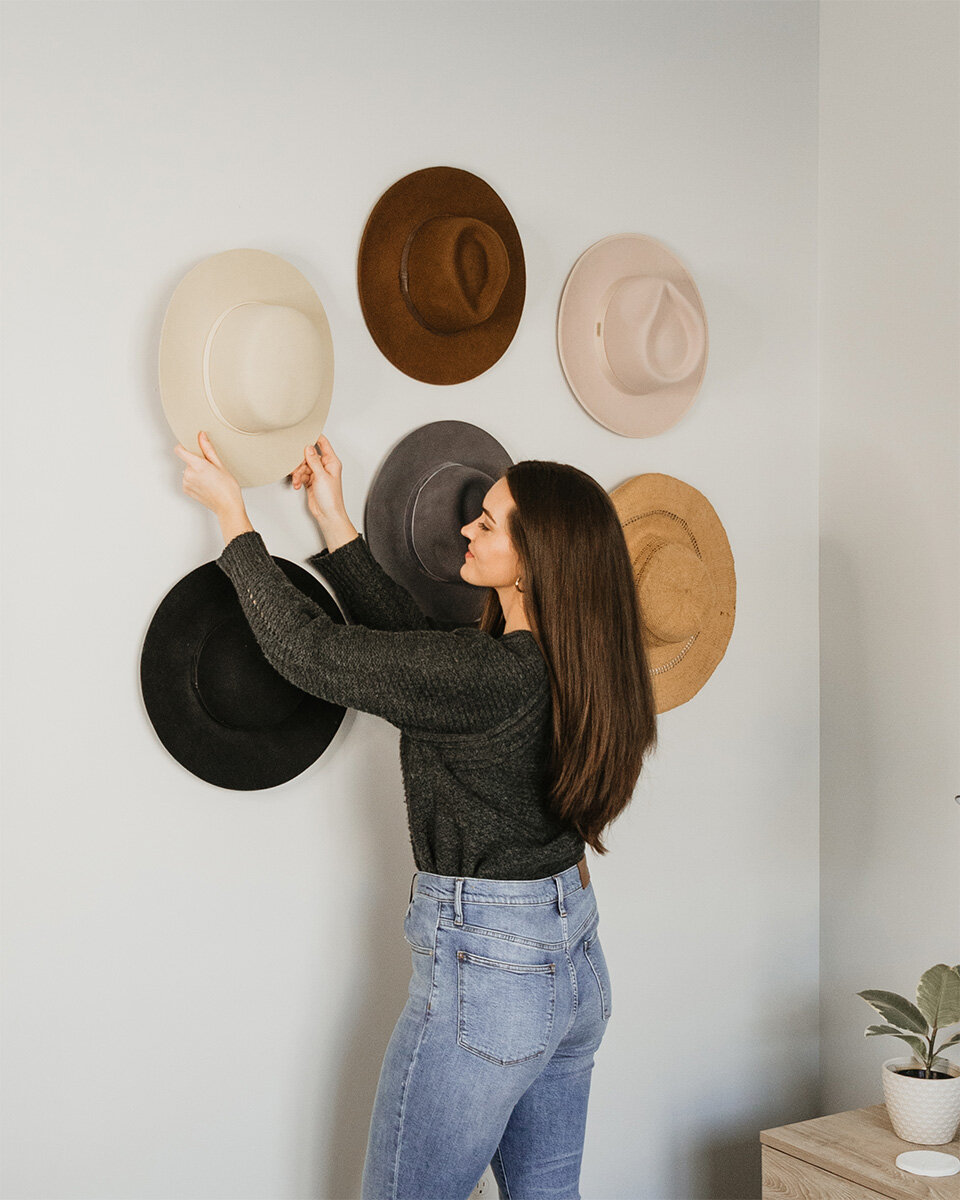
Use thumbtacks instead of nails – I opted to stay away from nails while hanging my hat wall in case I wanted to move the hats around a bit to achieve the desired look. I ended up not moving them but love knowing I can easily switch it up anytime with little to no damage to the wall.
-
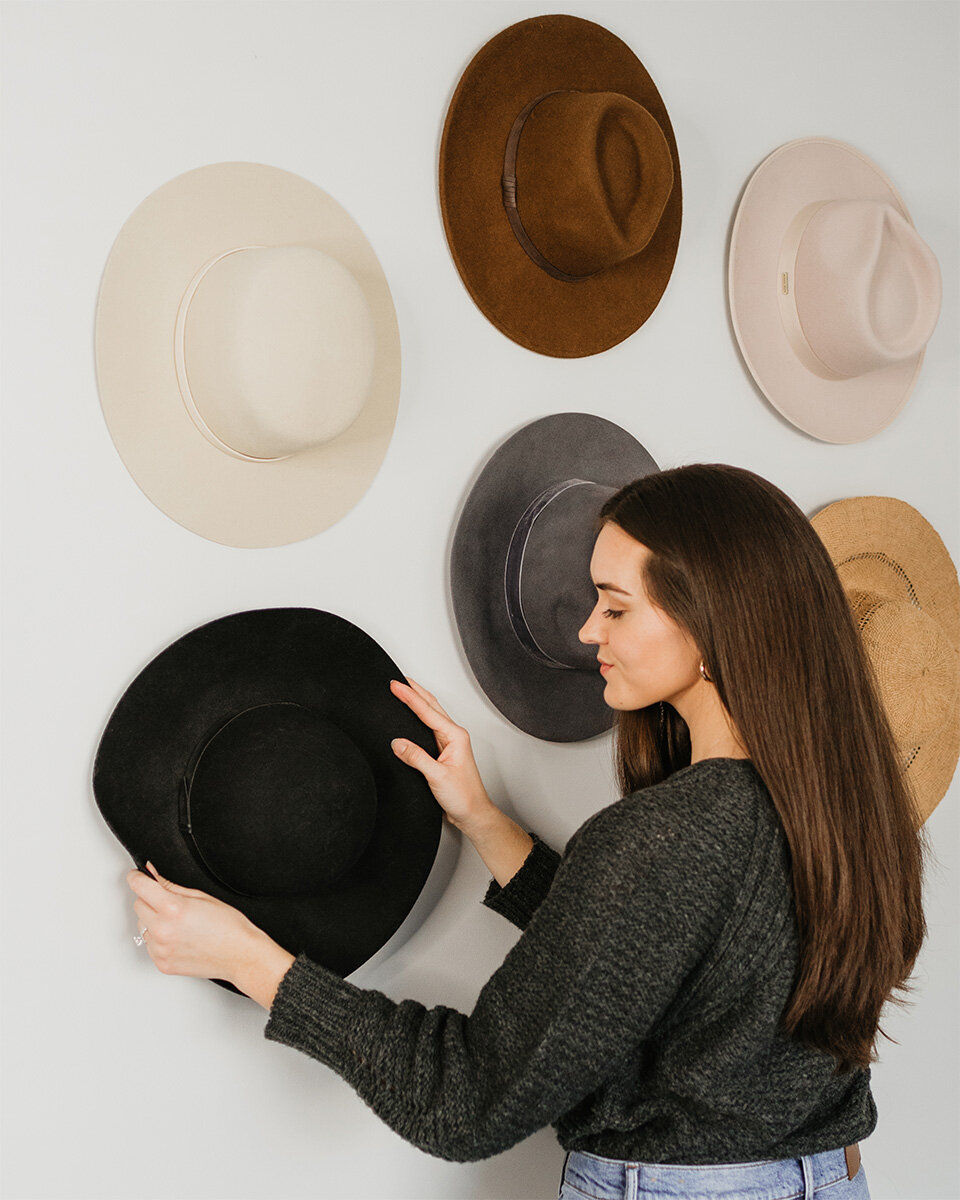
Hang larger hats at the bottom – If all of your hats are close to the same size this step isn’t too critical. However, if you have one or more hats that are slightly larger than the rest, the wall will likely look more balanced if the larger hats are hung at the bottom vs. the top.
-
Mix lights and darks – To avoid the wall feeling lopsided, be sure to not have all the darker hats on one side and all the lighter hats on the other. I recommend laying out the hats on the ground or other flat surface to figure out how you would like them to be arranged on the wall before placing any thumbtacks, nails, or hooks.
-
Make the hat wall functional – Since you are using part of your wardrobe as a decor element, it’s important to keep in mind that you will still want to wear these accessories. Place the hats at a height you can easily reach to grab and go.
#block-yui_3_17_2_1_1610303890521_73230 .sqs-gallery-block-grid .sqs-gallery-design-grid { margin-right: -10px; }
#block-yui_3_17_2_1_1610303890521_73230 .sqs-gallery-block-grid .sqs-gallery-design-grid-slide .margin-wrapper { margin-right: 10px; margin-bottom: 10px; }
I hope you found these five tips for creating a balanced and practical DIY hat wall helpful. If this post inspires you to create a home wall decor element out of wide-brim hats, be sure to send me a photo on Instagram so I can see your creation!
shop hats below
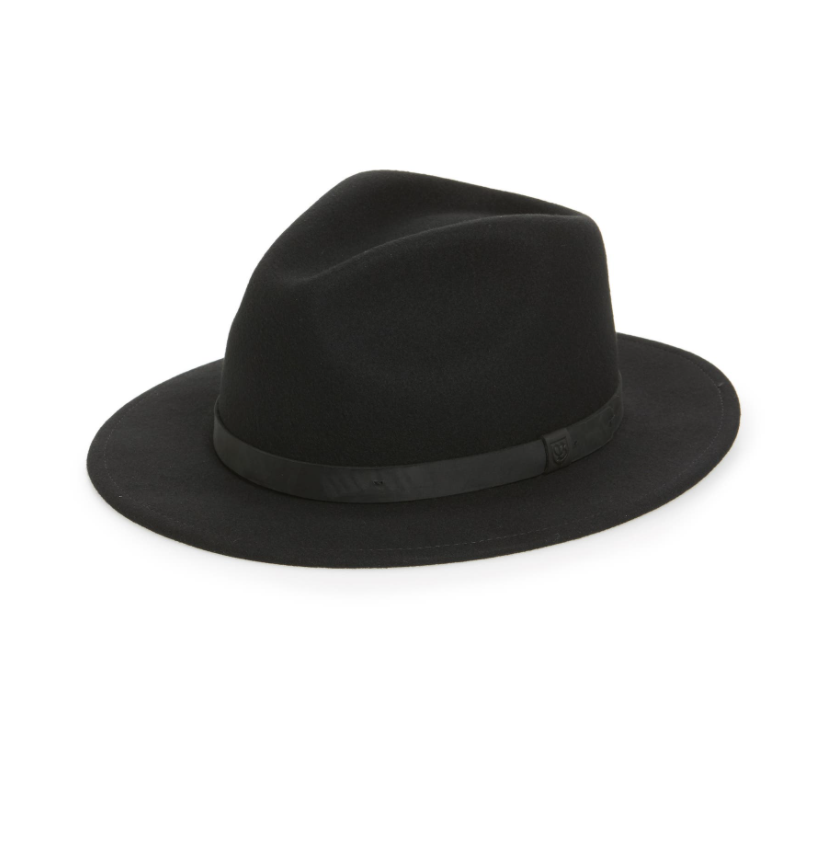
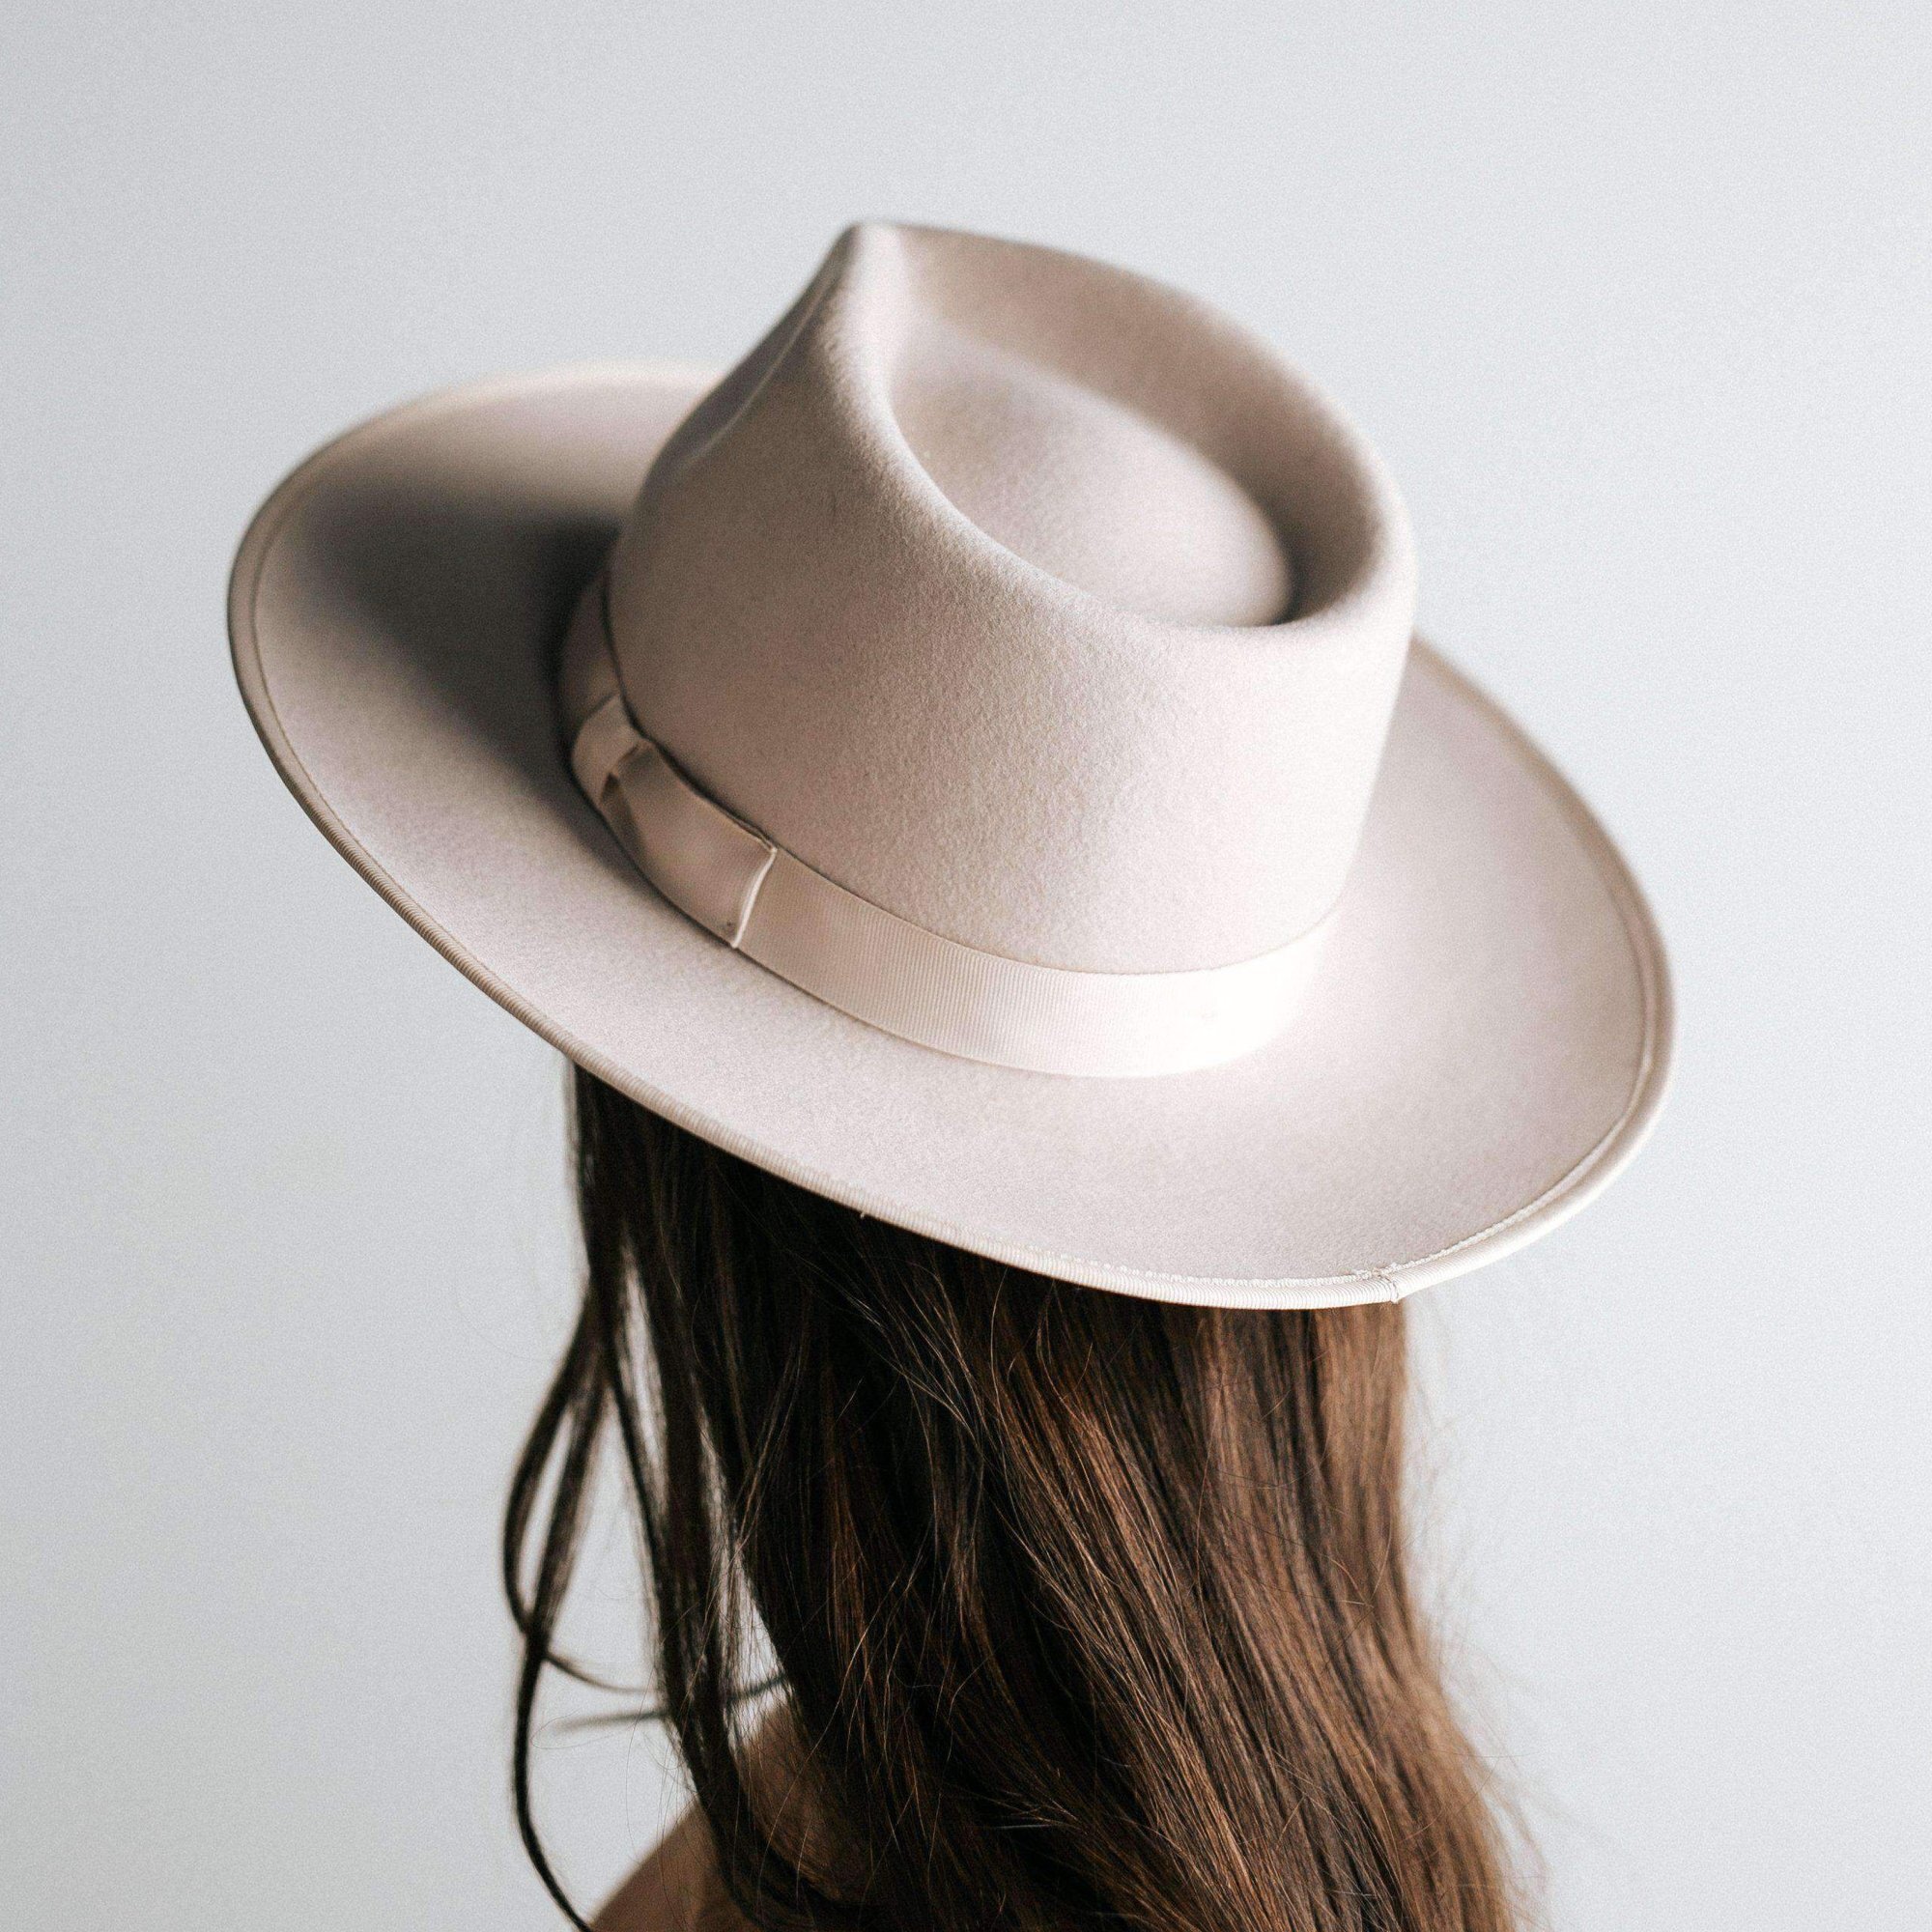
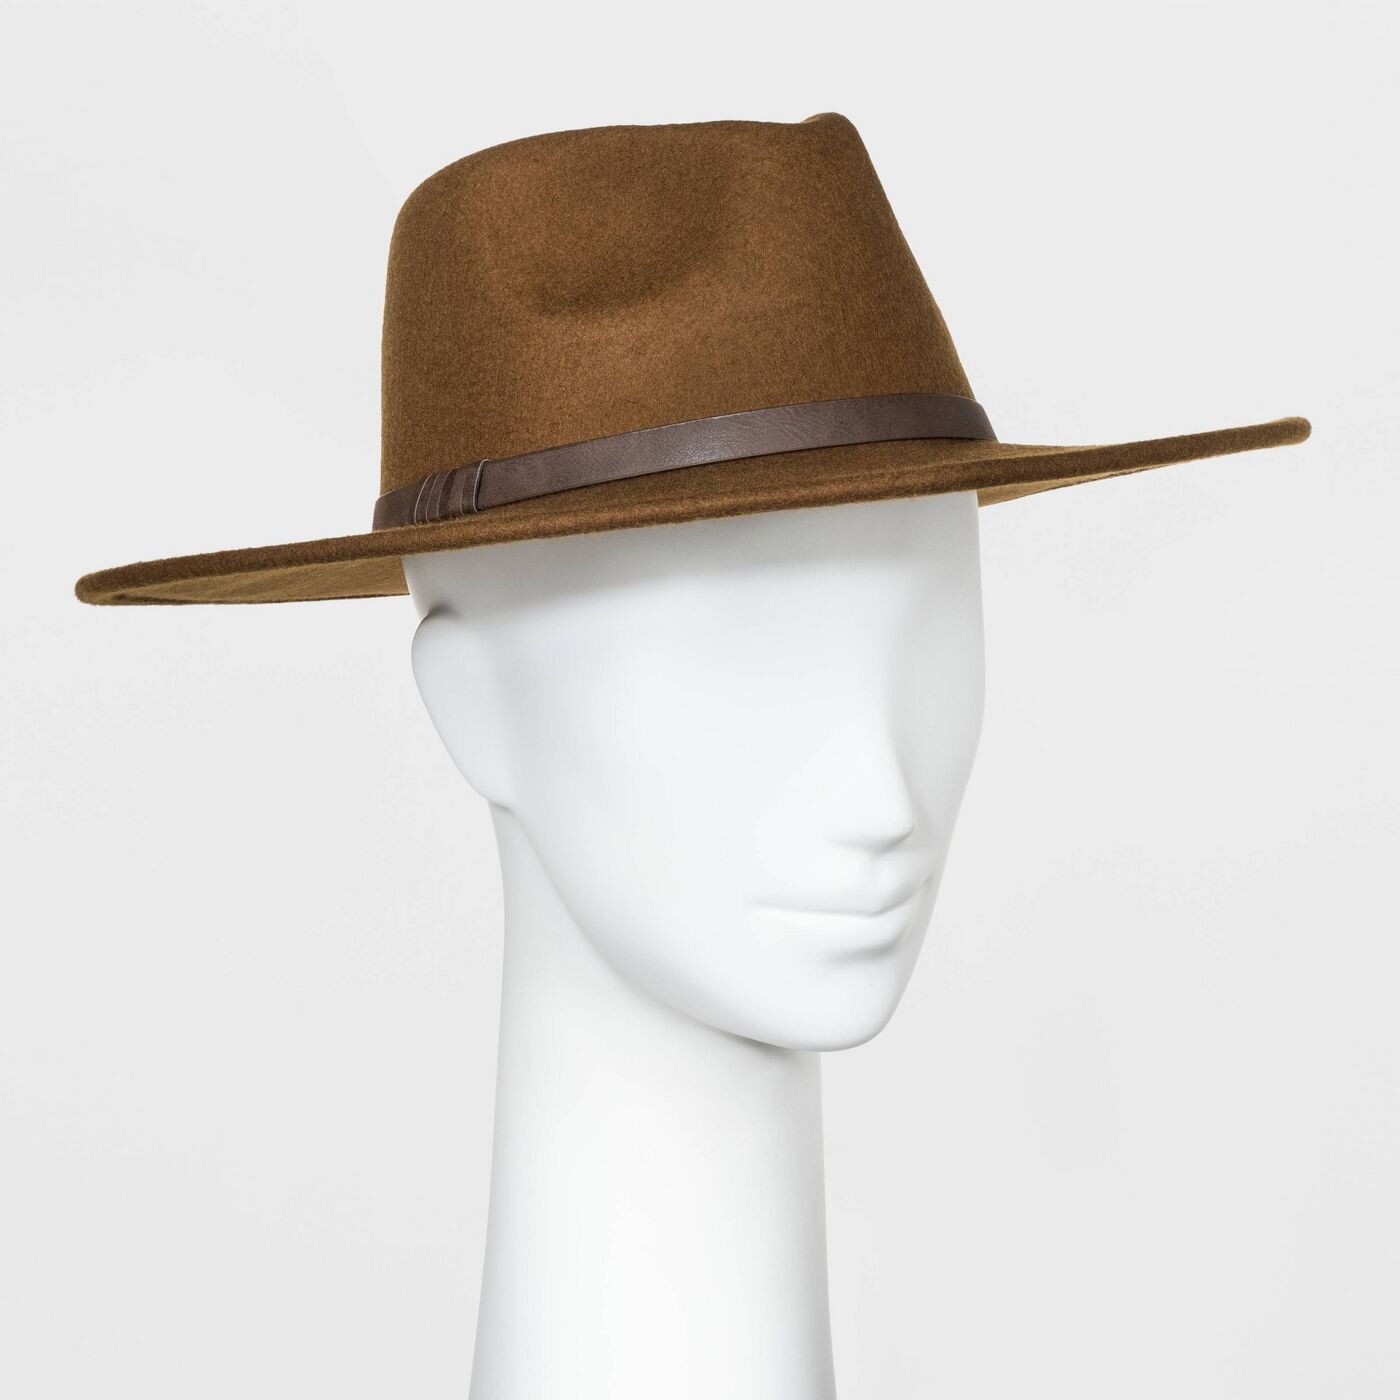
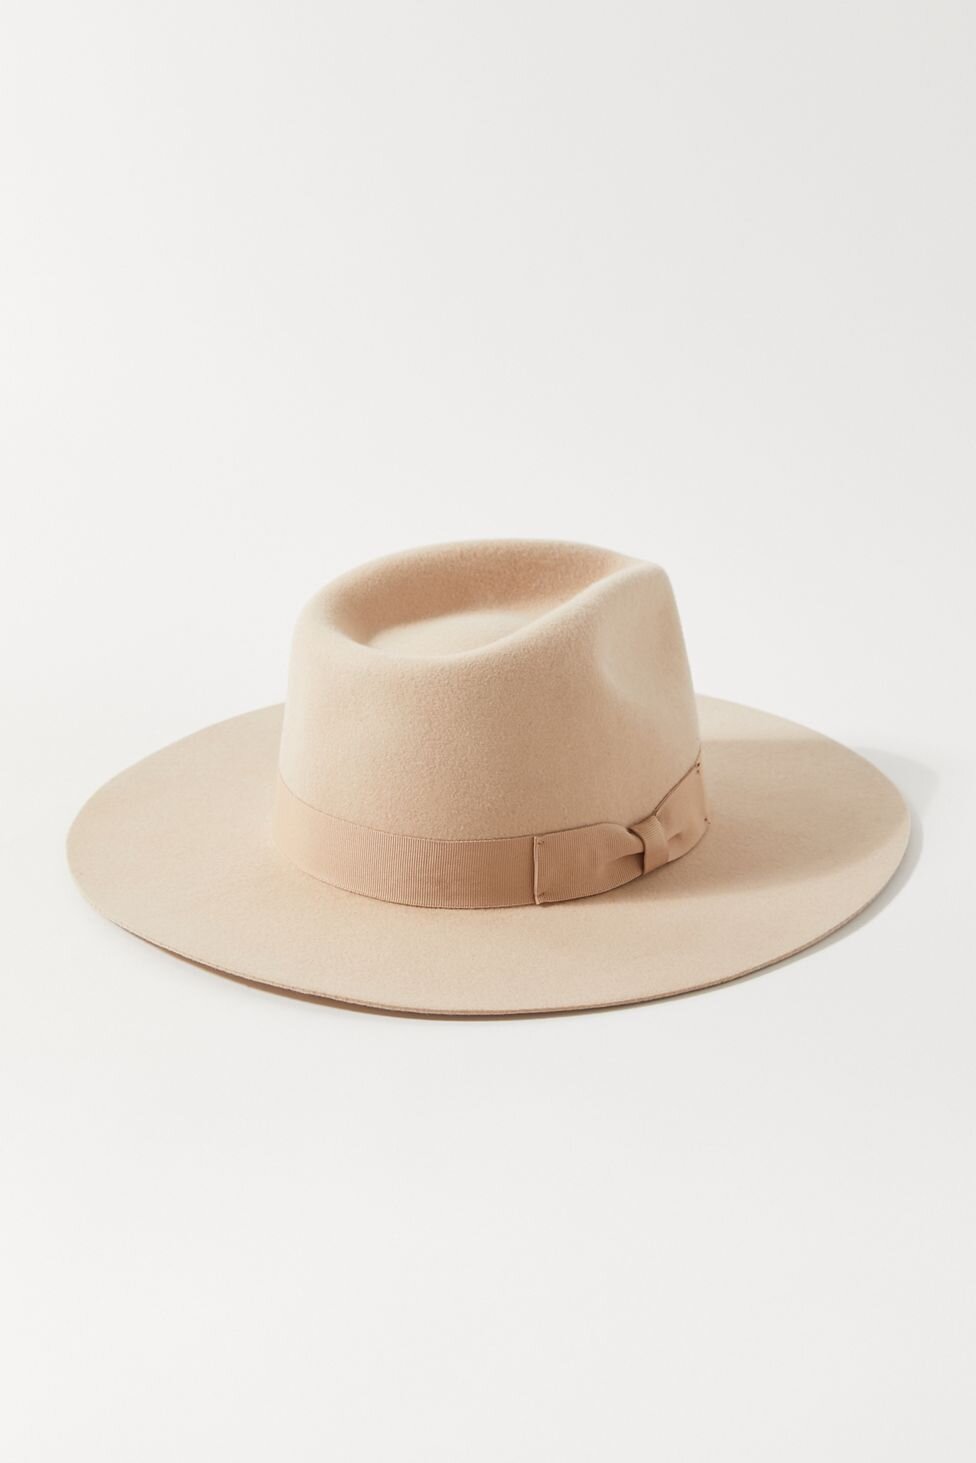
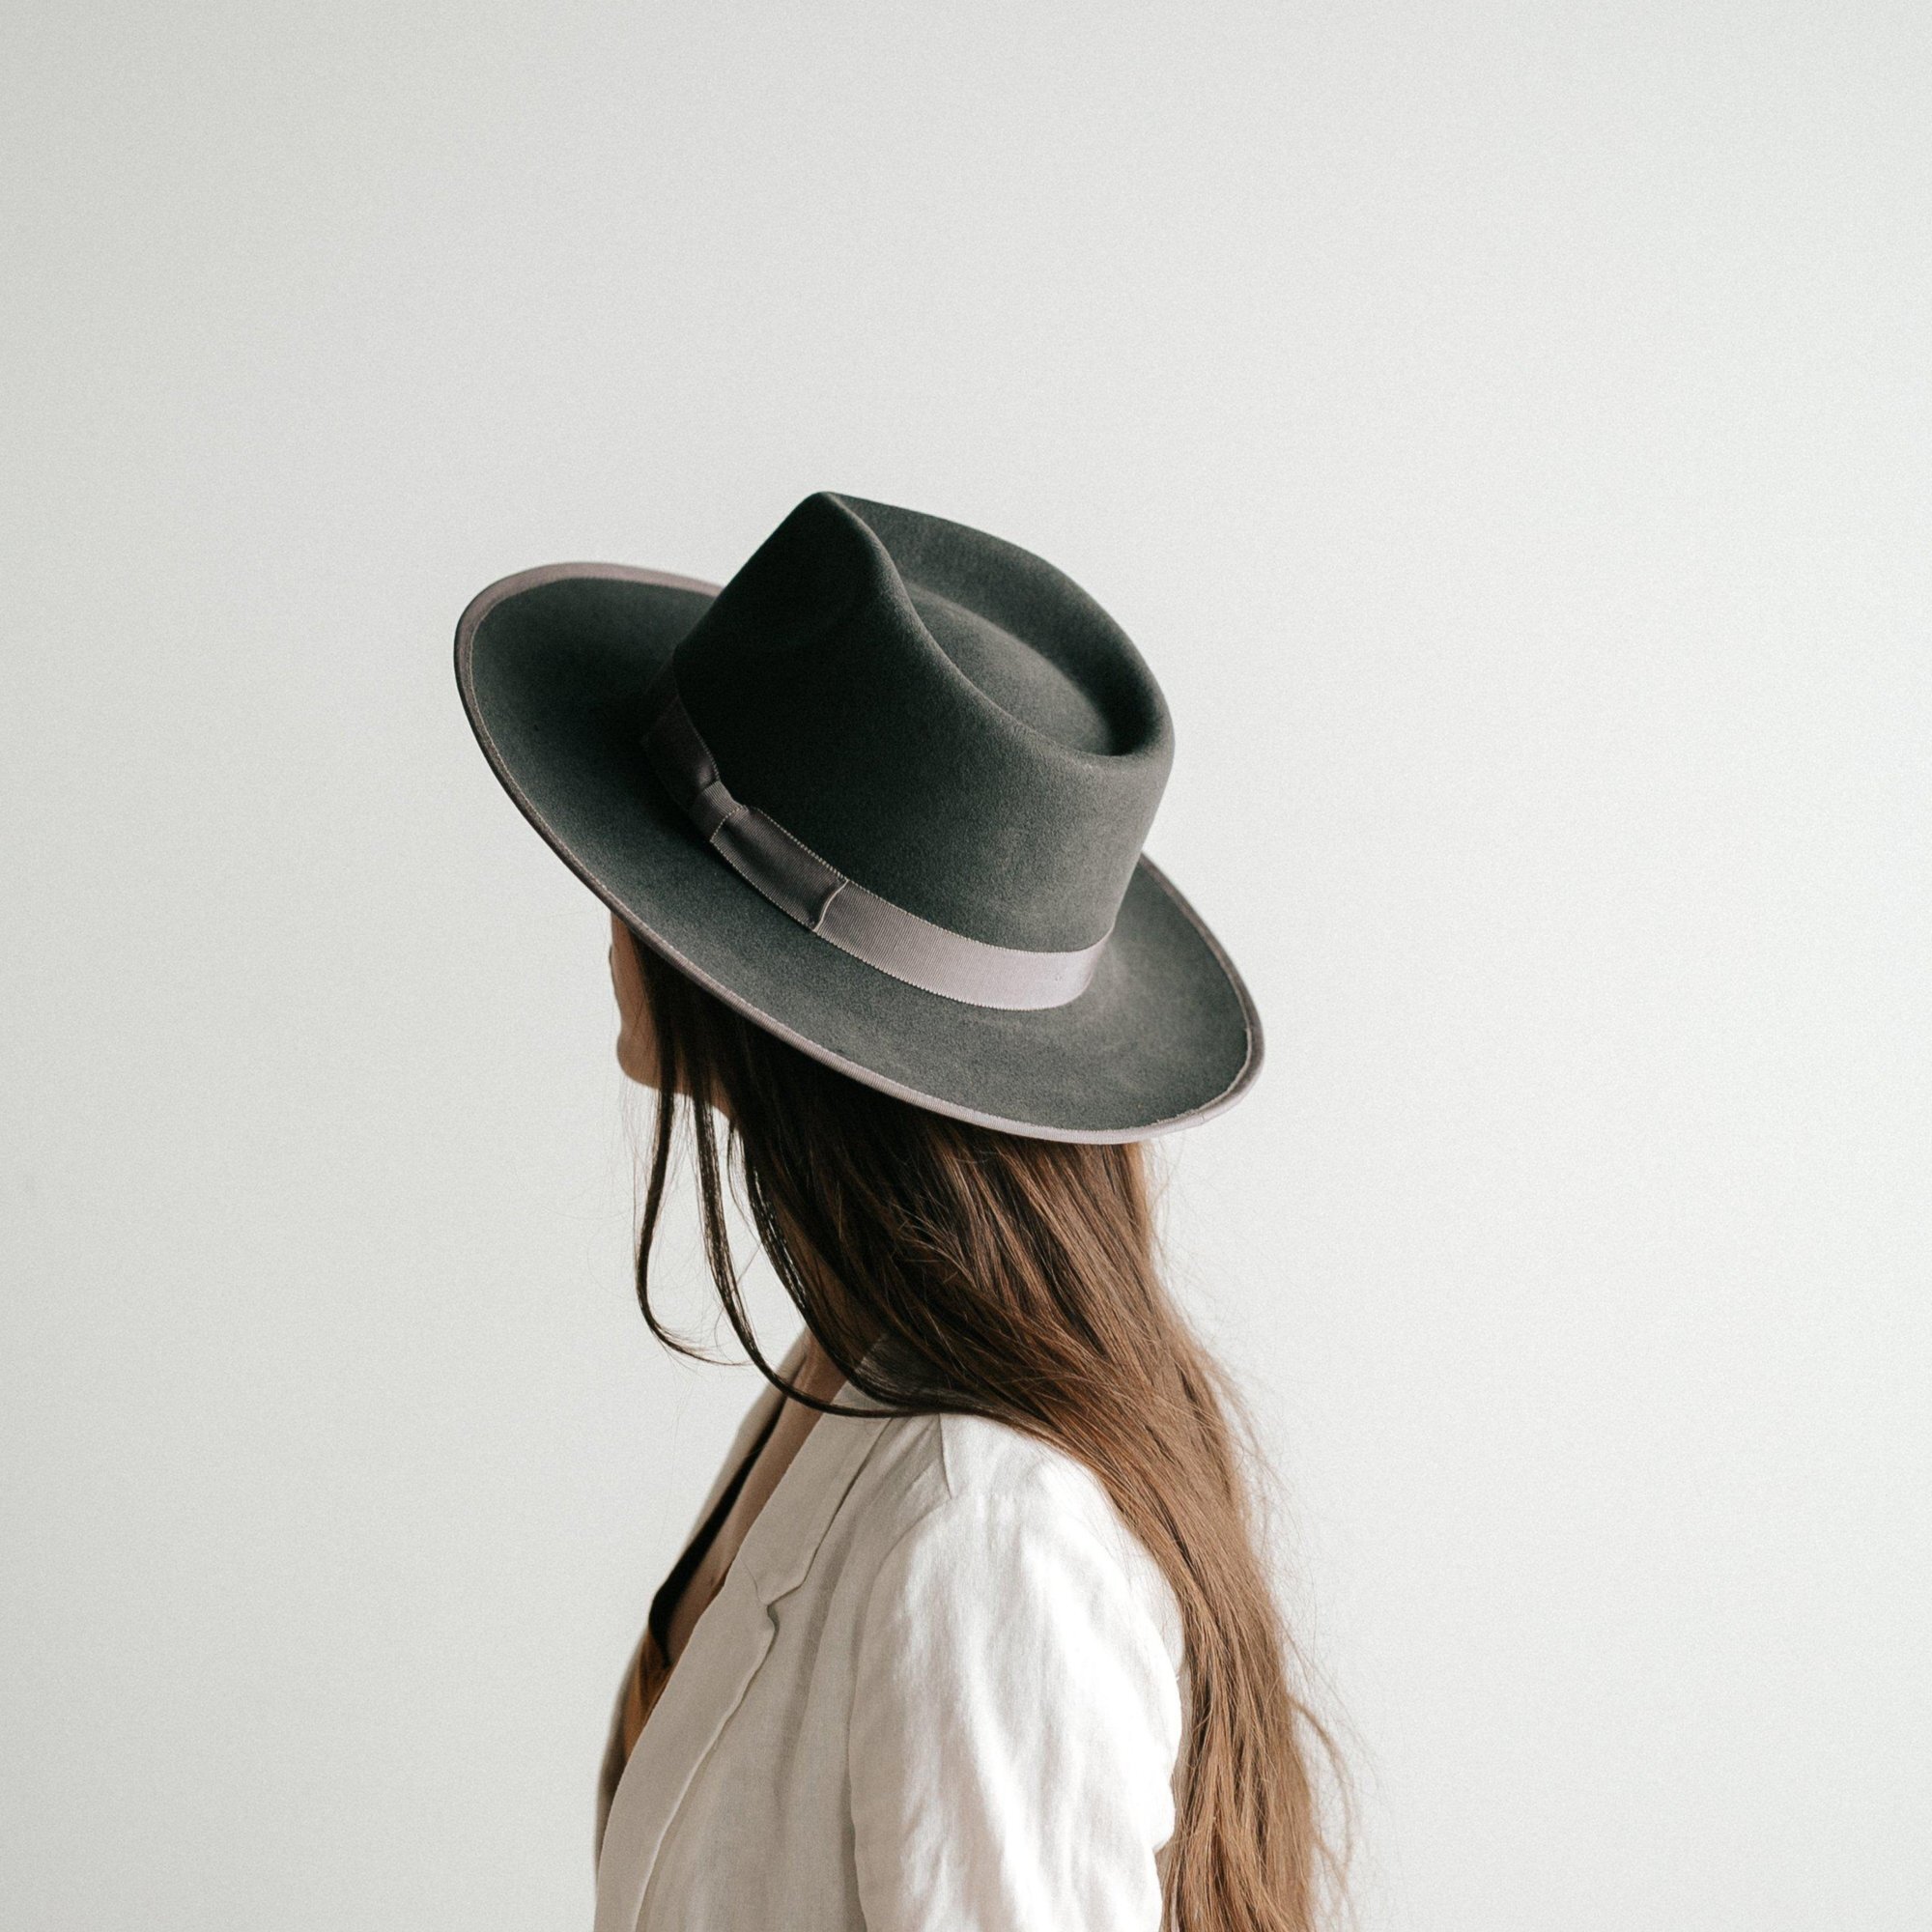

Black | Pink | Brown | Cream | Tan | Grey
More posts you may like…
Featured
Featured


Read More →