
Lorem ipsum dolor sit amet, consectetur adipiscing elit. Quisque ut ullamcorper libero. Cras lacinia aliquet mauris, nec semper enim vulputate vitae. Mauris nec nisi congue sem suscipit lacinia nec eget libero. Integer bibendum, mi eu pretium sagittis, arcu dui gravida elit, vel aliquam odio ante eu lectus. Curabitur id vehicula ex.
explore
welcome to our
home on the web
Weddings
Portraits
Engagements
personal

#block-yui_3_17_2_1_1604191538801_281188 .sqs-gallery-block-grid .sqs-gallery-design-grid { margin-right: -10px; }
#block-yui_3_17_2_1_1604191538801_281188 .sqs-gallery-block-grid .sqs-gallery-design-grid-slide .margin-wrapper { margin-right: 10px; margin-bottom: 10px; }
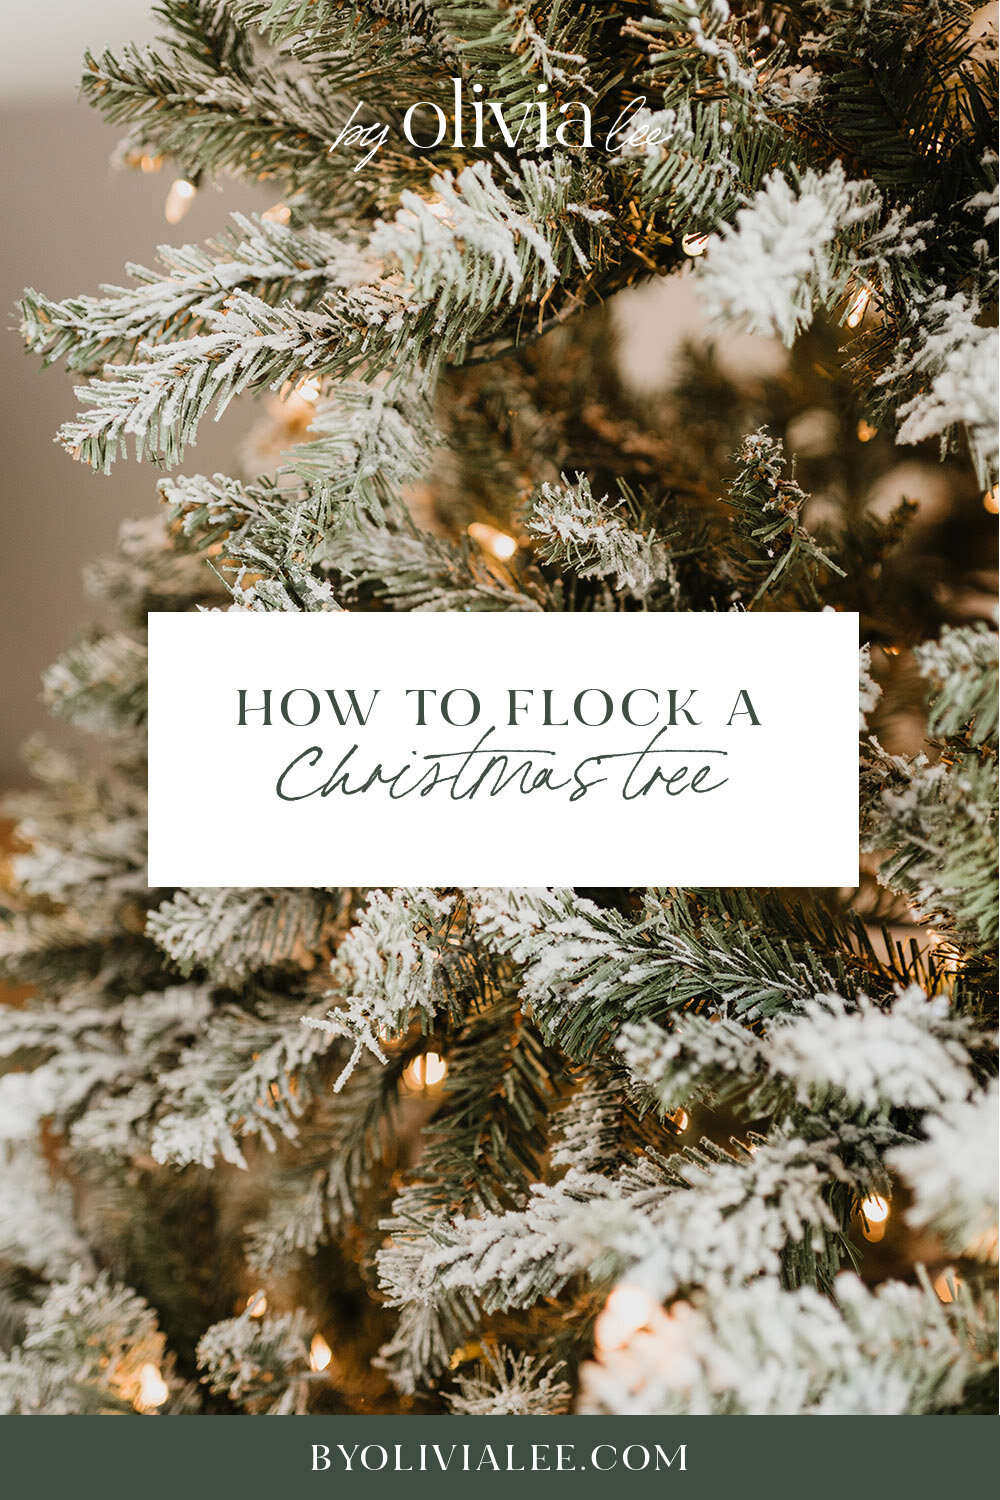
How To Flock A Christmas Tree
In this post, I share exactly how I turned this green pre-lit artificial tree that we’ve had for several years into what looks like a tree covered in fresh snow for the upcoming holiday season. Check out a quick video tutorial of the flocking process here.
My husband and I are crazy about Christmas. We love everything about the holiday season from the family gatherings to the cozy lights. Growing up in Michigan our childhood Christmas’s were so special and were often white Christmas’s thanks to the midwest snowfall. I’m not the biggest fan of winter, I especially dislike the cold but I could never argue against the magic of snow around the holidays. There is also nothing like enjoying a beautiful fresh snowfall, even if you choose to enjoy it by looking out a window wrapped in a warm blanket inside like I prefer to.
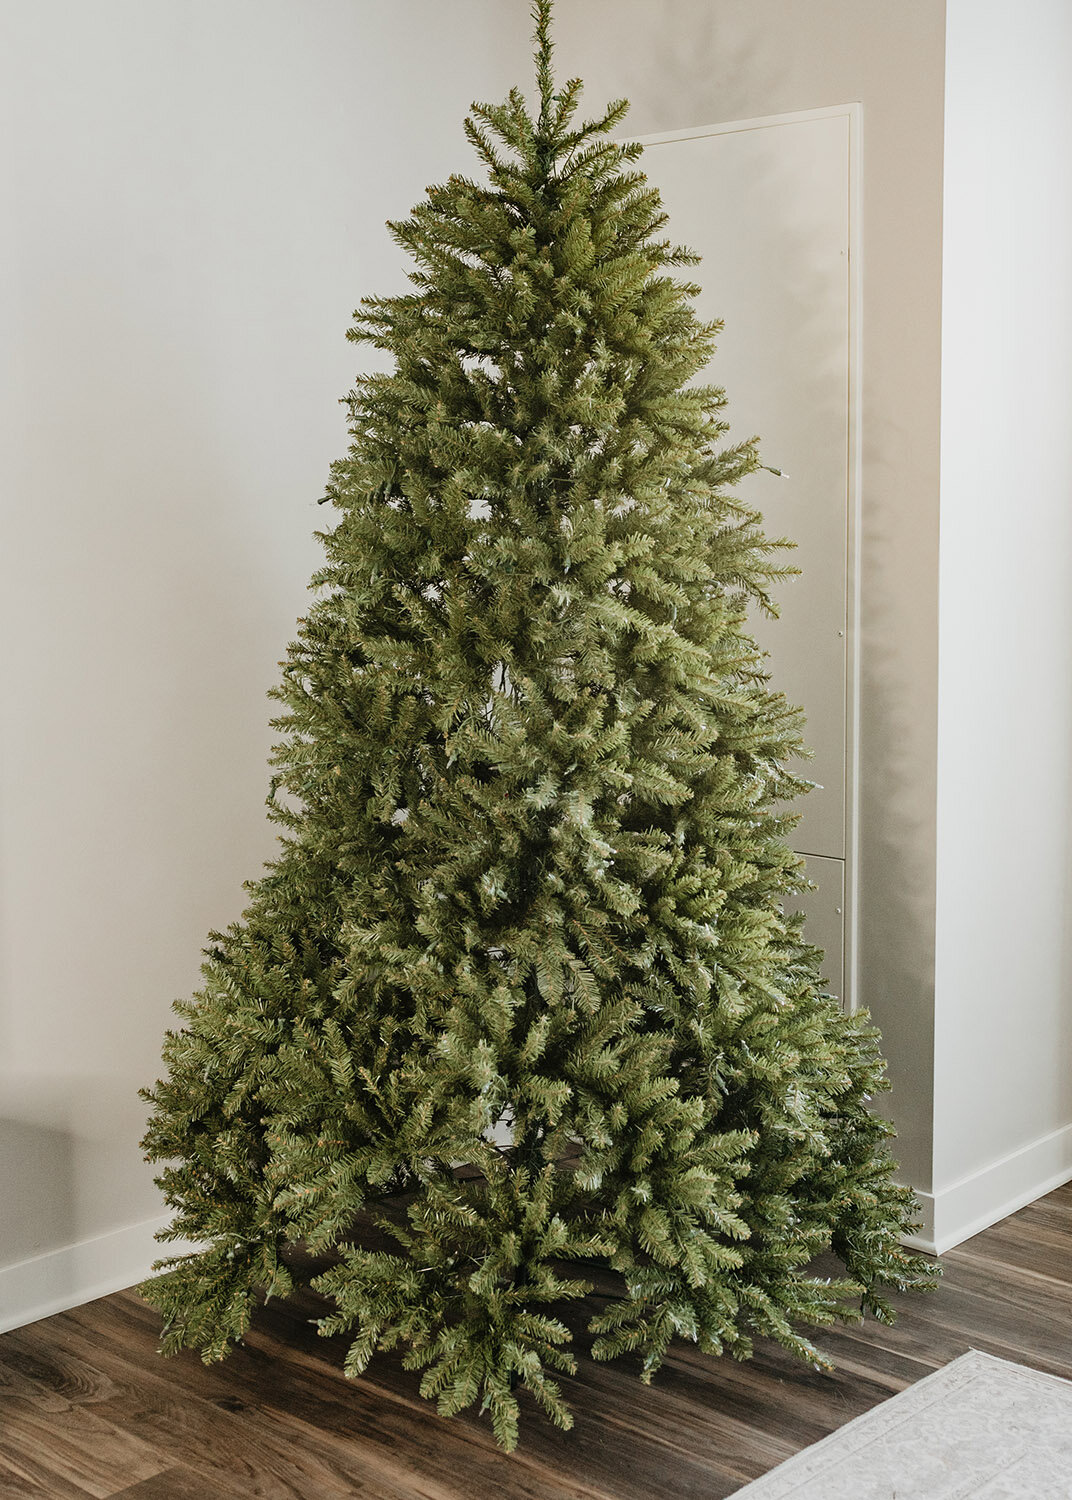
Similar to how I love the look of fresh snow on the pine trees outside in the winter, I also love the look of faux snow flocked artificial Christmas trees. My husband purchased this tree the year before we moved in together so I didn’t get a say in the style he picked out. It’s a beautiful artificial tree as is and we have enjoyed it for the past four holiday season. However, I have always wanted a flocked Christmas tree. Since this tree is still in great condition, it would be silly to purchase a new tree so I decided to research if it was possible to flock the tree we already own.
I was ecstatic to find out that it is possible to DIY (do it yourself) flock an artificial Christmas tree with just a few supplies and some fairly easy steps. I flocked out Christmas tree yesterday and was so happy with the results. My biggest fear was that the flocked look would look cheap or uneven and there would be no going back once I started. With a few hours of focus and close attention to detail, I was thrilled with the outcome. I found flocking my Christmas tree to be a fairly easy process, an affordable way to give our tree a fresh look and overall a huge success. That being said, I couldn’t wait to share the process with you in case you also want to flock your Christmas tree this holiday season. Keep reading to learn how to DIY a flocked Christmas tree.
What you will need:
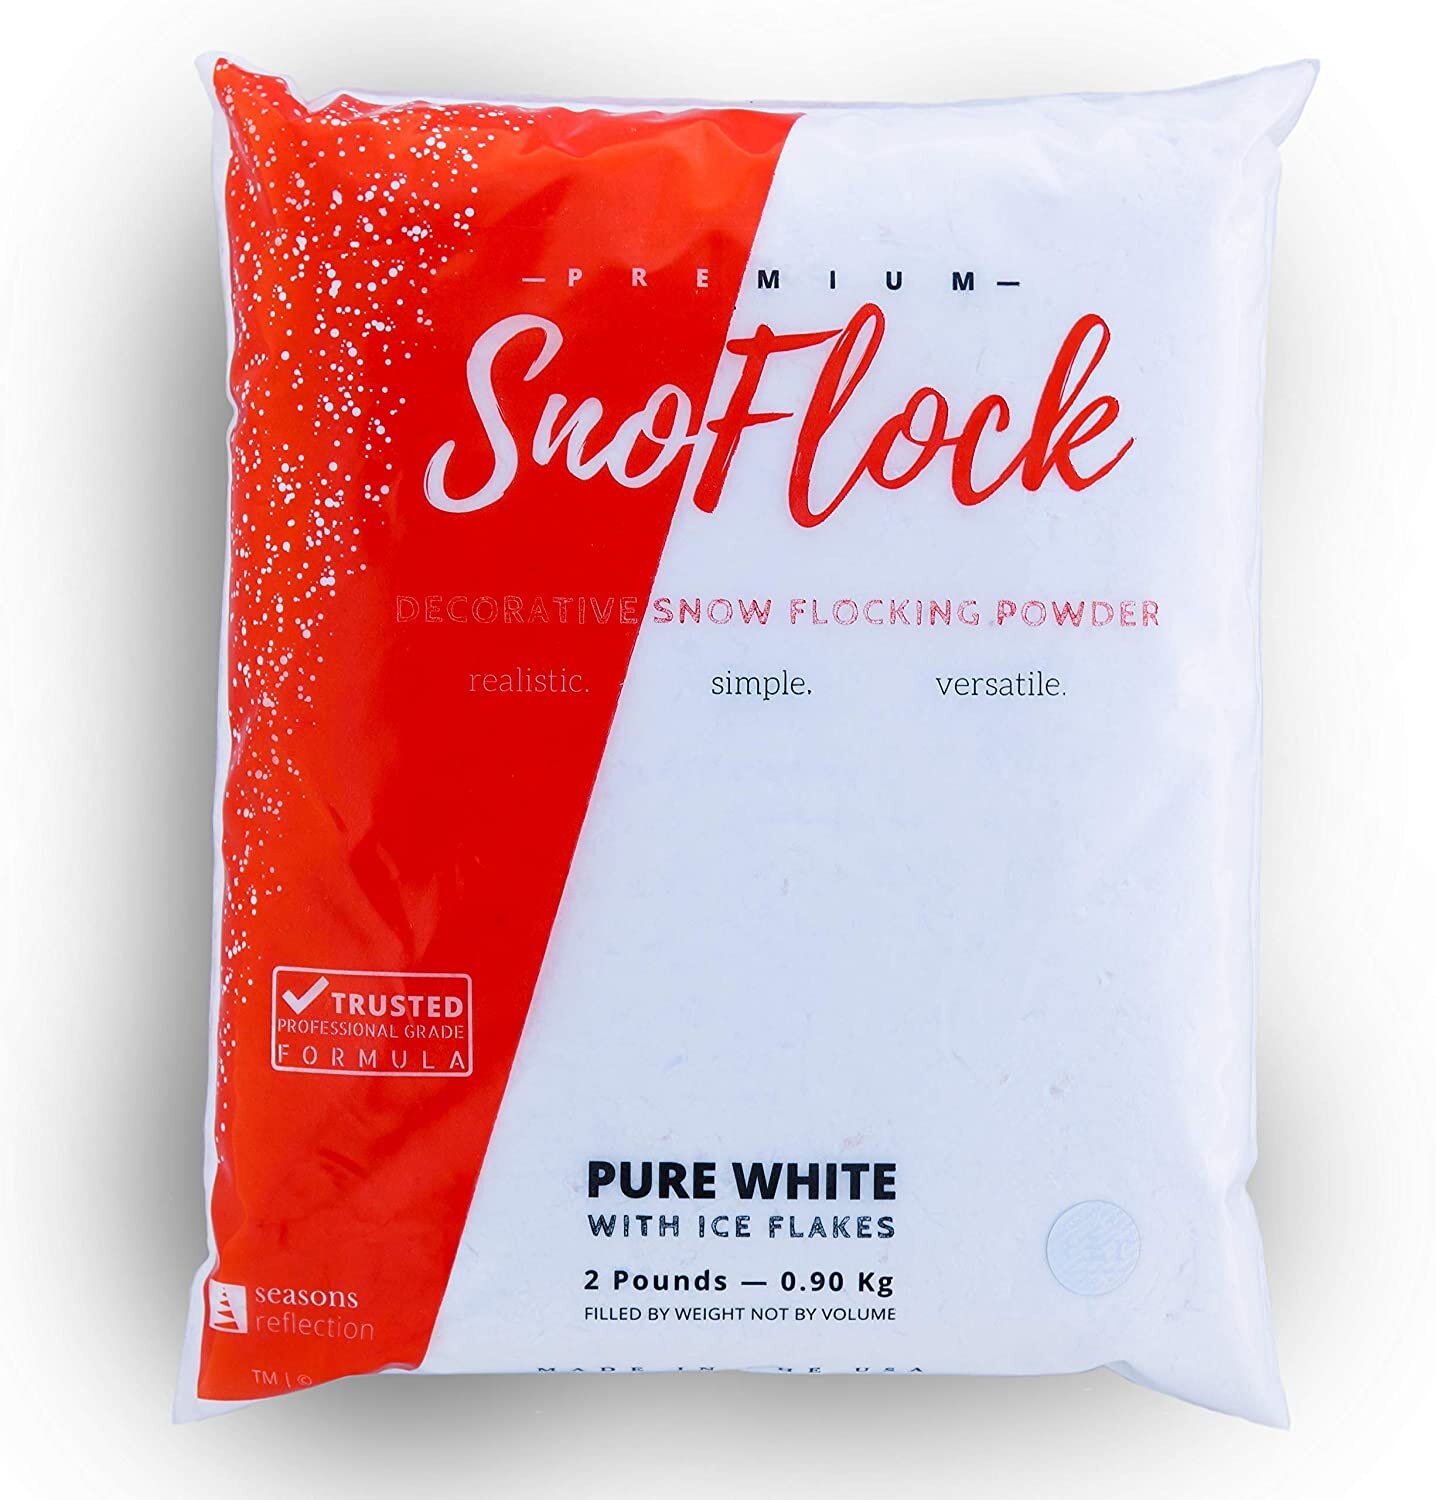


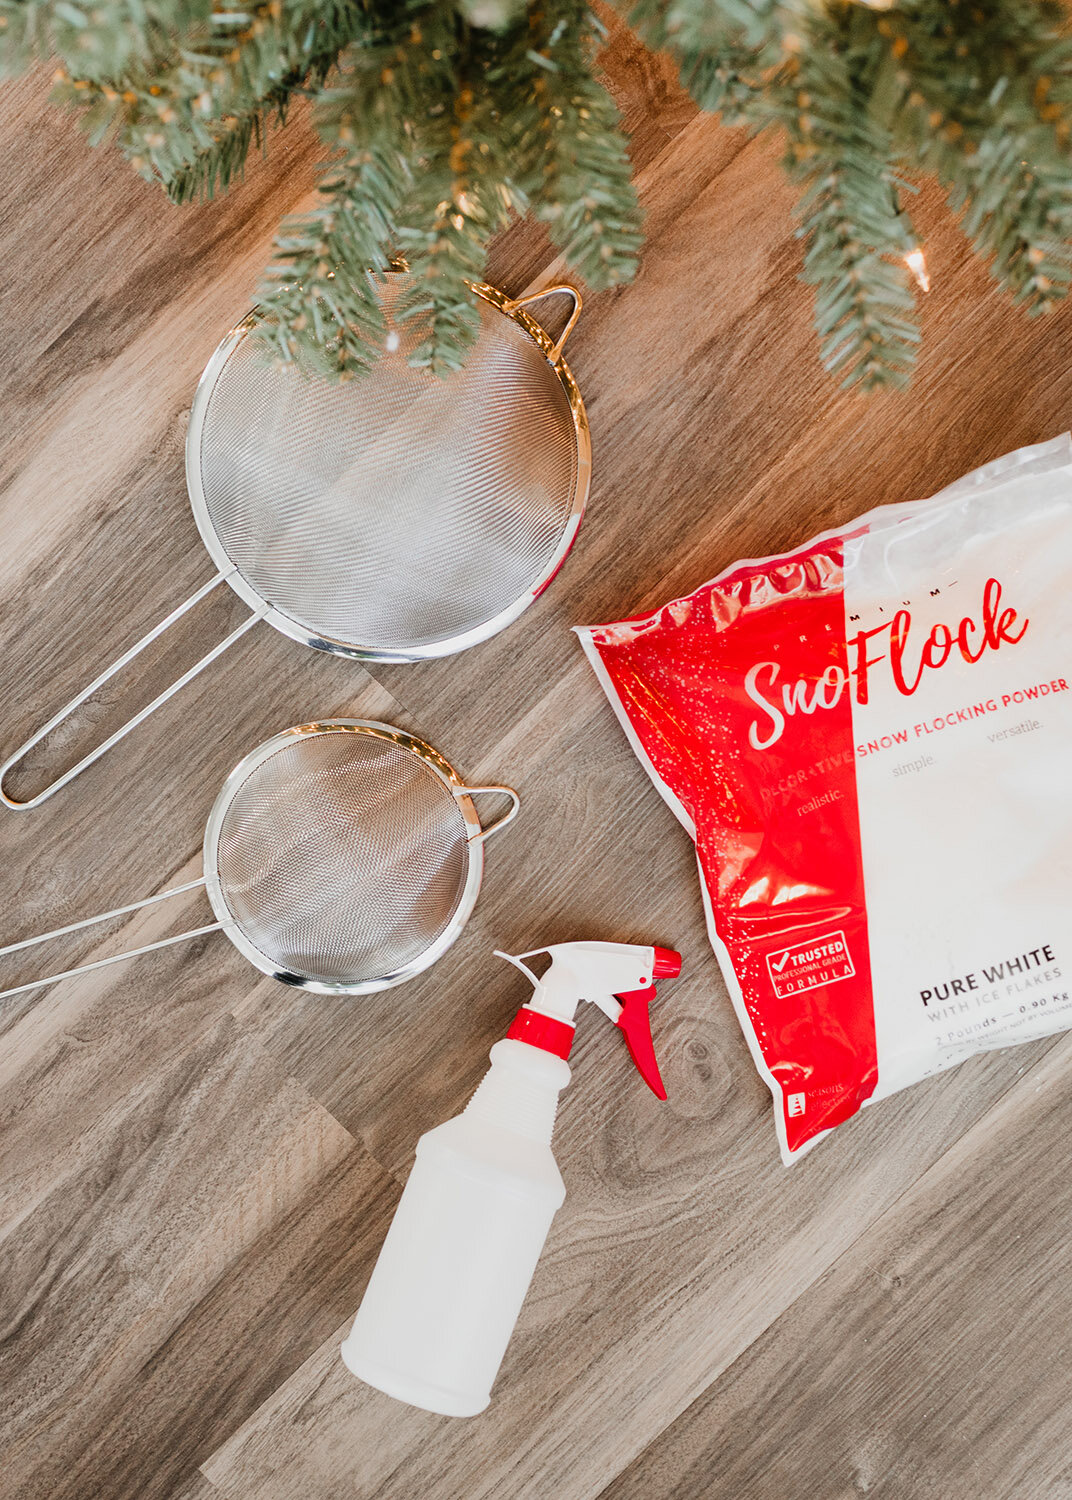
Flocking Powder | Spray Bottle | Mesh Strainer | Table Cloth | Face Mask
One of the main selling points for me to commit to seeing this DIY project through was how affordable the supplies were. Thanks to the crazy year that 2020 has been I already owned a face-mask that needed to be worn for protection. I cut open a few trash bags to lay down under the tree to protect our floor but I linked a plastic table cloth above as that would also work to catch any flocking powder fall out. The only items I ended up needing to purchase were the SnoFlock powder, a spray bottle, and a mesh strainer (I used the medium size). The supplies I purchased came to a total of around $43 which seemed like a decent price to me vs. what it would cost to purchase a brand new flocked Christmas tree.
Prep the artificial Christmas tree and surrounding area
The first thing you will need to do is set up your artificial Christmas tree as you normally would. We always spend a good amount of time “fluffing” the branches and shaping the Christmas tree so it looks full and as natural as possible. Our Christmas tree is pre-lit with Christmas lights which makes the set-up process really easy. If your Christmas tree is not pre-lit with Christmas light but you would like to add strings of lights, I suggest doing so before you flock the tree to prevent the powder from falling off as the lights are being strung.
Once your tree is set up, shaped, fluffed, and ready to go with Christmas lights, start placing the table cloth, trash bags, newspaper, or whatever you choose to protect your floors. If you do not feel comfortable flocking your Christmas tree indoors, you can always set the tree up outside. Just know that you need to give the tree at least 24 hours to set after flocking before you move the tree or start decorating it. We discussed flocking our Christmas tree outside but due to the size of our door, we would have had to take the tree apart and fold it back up to get it inside. Between that process and the outdoor wind, we feared that the flocking powder may not hold up leaving the tree in less than the desired condition.
We ended up flocking our Christmas tree set up in a place where it will stay throughout the holiday season and I’m so glad we did. Since I worked slowly and carefully, the process was not super messy and the trash bags worked perfectly as protecting our floors under the tree. We just made sure to block off the area so that our dog could not come near the tree during the process and I wore a face mask while flocking the Christmas tree to protect myself from breathing in any particles from the flocking powder.


#block-yui_3_17_2_1_1604247226208_34426 .sqs-gallery-block-grid .sqs-gallery-design-grid { margin-right: -10px; }
#block-yui_3_17_2_1_1604247226208_34426 .sqs-gallery-block-grid .sqs-gallery-design-grid-slide .margin-wrapper { margin-right: 10px; margin-bottom: 10px; }
How to flock a Christmas tree
Once your tree is set up and the floor underneath the tree is protected, it’s time to start the flocking process. I highly recommend working in small sections and using a medium-sized mesh strainer to keep the area as clean as possible.
Starting with a small section at the top of your tree, use your spray bottle filled with water to wet the tree. Immediately after while the branches are still wet place about a 1/2 cup amount of flocking powder into the mesh strainer and gently shake the strainer from left to right over the section that was previously sprayed with water. As you shake the snow flocking powder onto the wet tree branches you will see them start to turn white. You can add as little or as much flocking powder as you’d like keeping in mind that you can always add more later. Then, set down your strainer away from the flocked area to prevent it from getting wet and spay the flocked section again with water. This is how the flocking powder adheres to the tree branches giving it a snow-dusted appearance.
I wanted our Christmas tree to have a lightly flocked look so I was careful not to apply a heavy amount of flocking powder. The amount of flocking you choose to use is completely up to you and will depend on your preference. Below is an example of a Christmas tree that is heavily flocked giving the tree branded a fully coated white appearance.

Photo by settingforfour.com
You will repeat this process of spraying the area with water, shaking on the flocking powder, and spraying on the water again to engage the adhesive. Take each small section at a time working from the top of the tree to the bottom giving each section the same amount of flocking powder to create a balanced looking tree. The reason I suggest starting from the top of the tree is that the snow flocking powder will fall as it’s being applied and will land on the lower sections.
As I mentioned above, you can always revisit a section if it needs more attention and can even give the overall tree several coats to obtain a thicker flocked appearance. If you are going for a lightly dusted flocked tree like mine, I suggest taking a step back and observing the Christmas tree to make sure it was an even surface.


#block-yui_3_17_2_1_1604247226208_92023 .sqs-gallery-block-grid .sqs-gallery-design-grid { margin-right: -10px; }
#block-yui_3_17_2_1_1604247226208_92023 .sqs-gallery-block-grid .sqs-gallery-design-grid-slide .margin-wrapper { margin-right: 10px; margin-bottom: 10px; }
A few things to note
Once you are happy with the look of your beautiful flocked Christmas tree, give the entire tree another spray of water to help seal the adhesive. Carefully remove the barrier placed under the tree with the fall out from the flocking powder and clean up your working station. It is recommended to allow your flocked Christmas tree to sit without disruption for at least 24 hours to ensure that the flocking powder adheres to the tree branches as much as possible.
Some of the flocking powder will likely dust off as you later decorate the Christmas tree with ornaments, garland, a tree topper, etc. It will also likely dust off again when it’s time to pack away the Christmas tree at the end of the holiday season. If you can, transport the flocked Christmas tree to a storage area after the holiday leaving it set up and carefully covered to protect it until the following Christmas season. We, unfortunately, do not have that luxury so we will have to pack our flocked Christmas tree in a box at the end of the holiday season to store it away. I am anticipating having a good amount of the flocking powder fall off of our tree from that process. That is why I am saving the remainder of the flocking powder (about half of the bag) so I can touch up the Christmas tree if needed next year by completing the same process over the bare sections.
Overall, I am so glad I decided to take on this DIY project and bring new life to our artificial Christmas tree. Although a bit tedious, the process was pretty easy and well worth the time, slowly working one section at a time. The end result looks elegant and comparable to a store-bought flocked Christmas tree. I love how you can customize the style and amount of flocking to your liking and really make your Christmas tree a one of a kind.

If the DIY Christmas Tree Flocking process feels too overwhelming or difficult, you can always purchase a pre-flocked artificial Christmas tree like the ones I linked below. These trees are beautiful and come in a range of flocking styles so you are sure to find one that matches your preference and desired appearance.


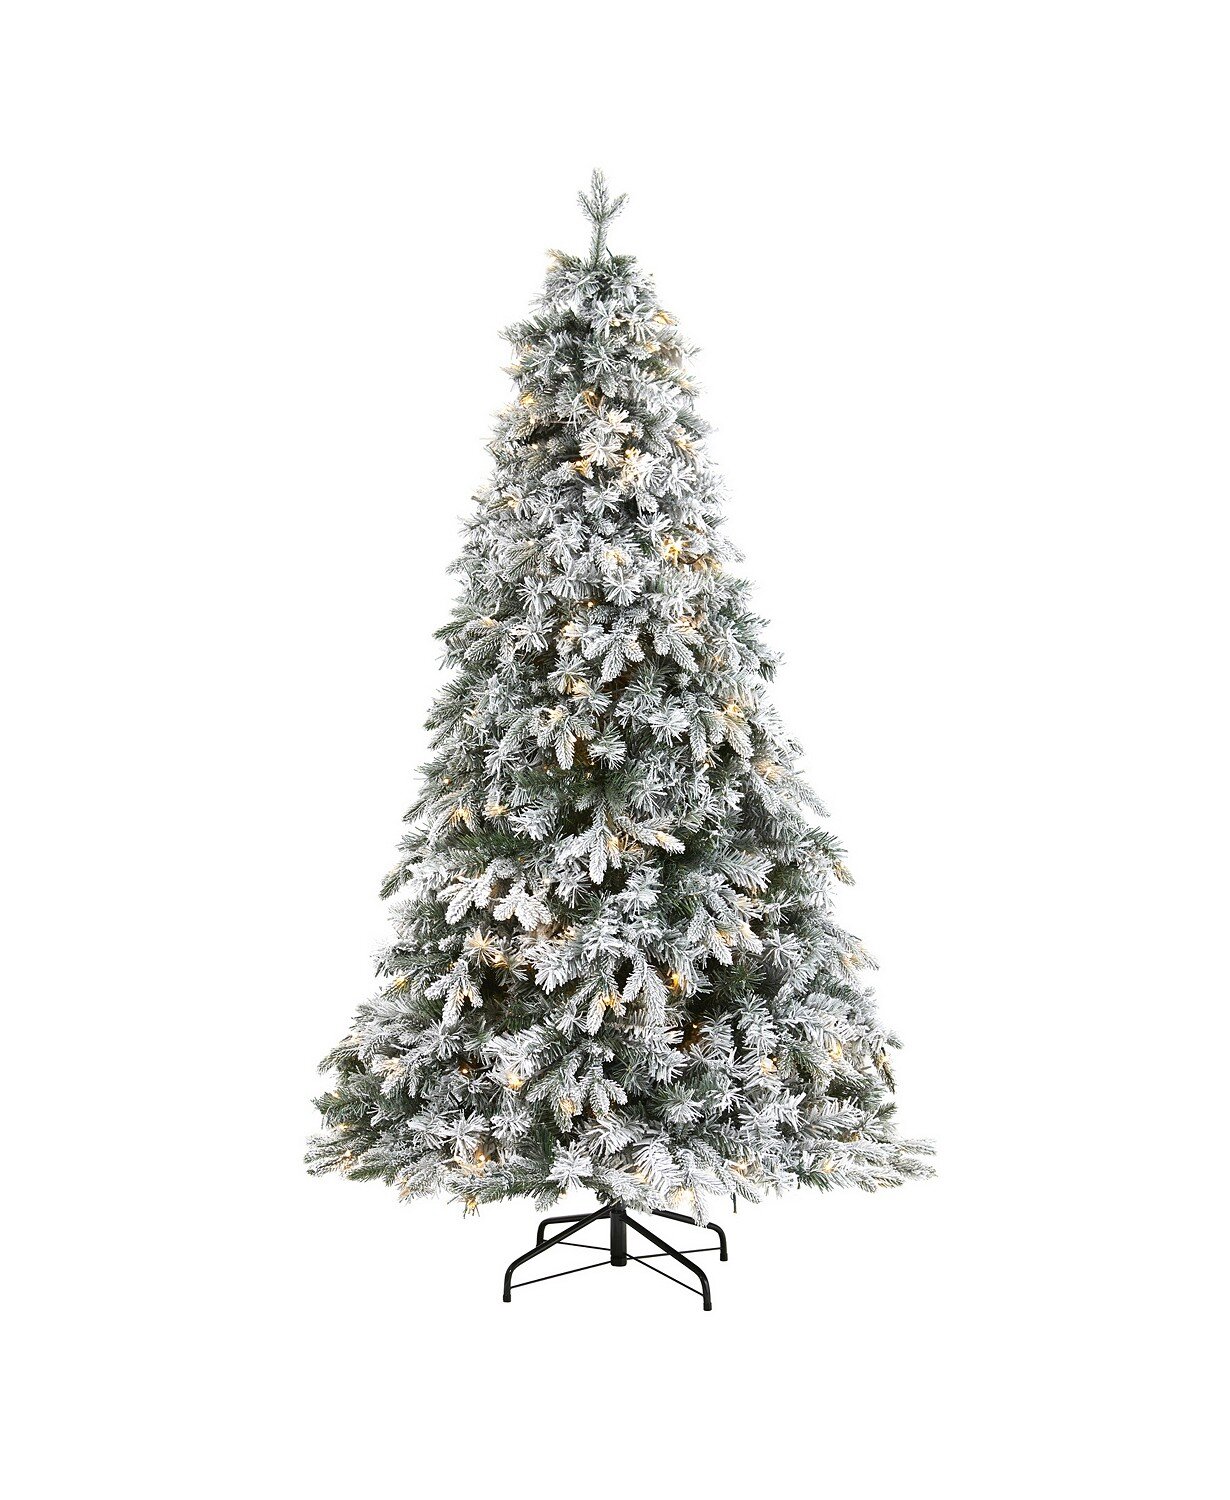

The Home Depot | Wayfair | Macy’s | Target
If you give this holiday DIY project a try, I’d love to hear how it comes out! Feel free to tag me or direct message me @byolivialee on Instagram. I’ll be sharing photos of how I decorate my newly-flocked tree for the holidays on there as well!
Pin this image to you can reference this post later
Featured


Featured


Your Christmas tree is gorgeous! Where did you get it? (Pre-flocking)